Discover how Halloween is celebrated around the world and get inspired by these easy Cricut projects for Halloween.
Halloween crafts are not limited to pumpkins, ghosts and things to hang on the wall.
A Cricut can also help with the little details that make the celebration easier to organise, such as identifying party treats, personalising trick-or-treat bags, preparing game cards and adding finishing touches to costumes.
The interesting part is that many of these projects use materials you may already have in your craft supplies, including cardstock, adhesive vinyl and iron-on.
Supposedly you’re preparing for a school event, a family celebration or trick-or-treating, these 33 easy Cricut projects for Halloween offer practical ideas worth making.
Handmade presents often feel more meaningful when they reflect the recipient’s personality. 31 Easy Cricut Projects for Gifts has more ideas for creating personalised gifts for different occasions.
The History Behind Halloween’s Traditional Black and Orange Colours
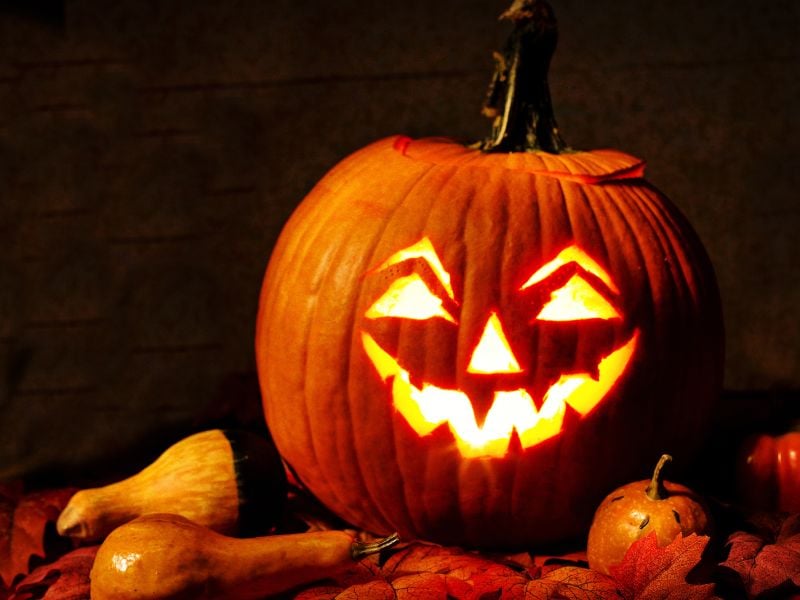
Black and orange did not begin as an official colour combination for Halloween. Their association developed through seasonal traditions, decorations and popular Halloween imagery.
Orange reflects the autumn harvest, including pumpkins, corn and other crops traditionally displayed during late October.
Black became associated with the darker side of Halloween, including night-time celebrations, witches, black cats and supernatural imagery.
The combination became more recognisable in the United States during the early 1900s, when companies such as Dennison and Beistle produced paper Halloween decorations featuring black witches, bats and cats alongside orange pumpkins and harvest images.
These commercially produced decorations helped establish the colours in the Halloween celebrations many people recognise today.
The colours therefore reflect both the autumn season and the mysterious imagery associated with Halloween, rather than a fixed colour tradition dating back to ancient times.
Teenagers who enjoy custom accessories and personalised belongings may find something they like in 30 Cute Cricut Projects for Teen Girls.
Which Cricut Materials Work Best for Halloween Projects?
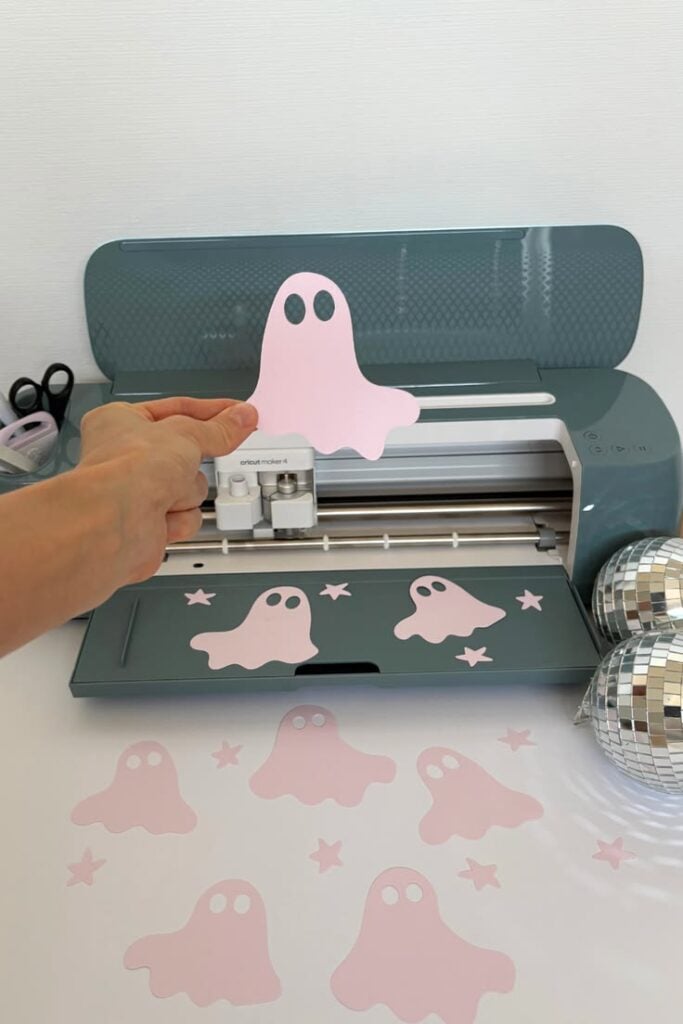
Choosing the right material makes a difference to how your Halloween crafts look and how long they last. Here are the main options and where each works best.
| Cricut material | Best used for |
| Permanent vinyl | Durable labels, treat containers, glass jars and party signs. |
| Removable vinyl | Temporary wall decorations, labels and signs that may be taken down after Halloween. |
| Window Cling | Reusable ghosts, bats and pumpkin shapes for windows. It sticks without adhesive. |
| Stencil film | Cutting designs for painting pumpkins, signs and other surfaces. |
| Iron-on vinyl (HTV) | Decorating trick-or-treat bags, T-shirts, capes and fabric accessories. |
| Cardstock | Treat boxes, cupcake toppers, bingo cards and party decorations. |
| Printable sticker paper | Full-colour Halloween stickers, seals and labels using Print Then Cut. |
A few things to check before cutting:
- Use removable vinyl for temporary decorations, not permanent vinyl.
- Window Cling and removable vinyl are different; Window Cling has no adhesive backing.
- Check your Cricut machine’s compatibility before buying materials for Print Then Cut.
- Choose the correct mat for your material, and make a test cut before starting the full project.
- For iron-on designs, check the fabric and heat settings before pressing.
Personalised decorations can make a living space feel more like home. 29 Easy Cricut Projects for Home Decor shares creative ways to decorate different rooms.
Easy Cricut Projects for Halloween
1. Halloween Window Clings
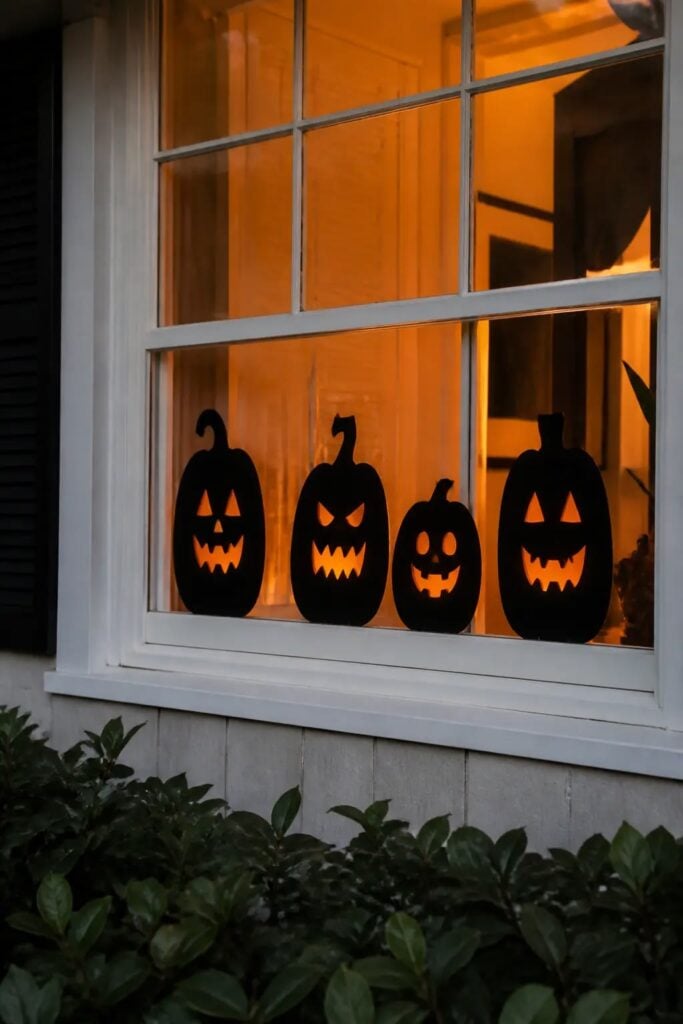
Give your windows a Halloween look with removable ghosts, bats, black cats and pumpkin shapes. Cut the designs from Cricut Window Cling material, then apply them to clean glass windows.
Unlike adhesive vinyl, Window Cling does not have a sticky backing, so the decorations can be removed and reused on suitable smooth surfaces.
Choose simple designs with clear outlines, especially when cutting small shapes. This makes them easier to weed and prevents delicate details from tearing during application.
2. Teal Pumpkin Project Door Sign
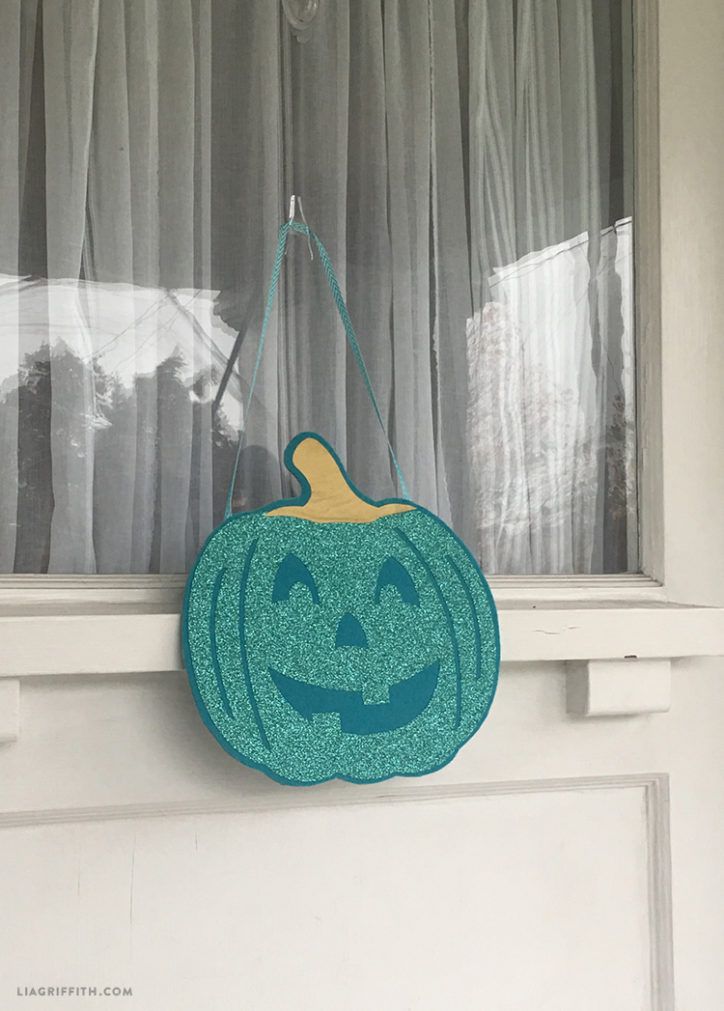
Not every child can enjoy the usual Halloween sweets, so offering non-food treats can make trick-or-treating more welcoming.
A teal pumpkin sign helps families identify homes that have alternatives such as stickers, pencils, bubbles or small toys.
For this easy Cricut project for Halloween, cut a teal pumpkin shape from cardstock or vinyl and add a clear message like “Non-Food Treats Available.”
Display it near your entrance where visitors can easily see it. The teal pumpkin is a signal that non-food options are available; it does not mean the candy or other food treats in the home are free from allergens.
3. Candy and Non-Food Treat Bowl Labels
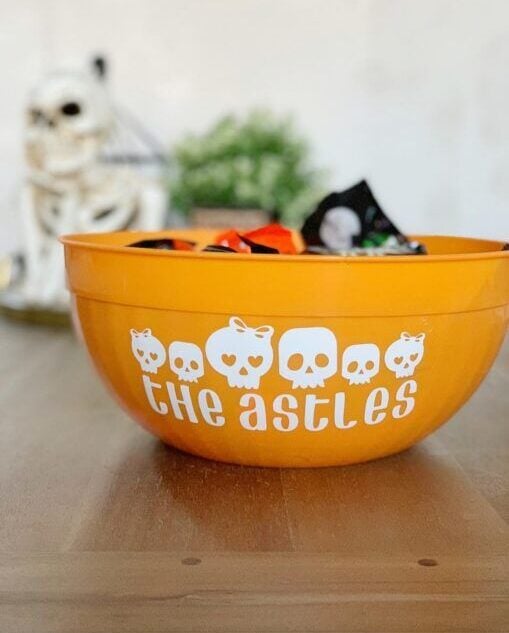
Keeping candy and small toys in separate containers makes it easier for families to choose suitable Halloween treats.
This is especially useful for homes participating in the Teal Pumpkin Project, where non-food options are offered alongside candy.
Cut separate labels reading “Candy” and “Non-Food Treats” from vinyl, then apply them to the front of each container. Choose contrasting colours and large lettering so the labels are easy to read, even when the bowls are placed on a busy treat table.
4. Pumpkin Carving Guide Stencils
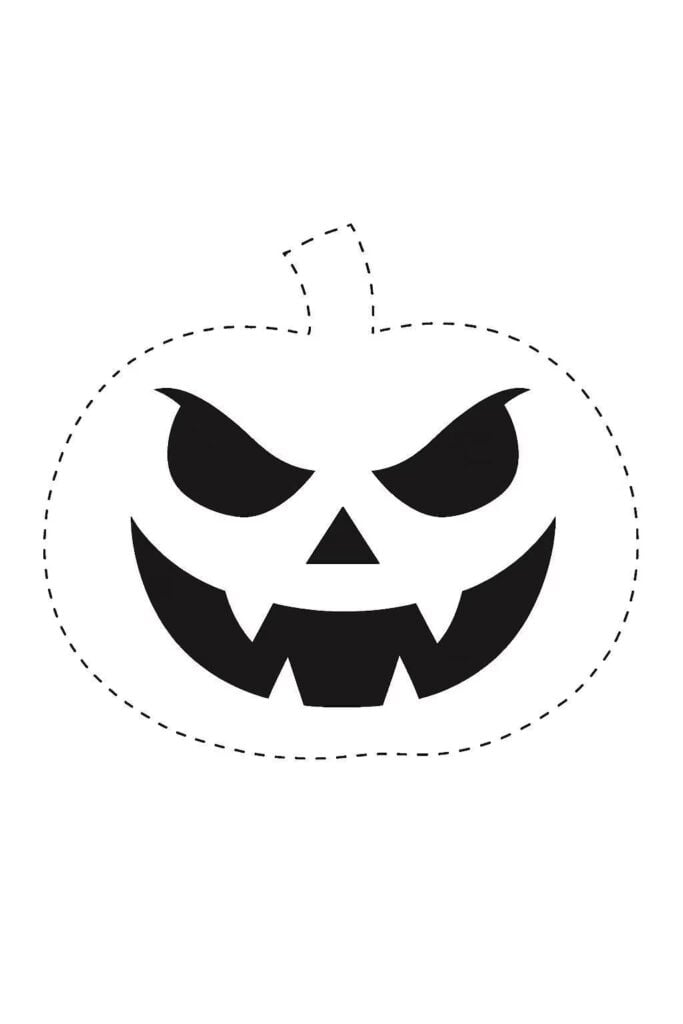
Getting the eyes, nose and mouth in the right position can be difficult when carving a pumpkin.
Cricut stencils make it easier to transfer a design onto the pumpkin before cutting, especially when children have a particular face or pattern in mind.
Choose simple faces or Halloween shapes and cut them from stencil material. Position the stencil on the pumpkin, then trace the openings with a washable marker. Children can help choose and trace the designs, while an adult handles the carving.
5. Please Knock Softly Door Hanger
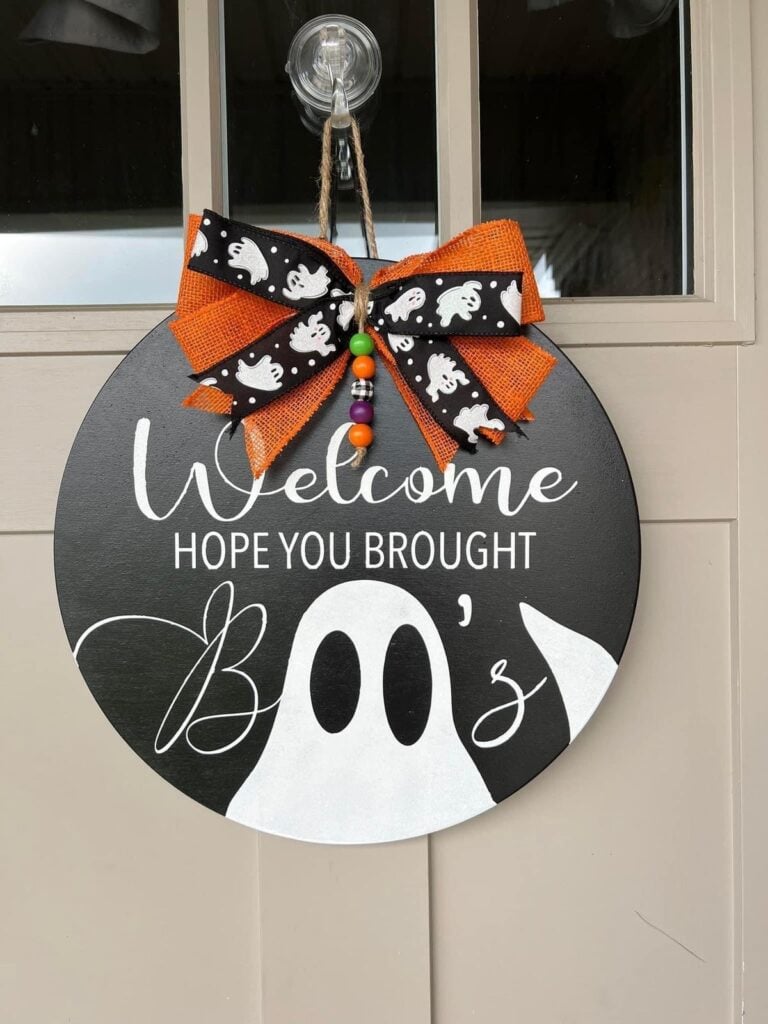
Repeated doorbell ringing can disturb sleeping babies, frighten pets or interrupt a quiet evening at home. A Halloween door hanger with a polite message gives visitors another way to announce their arrival.
Cut a hanger shape from sturdy cardstock and add wording such as “Please Knock Softly” or “Baby Sleeping.”
Keep the message short and visible from the doorstep. For repeated outdoor use, choose a weather-resistant blank rather than ordinary paper cardstock.
Cardstock is useful for making everything from greeting cards to decorative pieces. 27 Easy Cricut Projects Using Cardstock offers more paper-crafting ideas to try.
6. Reversible Trick-or-Treat Treat Station Sign
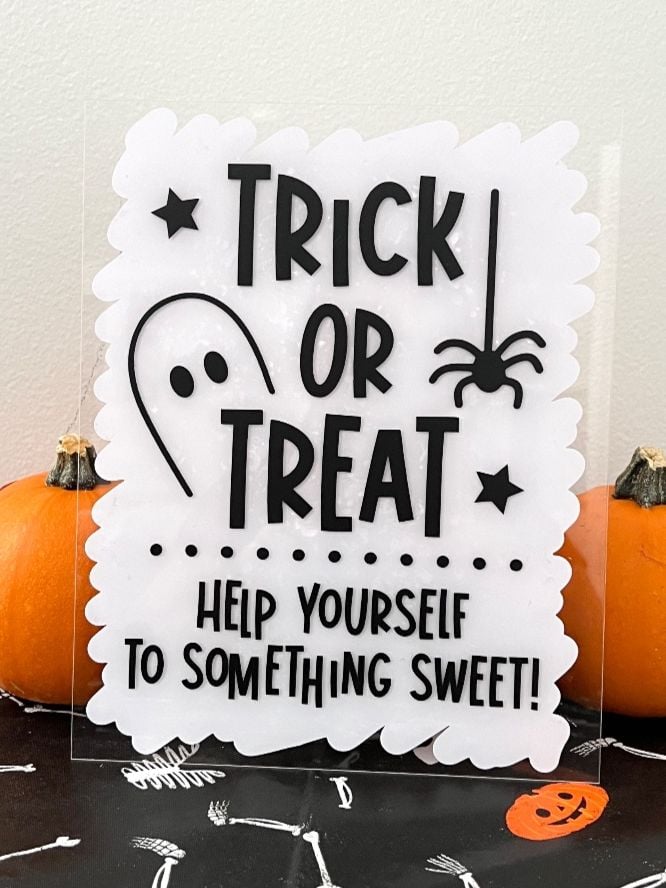
Outdoor treat stations are convenient for households that cannot stay by the door throughout Halloween night. However, visitors may keep approaching even after the treats have run out.
A reversible sign makes the situation clear without requiring someone to keep answering the door.
Cut two messages, “Treats Available” and “Sorry, We’re Out,” and place them on opposite sides of a sturdy sign. Mount it on a small stand or hang it where visitors can easily see and turn it around when the treats are finished.
7. Halloween Pumpkin Patch Markers
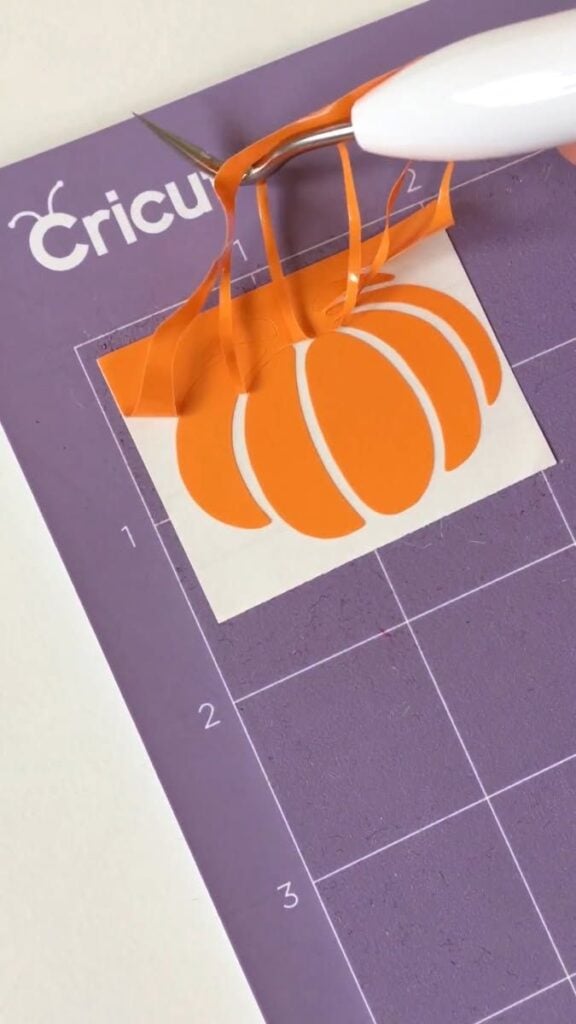
Pumpkin patch displays can become confusing when different varieties, prices or activities are arranged in the same area.
Clearly labelled markers help visitors identify what they are looking at without having to ask for every detail.
Use your Cricut to cut short labels such as “Mini Pumpkins,” “White Pumpkins” or “Pick Your Own.” Apply permanent vinyl to suitable weather-resistant markers and place them beside the correct displays.
For outdoor events, check that the marker material and vinyl can withstand the expected weather.
8. Trunk-or-Treat Display Header
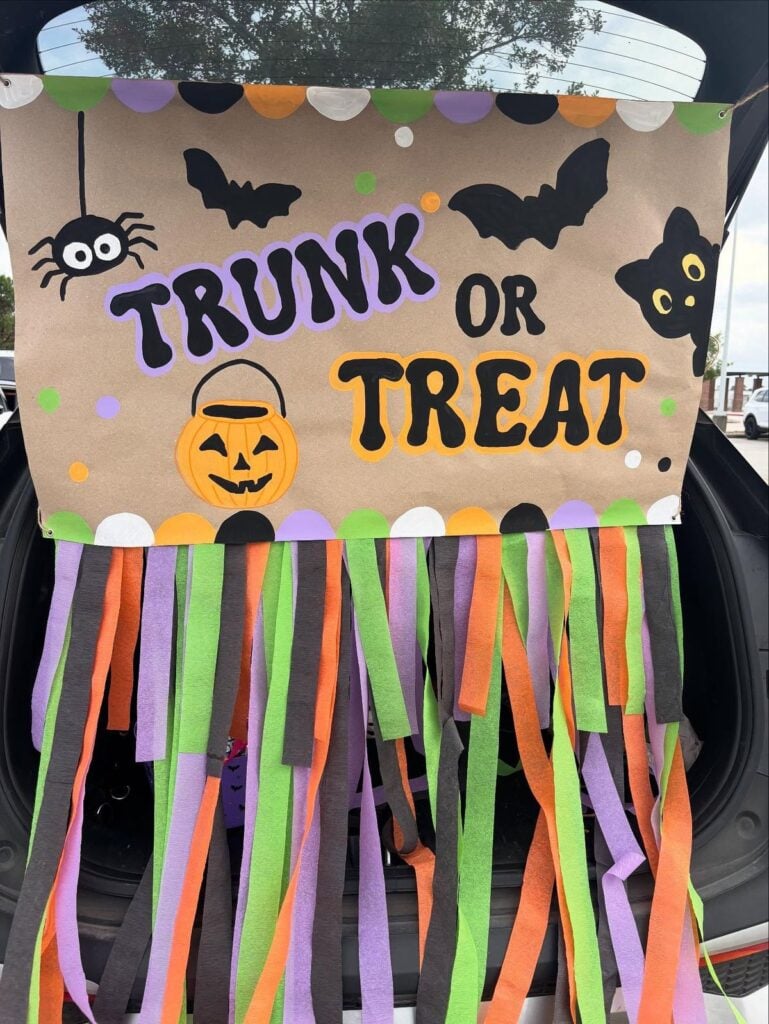
Trunk-or-treat events often have several decorated vehicles arranged in one parking area.
A themed header helps visitors recognise your display, especially when the decorations follow a particular story, colour scheme or Halloween character.
For this easy Cricut project for Halloween, cut large lettering from adhesive vinyl and apply it to a lightweight board.
Keep the wording short, such as “Monster Candy Stop” or “Witch’s Treat Station,” and make sure the board can be secured without blocking the vehicle’s number plate or obstructing the driver’s view.
Holiday crafting can be a lovely way to make personalised decorations and presents. 31 Easy Cricut Projects for Christmas shares more festive projects to create with your machine.
9. Trunk-or-Treat Booth Number Sign
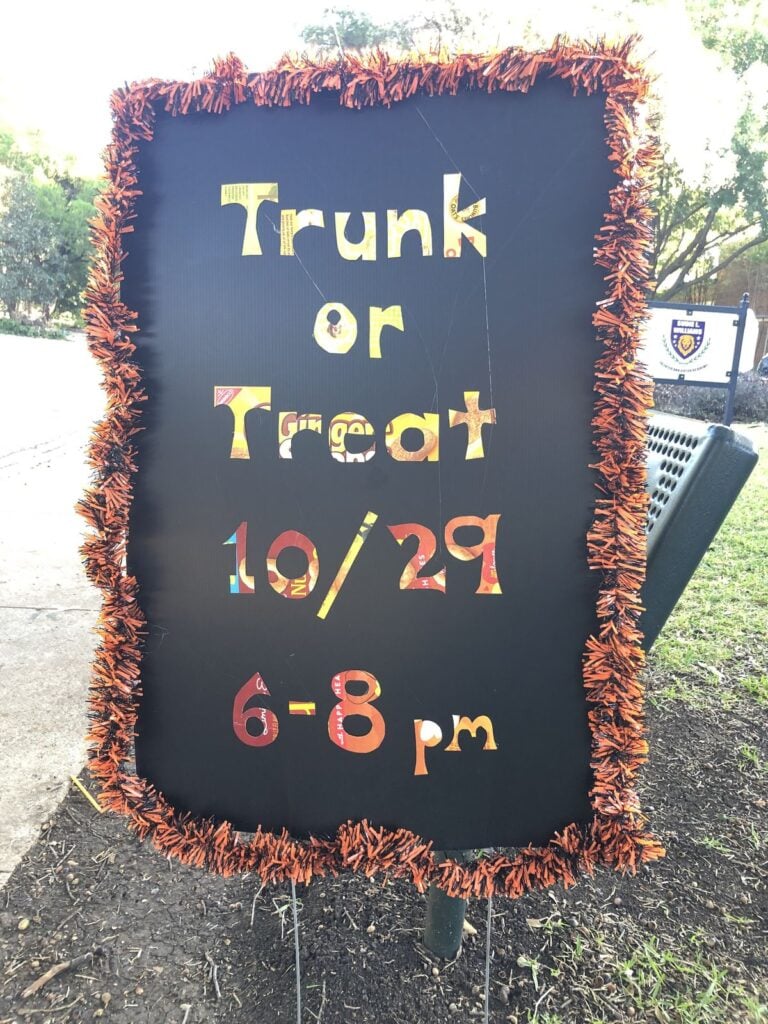
When many families participate in a trunk-or-treat event, numbered vehicles make it easier for organisers to direct visitors and manage the route.
They can also help children keep track of their progress when the event includes a numbered treat trail.
Cut large numbers from contrasting vinyl or cardstock and attach them to boards that can stand beside each vehicle. Ask the event organisers to assign the numbers before cutting so there are no duplicates or changes to the signs at the last minute.
10. Halloween Party Directional Signs
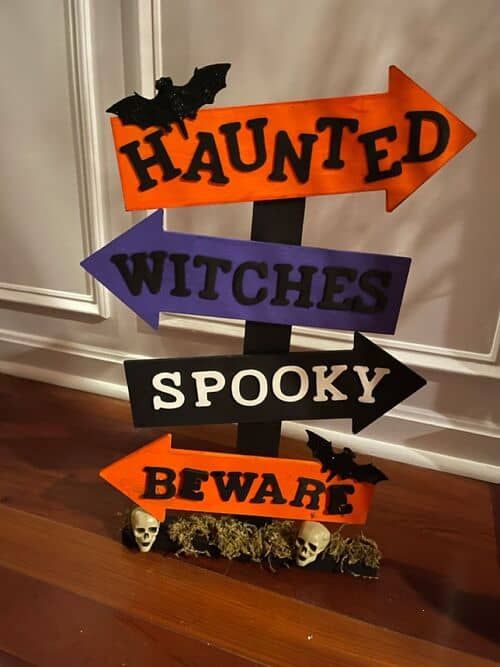
Guests should not have to search every room to find the refreshments, games or toilets during a Halloween party. Matching directional signs help visitors move around the venue without repeatedly asking the host for directions.
Cut arrow shapes and short labels such as “Games,” “Drinks” and “Photo Booth.”
Use the same lettering style across the signs, and make the arrows point in the correct direction from each location. Cardstock works for indoor displays, while outdoor signs need sturdier, weather-resistant boards.
11. Halloween Buffet Ingredient Cards
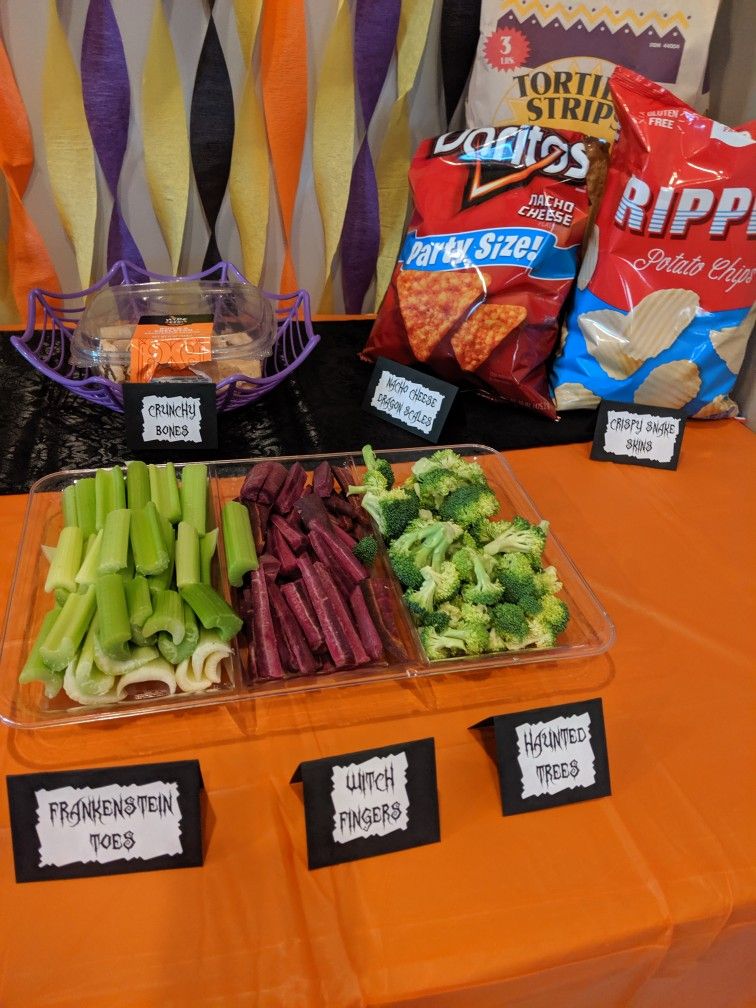
Halloween buffet tables often feature themed dishes with unusual names, making it difficult for guests to know what they contain.
Ingredient cards provide useful information, especially for people checking for specific ingredients or allergens.
Cut and fold cardstock into small tent cards, leaving enough room to write the dish name and relevant ingredients. Hosts should check recipes, packaging and ingredient labels before adding allergen information.
Avoid describing a dish as allergy-safe unless its preparation and handling have also been verified.
Cardstock is useful for making everything from greeting cards to decorative pieces. 27 Easy Cricut Projects Using Cardstock offers more paper-crafting ideas to try.
12. Halloween Drink Dispenser Tags
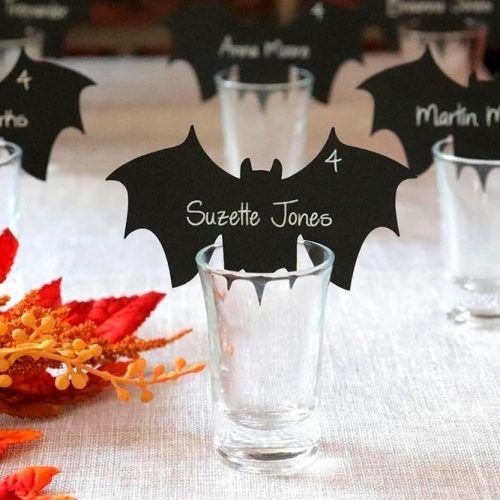
When several drinks share the same buffet table, guests may struggle to tell them apart, especially when the dispensers have similar colours or decorations.
Halloween drink tags help identify water, juice, punch and other refreshments without taking up space on the table.
Cut small tags from cardstock and attach them to pitcher handles or dispenser stands. Use clear labels rather than relying only on Halloween-themed names, so guests know what they are choosing. Keep the tags away from the drinking rim and other food-contact areas.
Anyone interested in experimenting with Infusible Ink can find inspiration in 25 Easy Cricut Projects Using Cricut Infusible Ink, featuring designs for compatible blanks.
13. Personalised Halloween Party Cup Decals
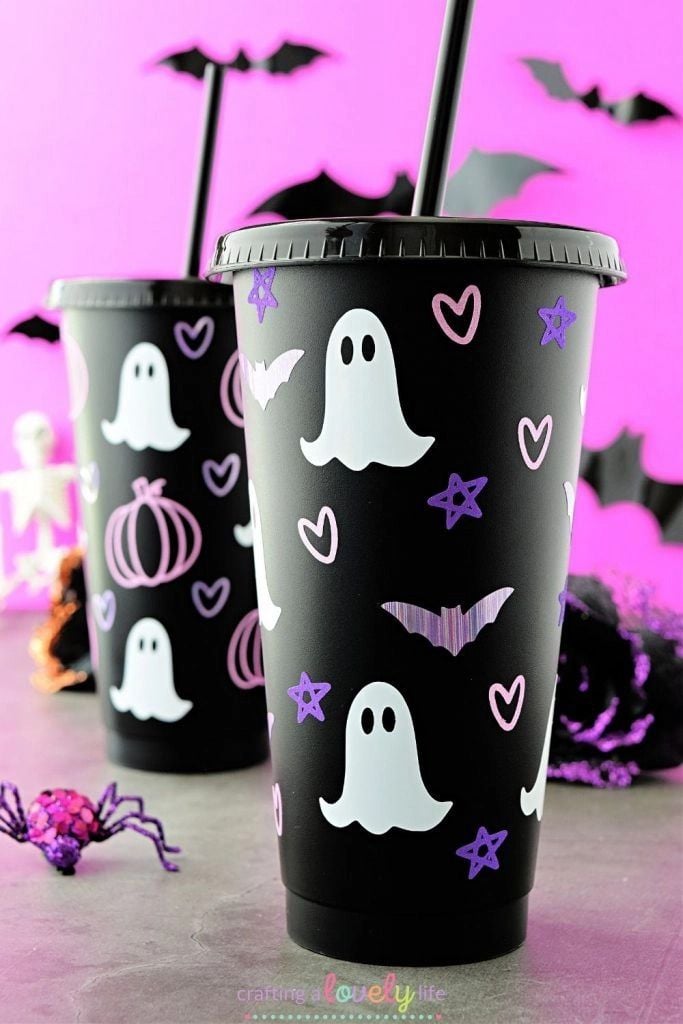
Personalised cups make it easier for guests to recognise their drinks during a busy Halloween party. They are particularly useful for children’s gatherings, where several cups may look alike after everyone has started playing games.
Cut each guest’s name or a small Halloween design from permanent adhesive vinyl and apply it to the outside of a reusable cup.
Place the decal below the rim, and check the vinyl manufacturer’s care instructions before washing or reusing the cups.
14. Halloween Table Place Cards
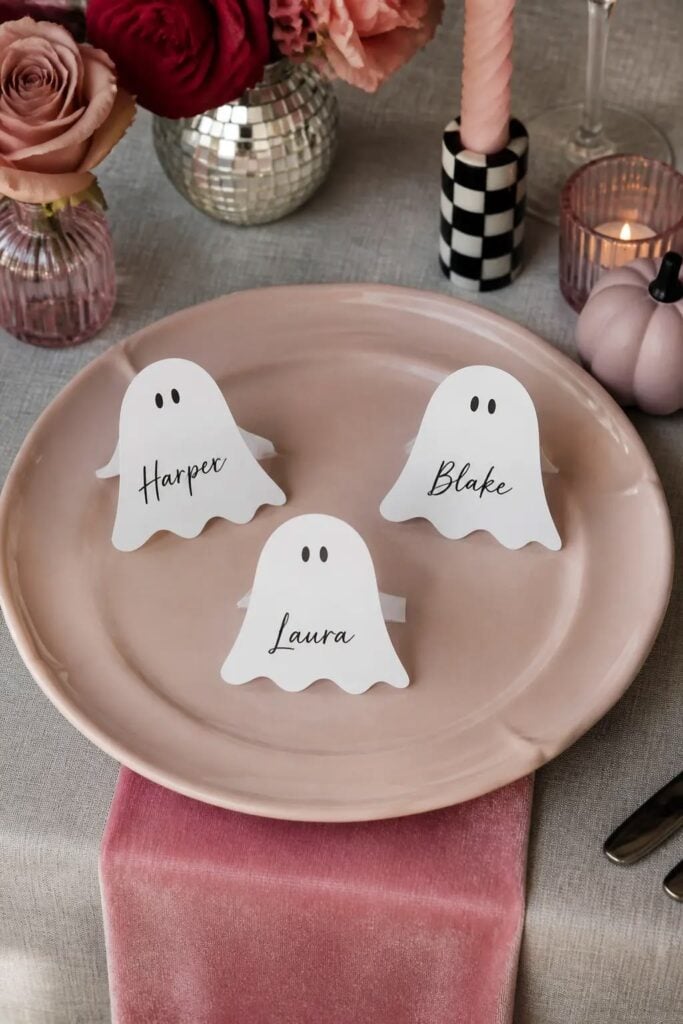
Table place cards help guests find their assigned seats at Halloween dinners, school celebrations or themed family gatherings. They can also make seating arrangements easier when children and adults are sharing one table.
Cut small cardstock rectangles, add each guest’s name and fold them into standing cards. A scoring tool can help create a neat fold without cracking heavier cardstock.
Leave enough space around the names so the lettering remains readable when the cards are placed on the table.
15. Halloween Popcorn Boxes
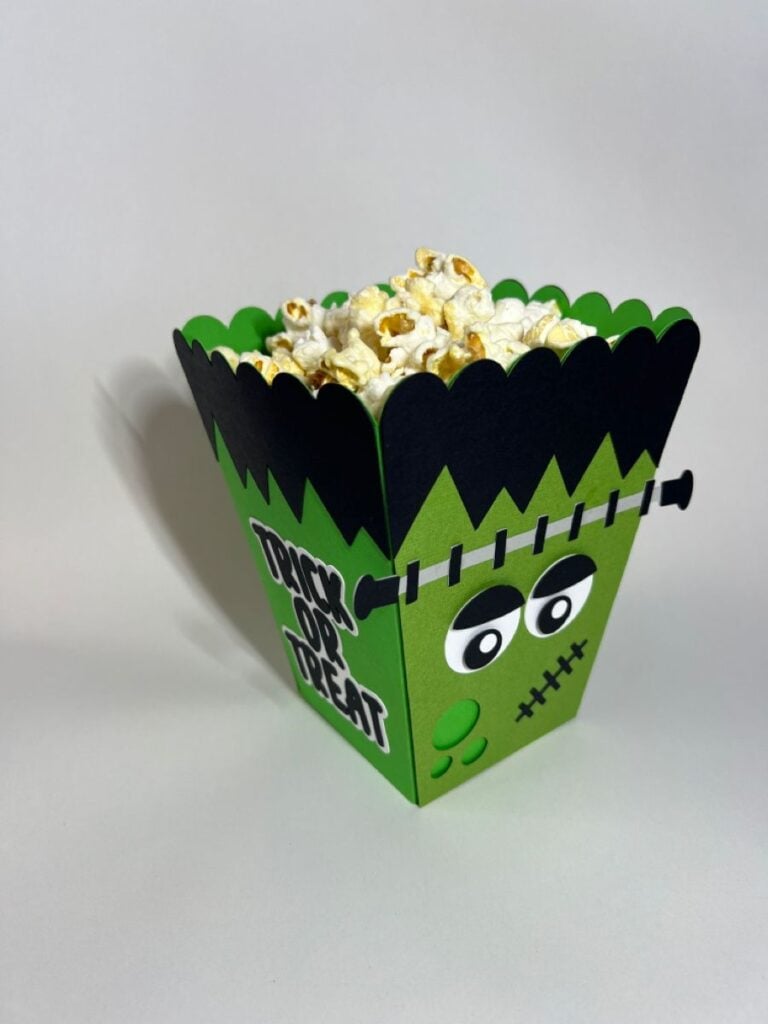
Individual popcorn boxes give guests an easy-to-carry snack during Halloween movie nights, school parties and outdoor celebrations. Unlike ordinary bowls, they can also be prepared in advance and arranged neatly on a snack table.
Use a Cricut-compatible box template and cardstock that is sturdy enough to hold the popcorn without collapsing.
Add Halloween shapes or names to personalise each box. Since ordinary craft cardstock is not necessarily food-safe, use a suitable food-safe liner between the popcorn and the box.
16. Mini Halloween Treat Cartons
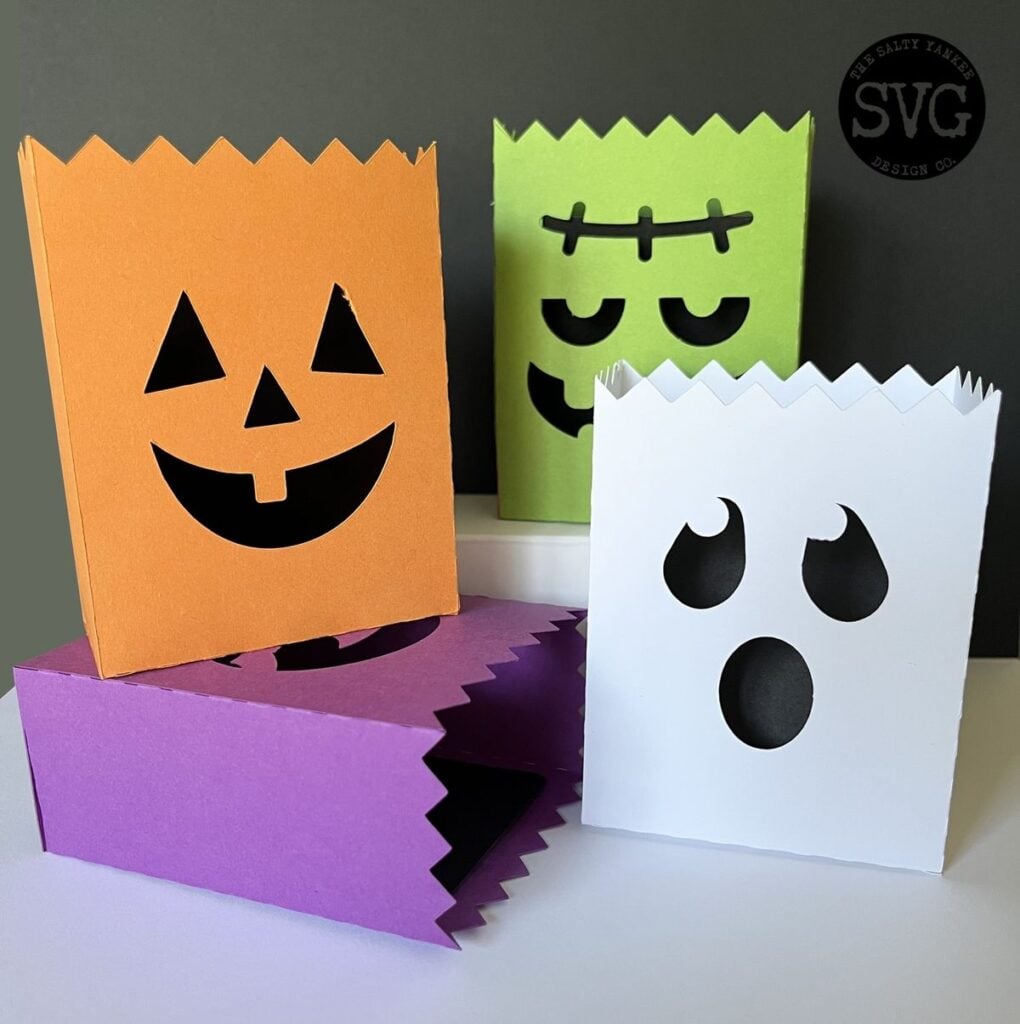
Mini treat cartons provide a neat way to package individually wrapped sweets, small toys or party favours. Their compact size makes them useful for classroom exchanges, children’s parties and Halloween gift bags.
Cut a folding carton template from cardstock, including the tabs needed to close the box.
Before making several, assemble one sample to check that the tabs fit and the contents can be removed easily. Choose a size that accommodates the wrapped treats without forcing the box open.
17. Halloween Treat Bag Toppers
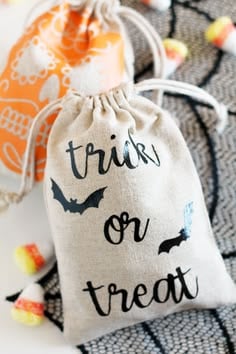
Small treat bags can look unfinished when their open edges are simply folded over or tied with string. Cardstock toppers give them a cleaner finish and provide space for a Halloween message, guest’s name or party date.
Fold a strip of cardstock over the top of a filled treat bag and secure it with staples or double-sided tape.
Cut the topper wide enough to cover the bag opening, but leave room for the closure so the contents remain secure.
Vinyl offers plenty of possibilities for personalising everyday items, and 23 Cricut Projects for Beginners Using Vinyl shares more ways to work with this material.
18. Halloween Cupcake Toppers
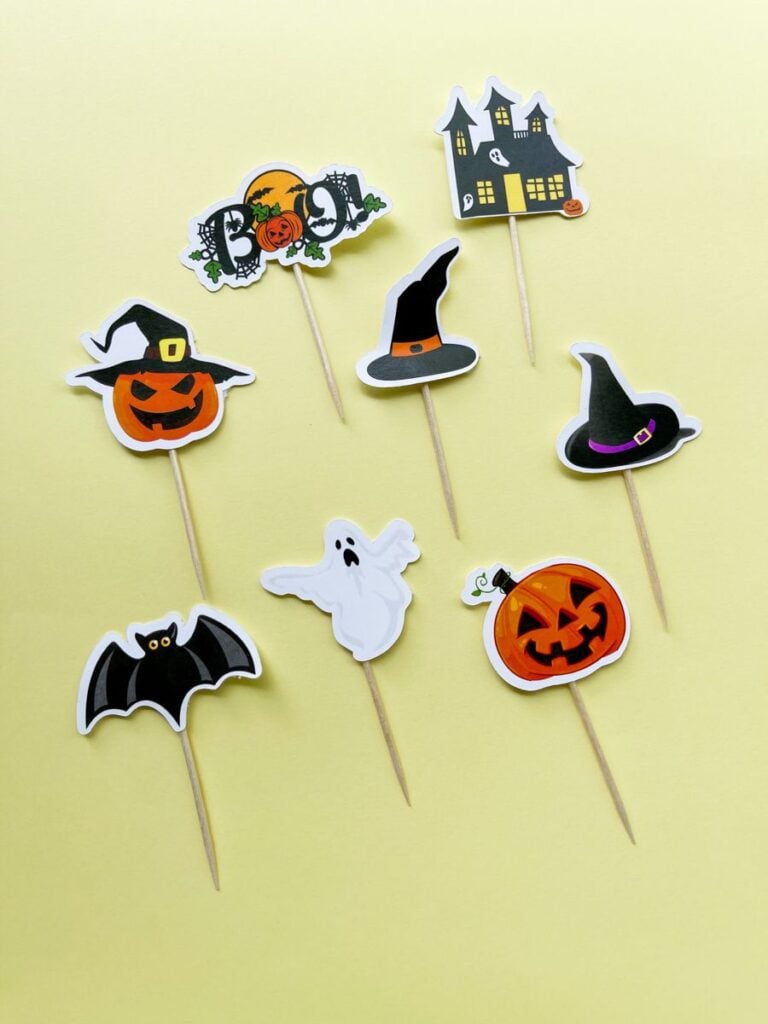
Halloween cupcake toppers add themed decorations to party desserts without requiring complicated icing designs. Ghosts, bats, pumpkins and little monster faces can all be cut into shapes that match the party’s theme.
Cut matching shapes from cardstock and attach them to suitable food-safe picks.
Keep glue and other craft adhesives away from the portion of the pick that will touch the food. Make the toppers slightly smaller than the cupcake so they do not overwhelm the decoration.
19. Printable Halloween Party-Favour Seals
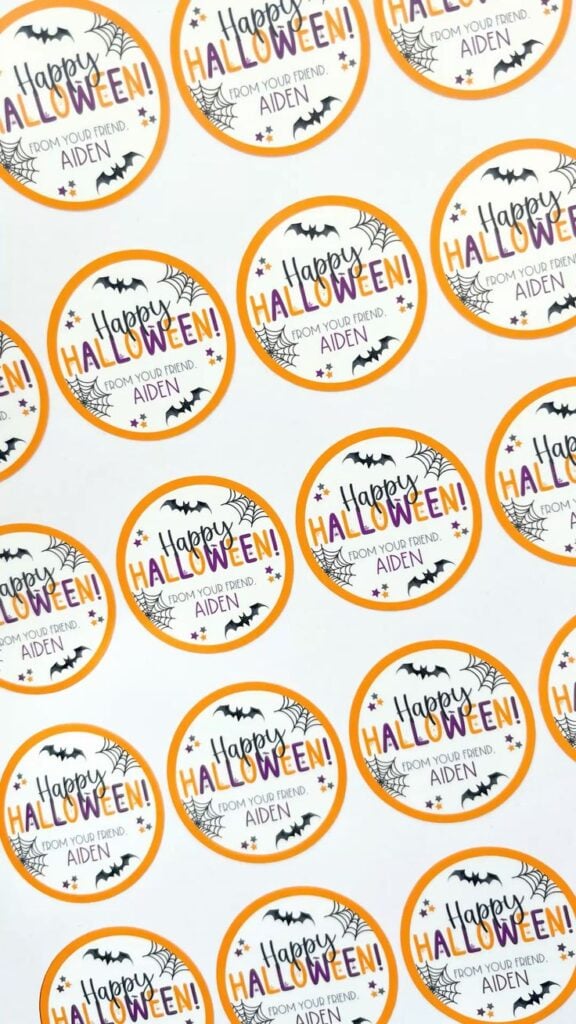
Plain favour bags and envelopes can look more coordinated with a small printed seal.
This project is especially useful when preparing several party favours, because one design can be printed and cut into multiple matching stickers.
Create a Halloween design with a short message such as “Thanks for Coming” or “Happy Halloween.” Use the Print Then Cut feature on a compatible Cricut machine and suitable printable sticker paper.
Leave enough space around each design for the machine’s cutting border, and check that your printer and sticker paper are compatible.
20. Halloween Bingo Cards
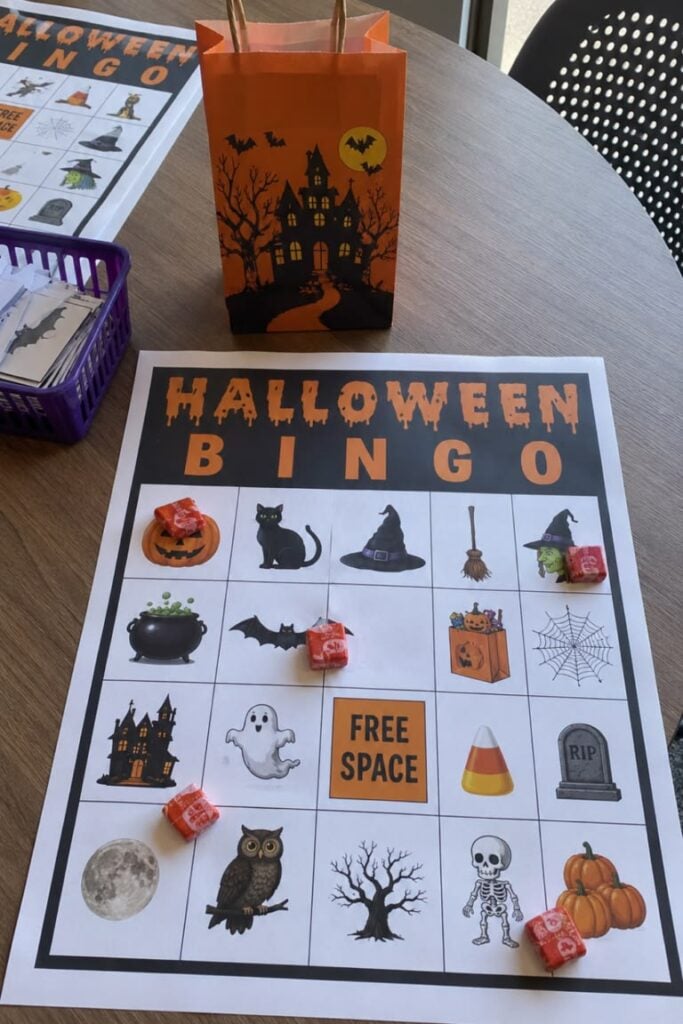
Halloween bingo is an easy group activity for classroom parties, family gatherings and community celebrations. Instead of numbers, the cards can feature pumpkins, witches, bats, candy corn, skeletons and other familiar Halloween images.
Use your Cricut to cut or draw the pictures and prepare several different card layouts. Change the position of the images on each card so players do not all win at the same time.
For this easy Cricut project for Halloween, cardstock makes sturdy cards that can be reused, while small paper markers or buttons can serve as playing pieces.
Turning your crafting skills into extra income starts with choosing products people may want to buy. 25 Easy Cricut Projects to Make and Sell for Extra Money offers ideas to consider for a small business.
21. Halloween Scavenger Hunt Clue Cards
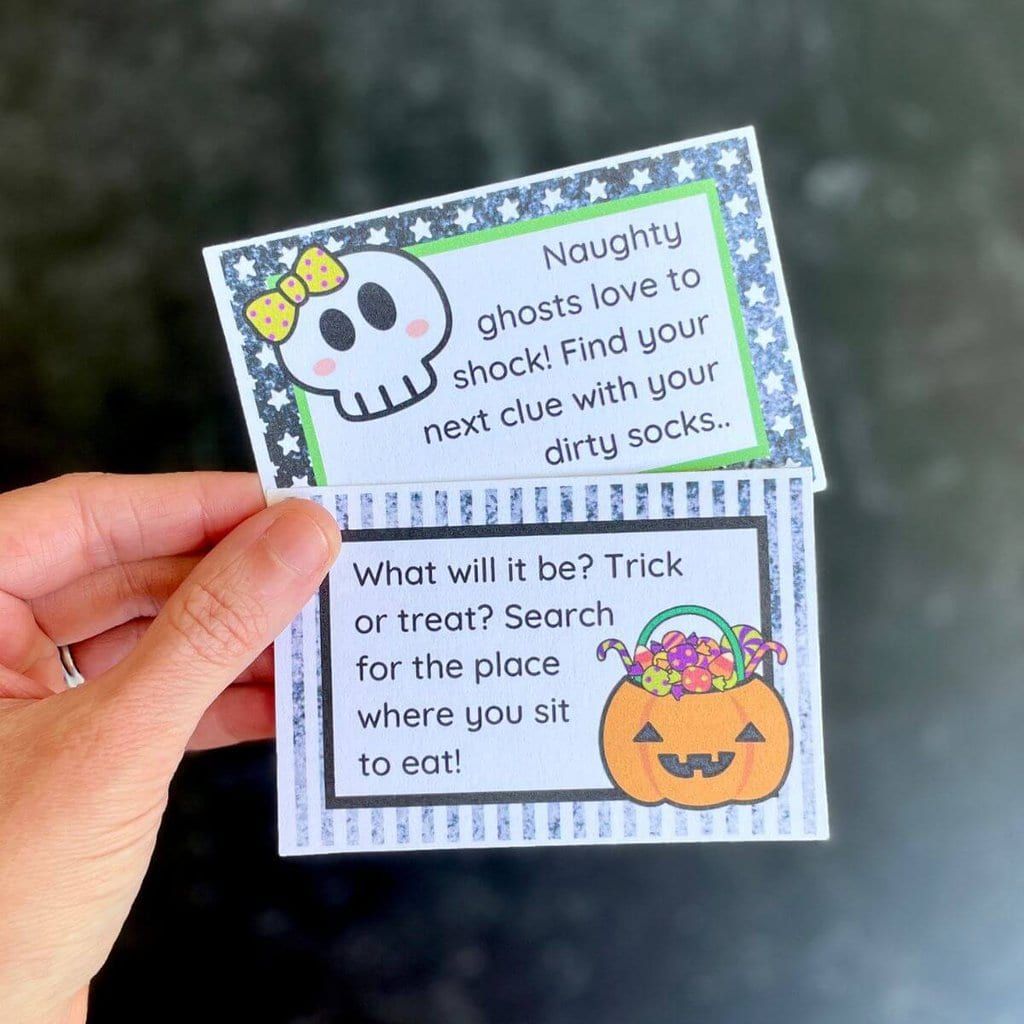
A Halloween scavenger hunt gives children a reason to move around and search for hidden objects rather than spending the entire party in one place.
The clues can lead them to pumpkins, paper bats, toy spiders or small treat bags hidden around the venue.
Cut matching clue cards and number them in the order children should follow. Use simple descriptions for younger participants and riddles for older children.
For a group activity, prepare enough copies or divide the players into teams so everyone gets a chance to solve the clues.
22. Halloween Charades Cards
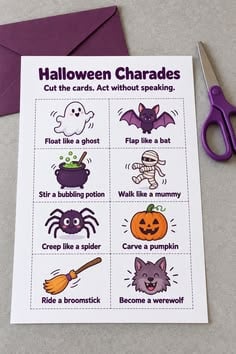
Charades is useful when a party needs an activity that does not require special equipment or much preparation. Players pick a card and act out the word without speaking, while everyone else tries to guess it.
Create a deck of Halloween prompts such as “flying bat,” “carving a pumpkin,” “walking like a zombie” and “trick-or-treating.”
Sort the cards into easy and challenging groups to accommodate different ages. You can also use different cardstock colours to help players identify the difficulty level.
23. Costume Contest Voting Cards
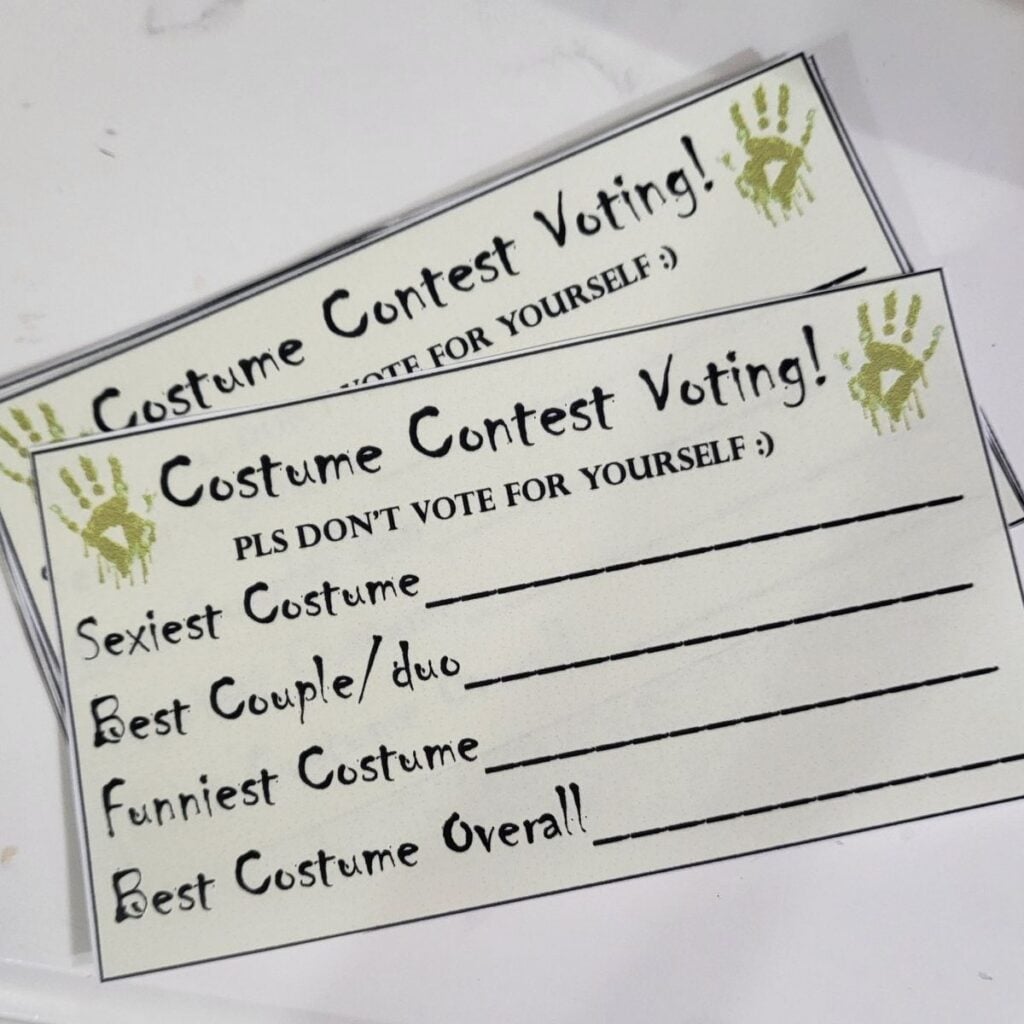
Costume contests can become confusing when everyone votes for different reasons or several participants receive the same type of award. Voting cards give the event a simple structure and help organisers decide winners fairly.
Cut small ballots with agreed categories such as “Funniest Costume,” “Most Creative Costume” and “Best Group Costume.” Give each voter clear instructions and provide a decorated box for collecting completed ballots.
For children’s events, consider separate age groups so younger participants are not competing directly with much older children.
Beginners interested in making products for customers can get more inspiration from 21 Simple Cricut Projects for Beginners That Actually Sell.
24. Halloween Mystery Touch-Box Clue Cards
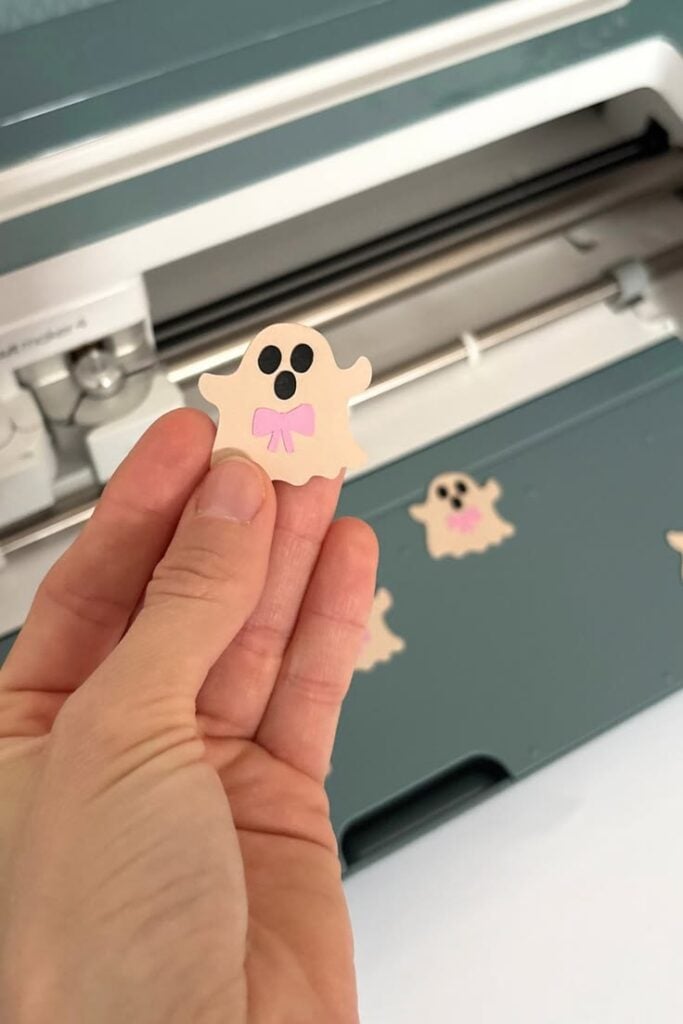
A mystery touch-box game challenges participants to identify objects without seeing them. It can add excitement to Halloween parties, particularly when the objects are familiar but hidden inside covered containers.
Use your Cricut to make illustrated clue cards showing possible answers or giving hints about each object.
Fill the boxes with safe items such as a soft toy spider, a clean sponge or a peeled grape, and let players guess what they are touching.
Check every item beforehand for sharp edges, choking risks and hygiene, especially when young children are playing.
25. Halloween Photo Booth Props
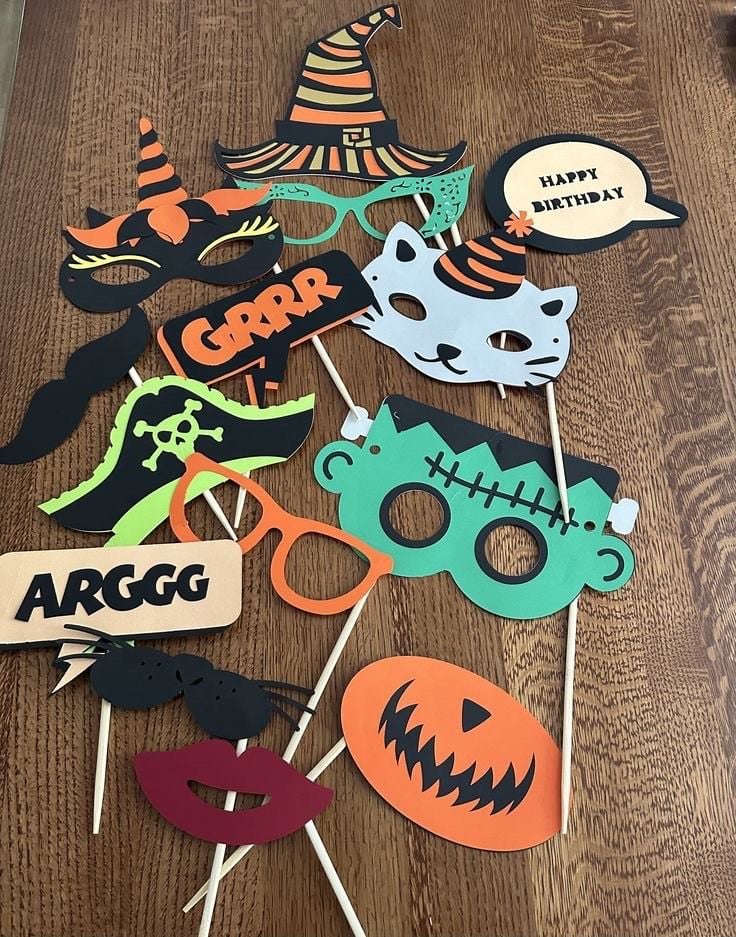
Photo booth props give guests something fun to hold while taking Halloween pictures.
Instead of relying on costumes alone, participants can pose with speech bubbles, monster eyes, witch hats, spooky glasses and funny phrases.
Cut the shapes from sturdy cardstock and attach them to smooth wooden or paper handles with suitable craft adhesive. Keep the handles short enough to control easily, and avoid sharp or pointed edges near faces.
Making several matching props also gives guests more combinations to use in their photographs.
Add More Halloween-Specific Cricut DetailsMake Each Project More Distinct
26. Personalised Trick-or-Treat Tote Bags
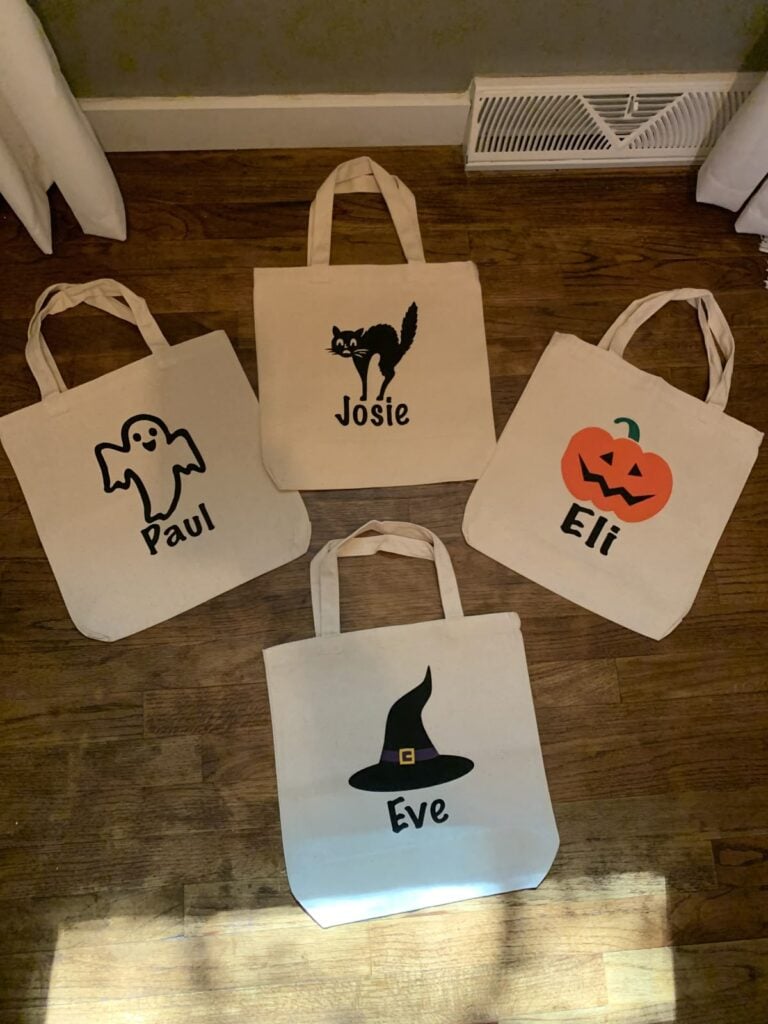
Reusable trick-or-treat bags are a practical alternative to disposable plastic bags, especially for children who collect sweets from several homes.
Personalising each bag also makes it easier to identify among other children’s belongings at school or community events.
For this easy Cricut project for Halloween, cut names, pumpkin faces or character graphics from heat-transfer vinyl (HTV) and apply them to suitable cotton canvas bags.
A Cricut EasyPress or compatible heat press can help apply even heat across the design. Check the bag’s fabric composition and the HTV instructions before pressing.
27. Glow-in-the-Dark Costume Details
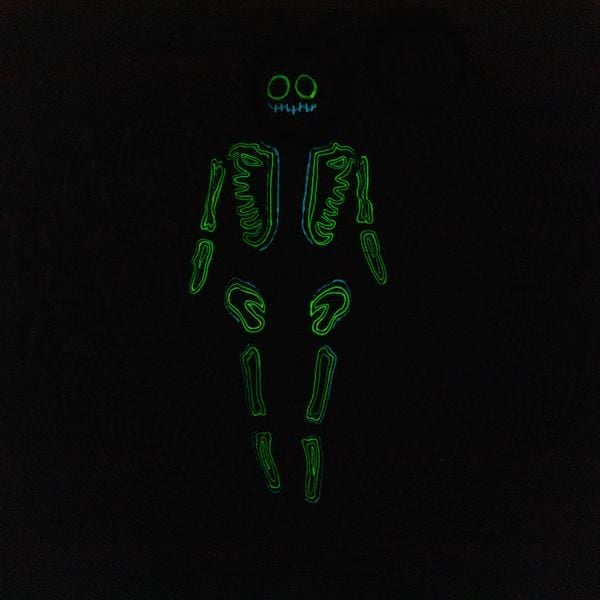
Glow-in-the-dark details add an interesting effect to Halloween costumes when the lights go down.
Small moons, stars, bones and ghost shapes can decorate sleeves, capes or other suitable fabric accessories without covering the entire outfit.
Cut the shapes from glow-in-the-dark HTV and apply them according to the material’s heat instructions. Cricut states that its glow-in-the-dark iron-on material can glow for approximately 20–30 minutes before it needs to recharge under light.
This effect is decorative, so children should still wear appropriate reflective clothing and carry a flashlight when trick-or-treating.
Simple projects are a good starting point when learning to use a Cricut machine. 22 Easy Cricut Projects for Beginners You Can Make at Home provides more ideas to practise with.
28. Halloween Costume Cape Emblems
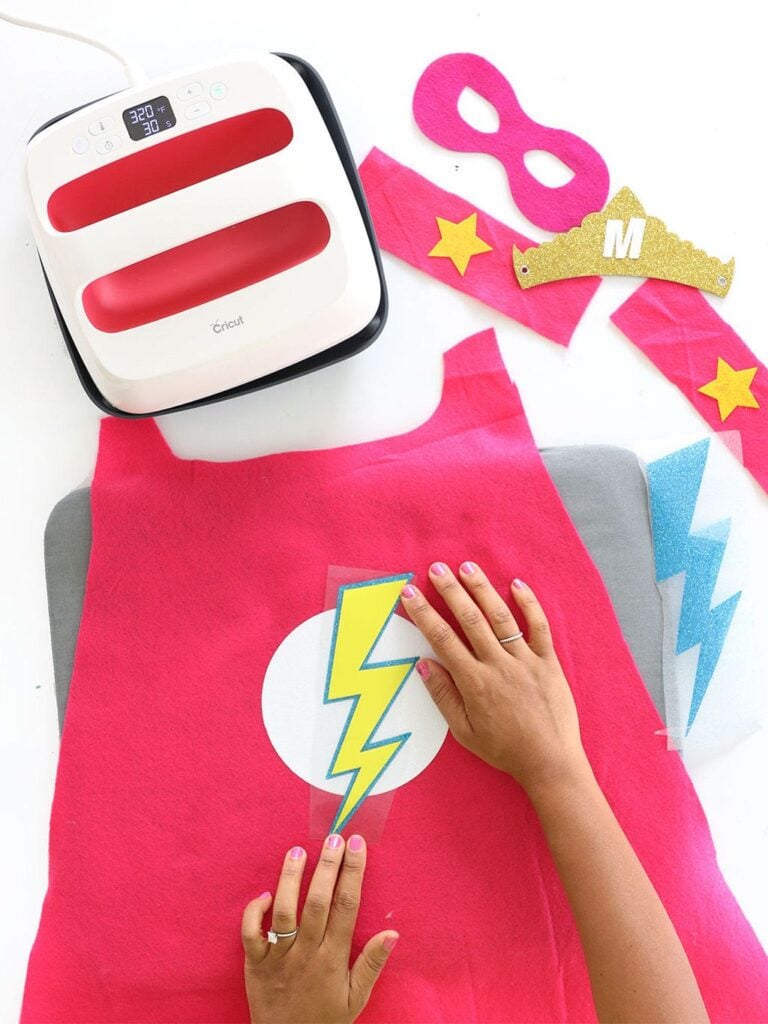
A plain cape can become part of a superhero, witch or monster costume with a distinctive emblem.
Rather than buying a completely new costume, families can personalise a cape they already own with a symbol that matches the character.
Design a lightning bolt, spider, bat or custom initial in Cricut Design Space and cut it from HTV. Place the emblem on the back or chest of the cape, depending on the design.
Test the fabric’s heat compatibility first, particularly with polyester or delicate costume materials that may be damaged by high temperatures.
29. Costume Accessory Storage Pouch Labels
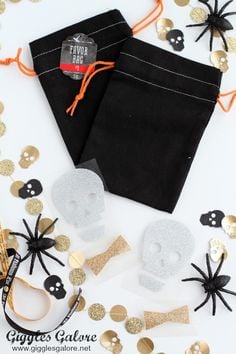
Costume accessories are easy to misplace once Halloween celebrations are over. Masks, gloves, wigs, headbands and other small pieces can end up in different drawers, making it difficult to find everything when the next dress-up event arrives.
Personalised pouch labels give each costume or accessory group a designated storage place.
Cut short labels such as “Witch Accessories,” “Superhero Gear” or “Masks and Headbands” from adhesive vinyl and apply them to suitable fabric or plastic pouches. Clear wording makes it easier for children to help pack away their belongings.
30. Halloween Pet Bandanas
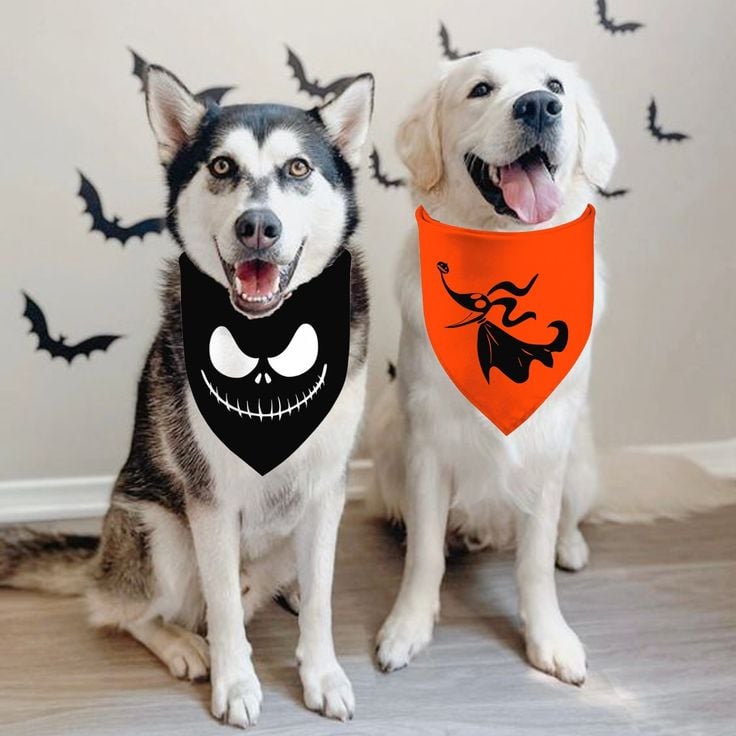
Pets can join the Halloween fun with a simple seasonal bandana featuring a pumpkin, bat, ghost or other small design.
This is a less complicated option than dressing an animal in a full costume, particularly for pets that dislike restrictive clothing.
Cut a small design from HTV and apply it to a suitable fabric bandana.
Keep the decoration flat and away from the neck fastening, and make sure the bandana does not restrict movement or breathing. Supervise your pet while wearing it and remove it if the animal shows discomfort or tries to chew the fabric.
New users can also build their confidence with the projects in 19 Easy Cricut Projects for Beginners.
31. Halloween Visual Schedule Board
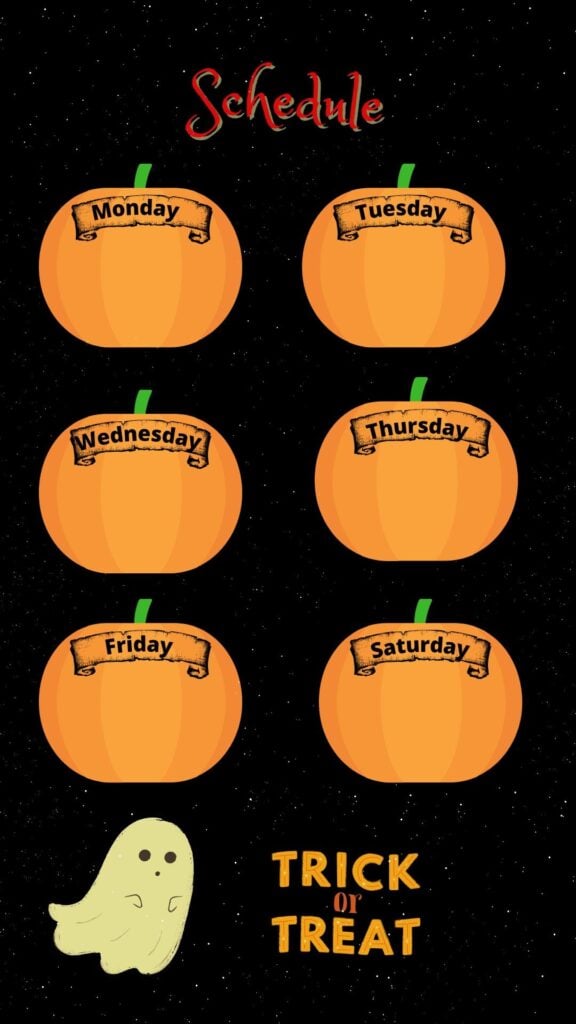
Halloween can involve several changes to a child’s usual routine, from wearing a costume to attending a party or visiting neighbours.
A visual schedule makes the order of planned activities easier to see instead of relying entirely on verbal reminders.
Create picture cards showing activities such as getting dressed, eating dinner, putting on shoes, visiting neighbours and returning home.
Attach them to a board using hook-and-loop fasteners so the order can be changed as plans develop. Use pictures and wording the child already understands, and leave room for unexpected changes.
32. Trick-or-Treat Communication Cards
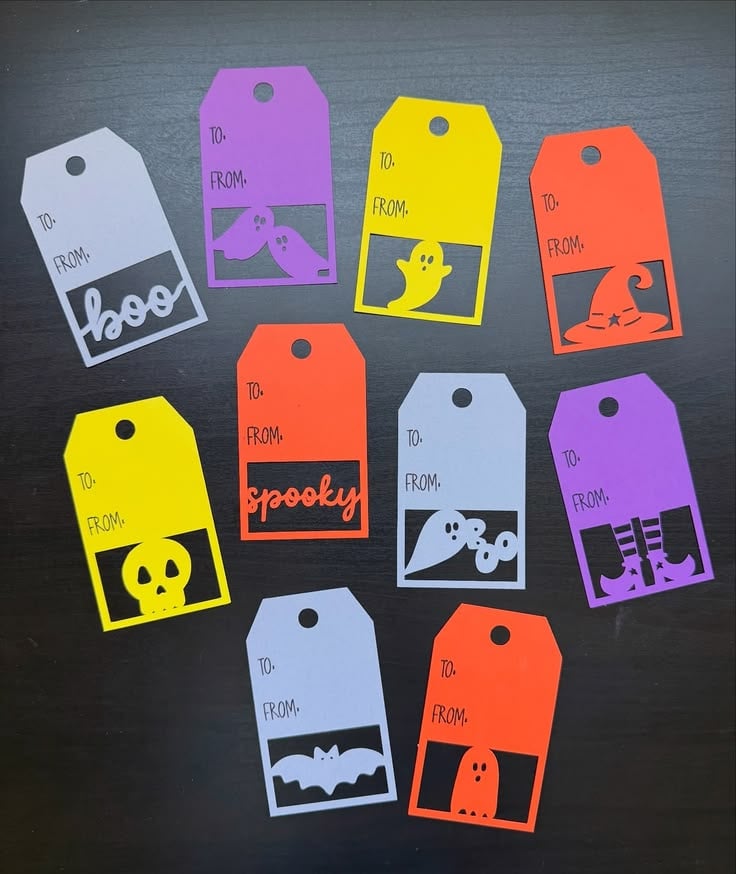
Not every child communicates comfortably with strangers or in noisy Halloween environments.
Picture-based communication cards offer another way to express simple messages without having to say them aloud.
For this easy Cricut project for Halloween, make small cards with familiar symbols and messages such as “Trick or Treat,” “Thank You,” “No Thanks,” “Help” and “I Need a Break.”
Keep the cards together on a small ring or in an accessible pouch. Use the child’s established pictures or communication symbols where possible, rather than introducing unfamiliar images on the day.
33. Halloween Story Prompt Spinner
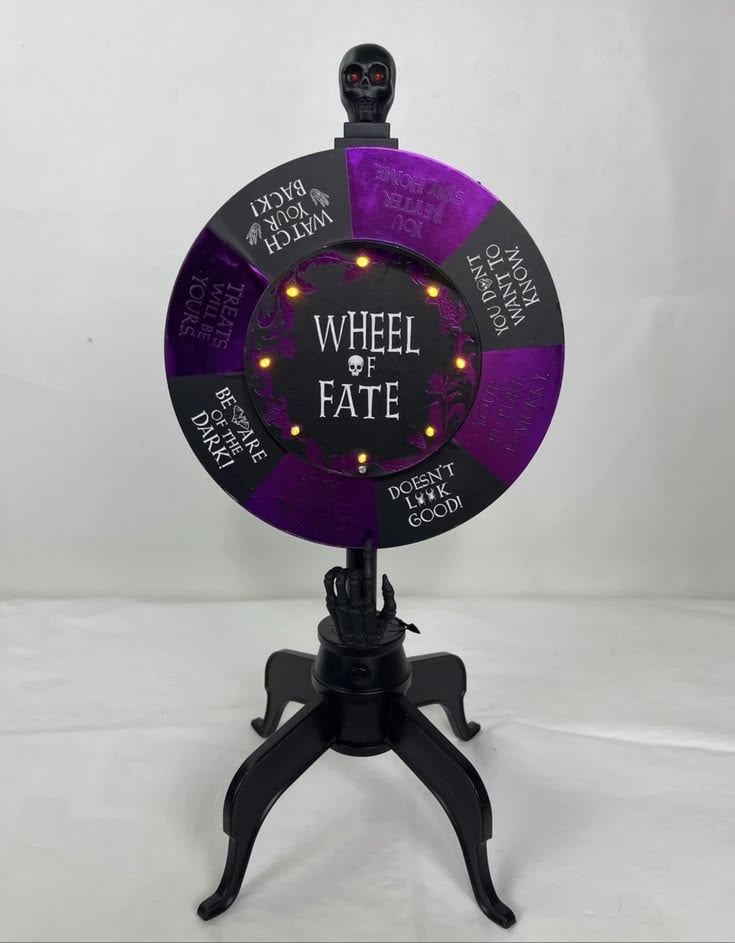
A story prompt spinner turns Halloween storytelling into a simple creative activity for children at home, in classrooms or at library events.
Instead of asking children to invent an entire story from scratch, the spinner gives them a few starting points to build around.
Divide a cardstock circle into sections for characters, settings, problems and endings. Add prompts such as “a friendly ghost,” “an old castle,” “a missing pumpkin” and “a surprise visitor.”
Cut a smaller arrow and attach it to the centre with a paper fastener so it can rotate. Children can spin each section and combine their results to create a funny or spooky story.
More gift-making inspiration is available in 33 Cricut Projects for Beginners That Make Great Personalized Gifts, with ideas for creating thoughtful presents using your machine
How Is Halloween Celebrated in Different Countries?
-
Ireland
Ireland has strong historical ties to Halloween through the ancient Celtic festival of Samhain, which marked the end of the harvest season and the beginning of winter.
Today, celebrations include bonfires, costume parties, trick-or-treating and traditional games. Barmbrack, a fruit bread sometimes containing a hidden ring, is also a popular Halloween treat.
-
United States
Halloween is widely celebrated across the United States with neighbourhood trick-or-treating, pumpkin carving, costume parties and decorated homes.
Children dress as witches, superheroes, ghosts and other characters while visiting nearby houses for sweets. Schools and communities also organise costume contests, haunted attractions and seasonal events.
-
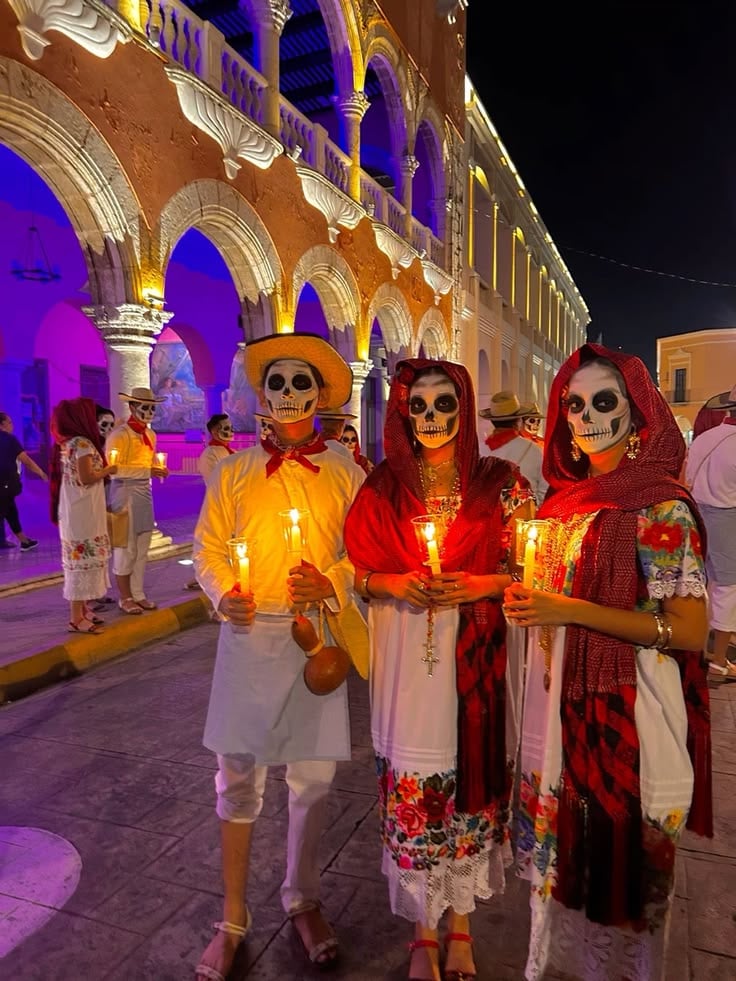
Mexico
Halloween takes place on October 31, but the season is closely followed by Día de los Muertos (Day of the Dead) on November 1 and 2. This is a distinct Mexican tradition for remembering deceased loved ones.
Families create altars called ofrendas, decorate them with marigolds and photographs, and prepare favourite foods in memory of relatives who have died.
-
Japan
Halloween in Japan is especially associated with creative costumes, themed events and parties. Young adults often dress as anime characters, monsters and popular fictional figures.
Shopping areas and entertainment venues also feature Halloween decorations and activities, although trick-or-treating is not as widespread as it is in the United States.
- Philippines
Halloween season in the Philippines is closely connected to All Saints’ Day on November 1 and All Souls’ Day on November 2. Many families visit cemeteries to clean and decorate graves, light candles, offer prayers and spend time remembering deceased relatives.
Some communities also maintain the traditional practice of Pangangaluluwa, involving songs and prayers for departed souls.
-
Guatemala
Guatemala marks the early days of November with the Barriletes Gigantes, or Giant Kites Festival. Large, colourful handmade kites are flown near cemeteries, particularly in towns such as Santiago Sacatepéquez and Sumpango.
The tradition is connected to remembering the dead and maintaining a link between families and their ancestors.
Crafting with children can be a fun way to encourage creativity and hands-on learning. 35 Easy Cricut Projects for Kids offers age-friendly ideas for making things together.
Conclusion
Halloween traditions may differ from one country to another, but they all offer interesting ways to bring people together, celebrate local culture and remember the past.
As you plan your own celebrations, take inspiration from these traditions and add a personal touch to your decorations, costumes or family activities.
These easy Cricut projects for Halloween can also help you turn a few simple materials into something worth sharing this season.