This post is set to show 25 Quick and Easy Sewing projects for beginners.
So, you’ve got a sewing machine and a pile of fabric, but now you’re staring at it, wondering, “Where do I even start?”
Trust me, I’ve been there! Learning to sew doesn’t have to be overwhelming or time-consuming. In fact, with the right projects, it can be a fun, rewarding way to create something totally unique.
Whether you’re looking to spruce up your home decor, make thoughtful handmade gifts, or just get crafty, these 25 quick and easy sewing projects are perfect for beginners.
No fancy techniques or complicated patterns—just simple, satisfying projects that will have you stitching like a pro in no time. Ready to fire up that sewing machine? Let’s dive in and get sewing!
25 quick and easy Sewing projects for beginners
1. Envelope Pillow Cover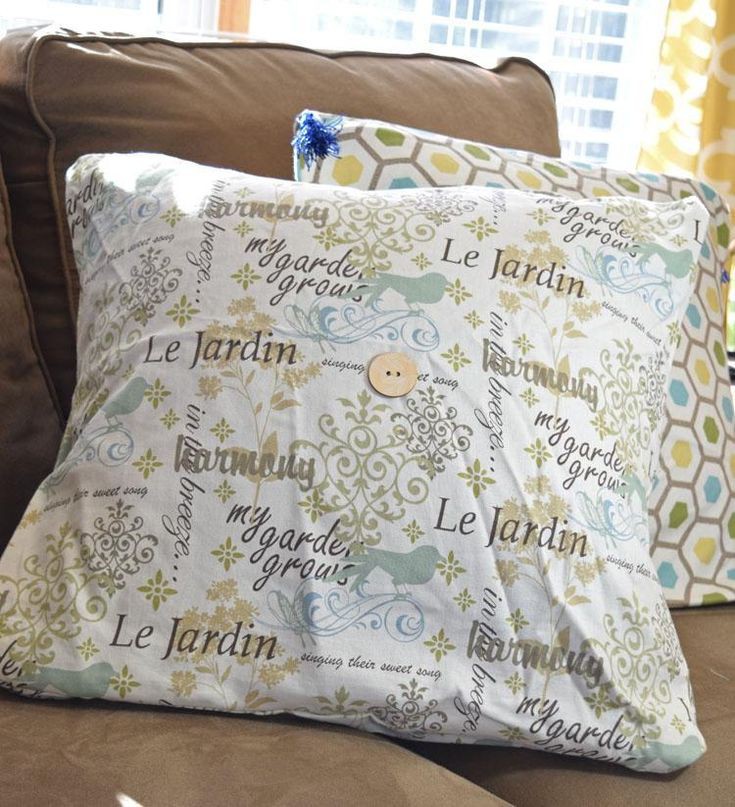
An envelope pillow cover is one of the easiest sewing projects for beginners, requiring only straight-line sewing and no zippers or buttons.
Here are the essentials you’ll need:
- Sewing machine
- Fabric scissors
- Measuring tape
- Fabric marking pen/chalk
- Pins or fabric clips
- Iron and ironing board
- Thread
- Pillow insert
Start by cutting three fabric pieces—one for the front and two overlapping pieces for the back. Sew the front to the back pieces, leaving an opening that works like an envelope so you can easily insert or remove the pillow.
The simple design allows you to experiment with different fabrics and patterns, instantly refreshing your home decor.
2. Fabric Coasters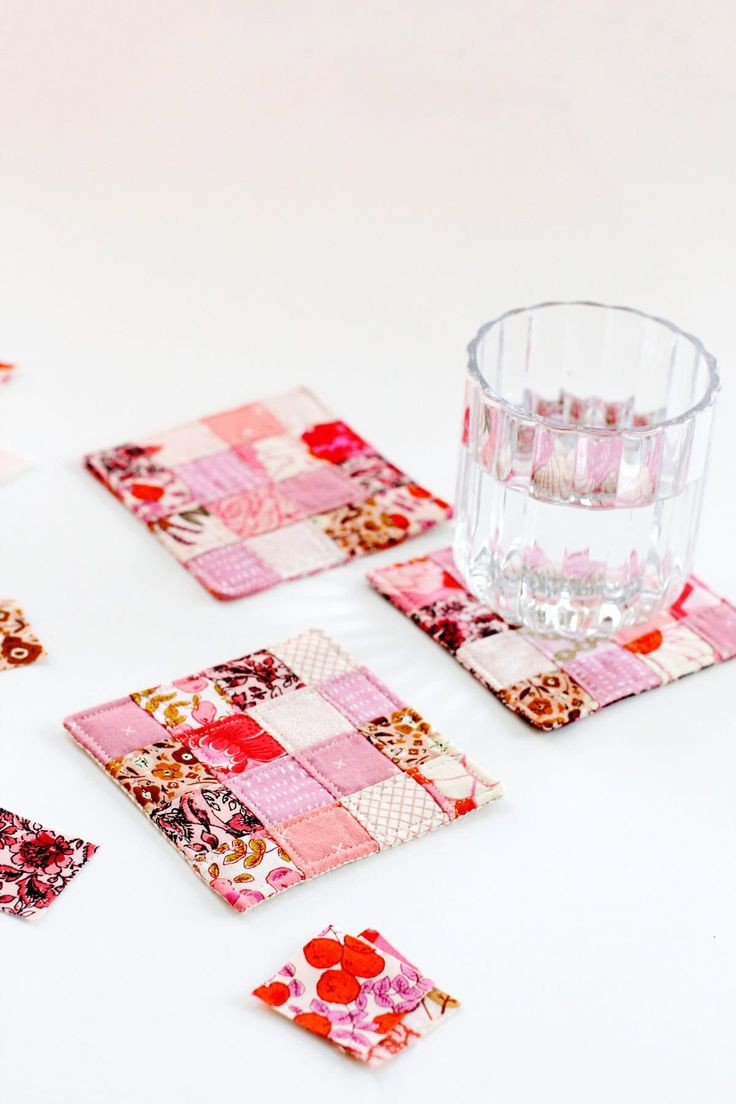
Fabric coasters are a practical and stylish way to use up fabric scraps while mastering the basics of sewing. Start by cutting two fabric squares (around 4 x 4 inches) and a piece of batting to add thickness.
Sandwich the batting between the fabric pieces, sew around the edges (leaving a small opening), and turn it inside out.
Finish by sewing a topstitch around the edge. You’ll quickly create a set of coasters that are perfect for protecting your table and practicing sewing in straight lines and turning corners.
Tools needed to create the fabric coasters
- Rotary cutter and cutting mat (for clean, uniform small shapes)
- Batting, fleece, or fusible interfacing (adds thickness/heat resistance)
- Pinking shears (nice for a decorative, fray-resistant edge)
- Template or compass (for consistent circles/squares if not using a pre-made pattern)
- Hand-sewing needle (for closing the small turning gap neatly)
3. Drawstring Bag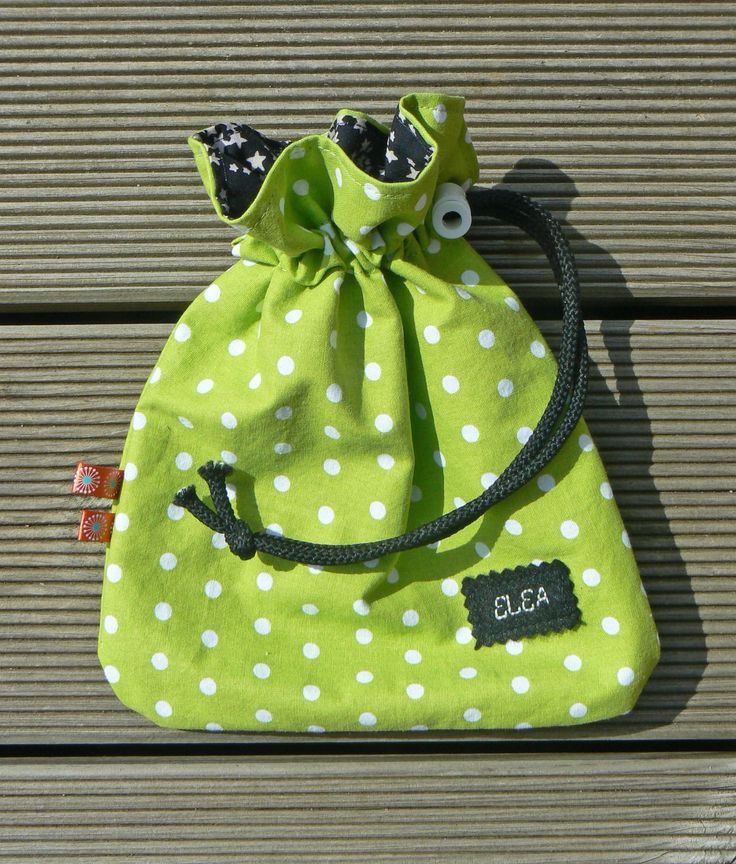
A drawstring bag is a versatile project that’s ideal for storing small items or packing for travel. Start by cutting two pieces of fabric for the bag, sew the sides and bottom, and then fold over the top to create a channel for the drawstring.
Insert the drawstring through the channel using a safety pin, and you’ve got a reusable bag for shoes, toys, or gym clothes.
Tools you’ll need to achieve this;
- Safety pin or bodkin (for threading the drawstring through the casing)
- Drawstring cord or ribbon
- Point turner (for pushing out corners cleanly)
- Fabric fusible interfacing/stabilizer (if you want a sturdier bag)
- Zigzag or overlock stitch setting on your machine (to finish raw edges and prevent fraying)
This project teaches you basic sewing techniques like hemming, and it’s simple enough to finish in under an hour.
4. Tote Bag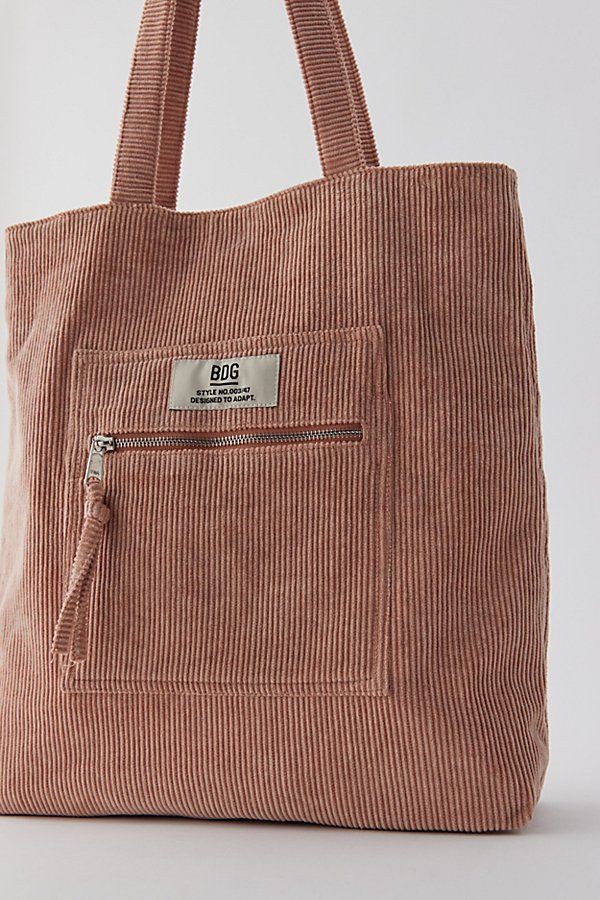
A basic tote bag is a fantastic project for beginners, giving you a chance to work on simple seams and reinforcing your confidence in sewing.
Cut two large fabric rectangles for the body of the bag and two smaller strips for the handles. Sew the body pieces together, then attach the handles.
You can add a pocket to the front or inside for extra functionality. Tote bags are endlessly customizable, and you can make them with fun fabrics or even upcycled materials like old curtains or tablecloths.
Tools you’ll need to achieve this;
- Sturdy cotton canvas fabric (easy to sew, holds shape without extra reinforcement)
- Fabric webbing or ribbon straps (pre-made, so you skip constructing handles from scratch)
- Clear ruler (helps keep straight lines when cutting a simple rectangle shape)
- Fusible interfacing (iron-on, gives structure without advanced stitching)
- Straight stitch setting on your machine (no need for fancy stitches, a simple straight seam works fine for a basic tote)
5. Scrunchies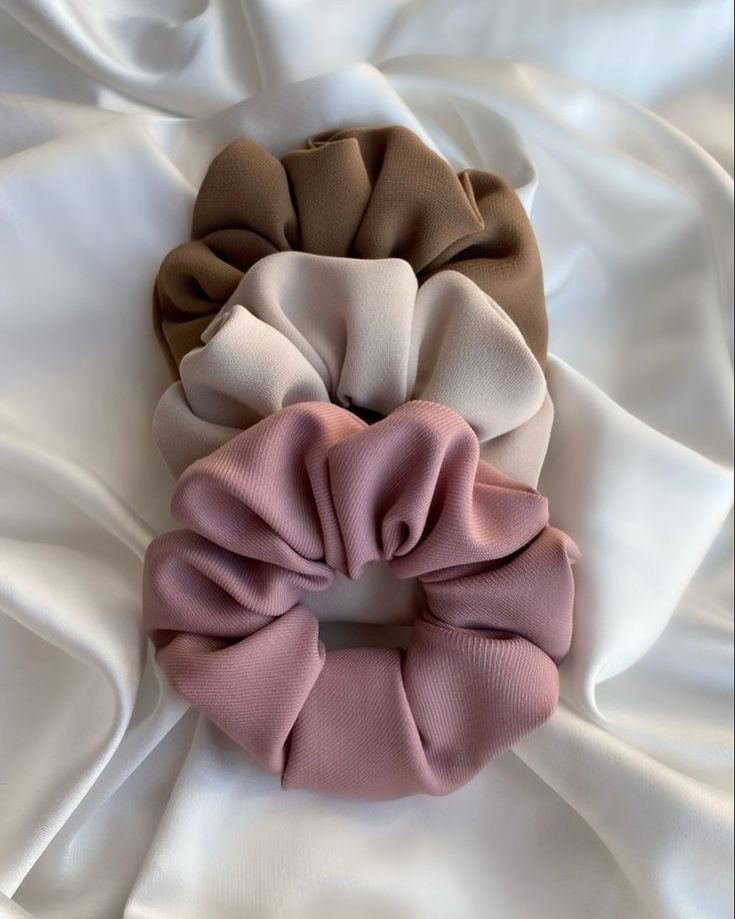
Scrunchies are an easy, beginner-friendly project that only requires fabric scraps, elastic, and a few seams. Start by cutting a strip of fabric (about 3 x 18 inches), fold it in half lengthwise, and sew the long edge.
Turn it inside out, insert a piece of elastic through the fabric tube, and sew the ends together.
Scrunchies make fun accessories and great gifts, and they’re a perfect way to practice sewing in straight lines and handling elastic.
6. Simple Fabric Headband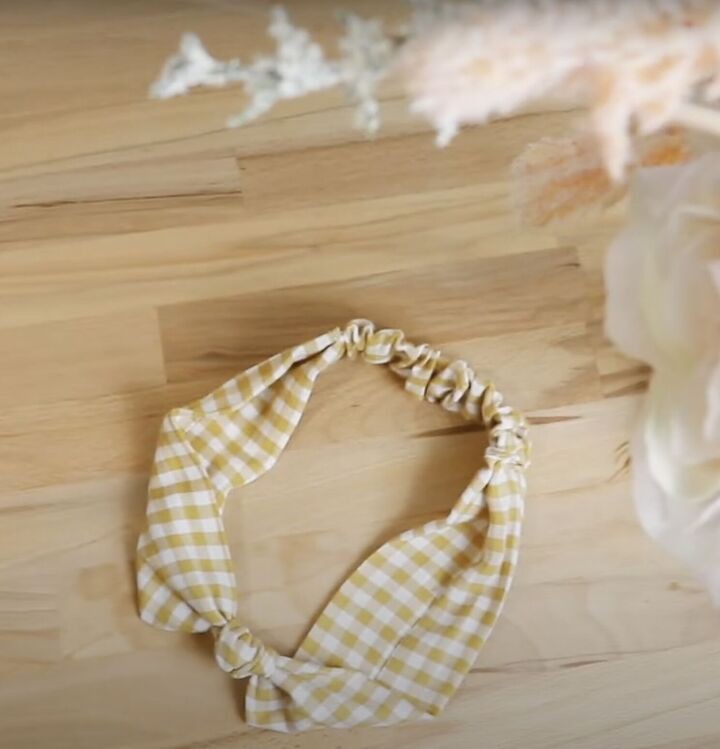
Fabric headbands are not only easy to sew, but they’re also a cute and practical accessory for keeping hair in place.
Start by cutting a fabric strip (approximately 4 x 20 inches), fold it in half lengthwise, and sew the long edge. Turn it inside out, insert a piece of elastic at the ends, and sew the ends closed.
You can make headbands with different fabrics, like cotton or jersey, to match your outfits. This quick project is a great way to practice sewing with elastic and fabric tubes.
Items you will need for this;
- Elastic band (for a stretchy pull-on style headband)
- Scrap fabric pieces (headbands use very little fabric)
7. Reusable Snack Bags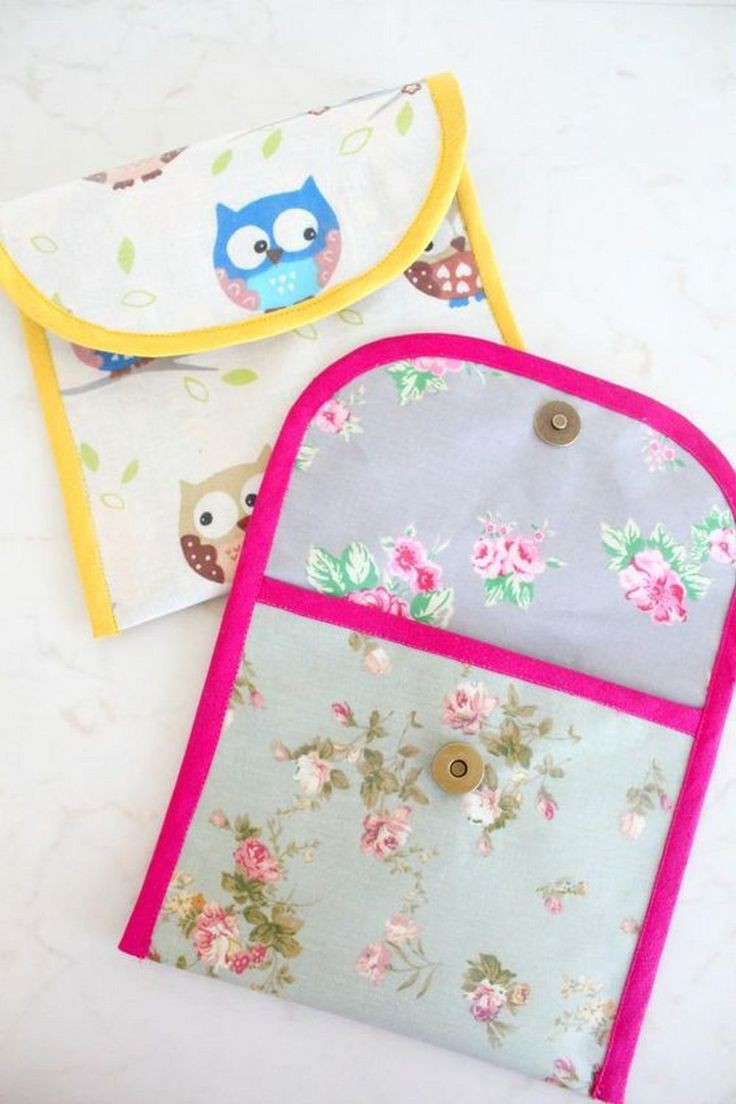
Reusable snack bags are an eco-friendly alternative to plastic bags, and they’re surprisingly easy to make.
Items you will need for this;
- Laminated cotton or PUL (polyurethane laminate) fabric, waterproof/food-safe lining
- Hook-and-loop tape (Velcro); common closure for these bags instead of a zipper
- Zipper (nylon coil or plastic, food-safe); if going the zip-top route instead of Velcro
- Teflon or non-stick sewing foot; helps your machine glide over laminated fabric without sticking
- Wonder clips (instead of pins, since pins leave holes in laminated fabric)
Start by cutting two pieces of fabric (about 7 x 7 inches) and one piece of food-safe, waterproof lining like PUL fabric.
Sew the fabric and lining together, leaving one side open for the snack. Use Velcro or snaps to close the bag. This project helps you practice working with layers of fabric and using closures, all while creating something useful.
8. Table Runner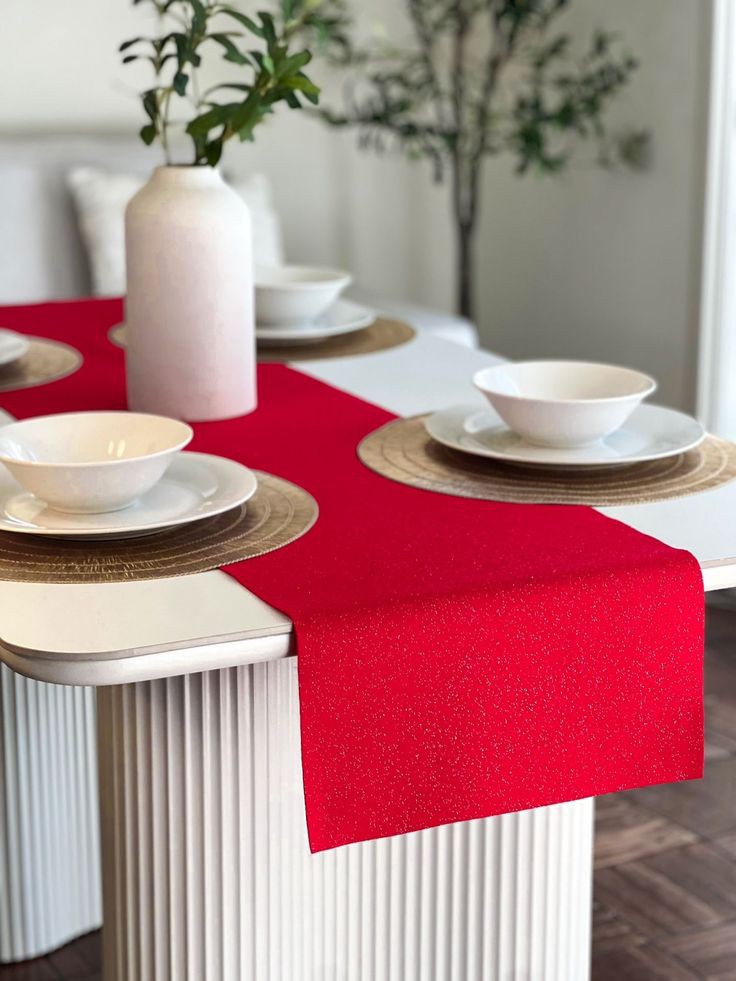
A table runner is an easy home decor project that adds a touch of style to your dining room. Measure your table and cut fabric to the appropriate length, leaving room for hems.
Fold and press the edges, then sew around the entire piece for a polished look. You can choose seasonal fabrics or elegant patterns to match your decor, making this project not only simple but also highly customizable.
Tools you will need for this;
- Long acrylic ruler or yardstick (for measuring/cutting long, straight lines accurately)
- Walking foot (helps feed multiple fabric layers evenly on a long piece, avoiding puckering)
- Mitered corner technique/tool (for clean corners if adding a border or binding)
- Fusible web tape (for basting long hems in place before sewing)
- Binding clips (or extra clips, for holding long edges in place while stitching)
9. Infinity Scarf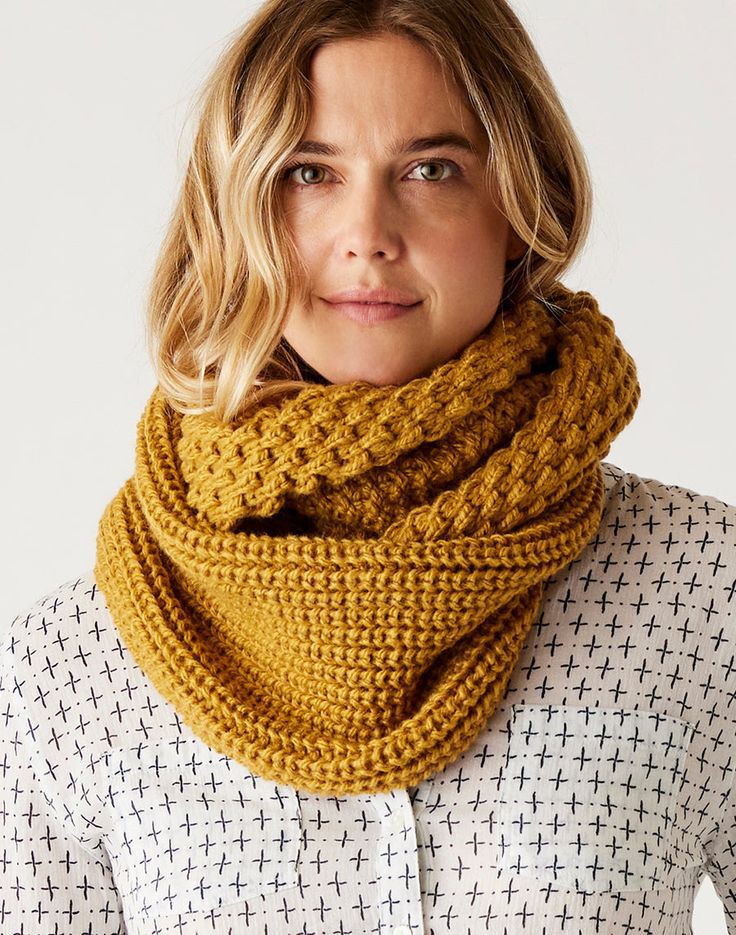
An infinity scarf is a stylish and easy project that only requires one long strip of fabric. Cut a piece of lightweight fabric (about 12 x 60 inches), fold it in half lengthwise, and sew the long edge.
Turn it inside out and sew the short edges together to form a loop. Infinity scarves are perfect for adding a pop of color to your wardrobe, and they’re simple enough to finish in under an hour, making them an ideal project for beginners.
Items you will need for this;
- Knit fabric needle (ballpoint/jersey needle, needed if using stretchy knit fabric, which is common for scarves)
- Stretch or knit stitch setting (a zigzag or specialty stretch stitch so seams don’t pop on stretchy fabric)
- Lightweight, drapey fabric (jersey, chiffon, or flannel, the flowy quality matters more here than in structural projects)
- Serger/overlocker (optional, but great for finishing raw edges on knit fabric neatly)
- Twin needle (for a professional-looking double-stitched hem)
10. Reversible Placemats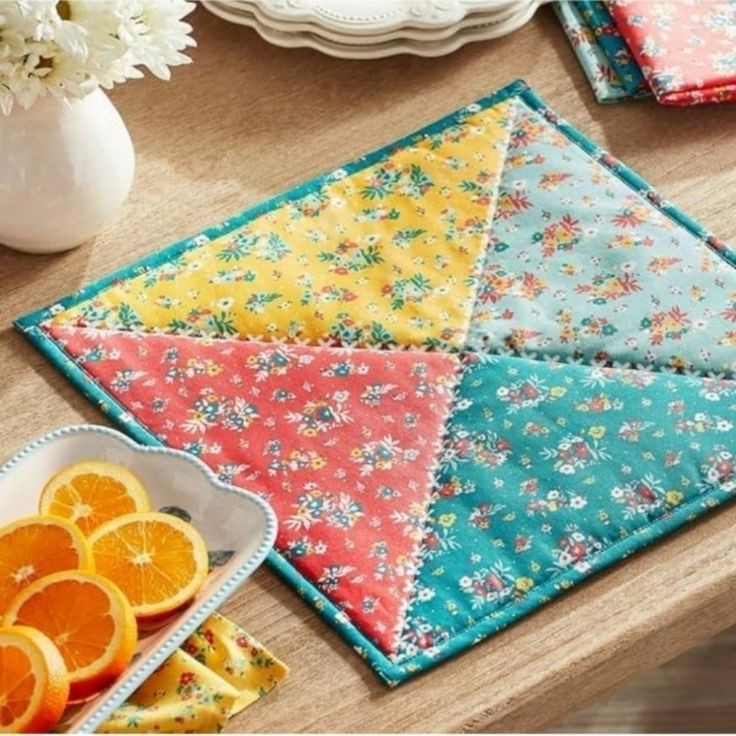
Reversible placemats are a fun way to spruce up your dining table while practicing sewing with layers of fabric. Cut two rectangles of fabric (around 12 x 18 inches) and one piece of interfacing for extra thickness.
Layer the fabrics with the interfacing in between, sew around the edges, and turn them inside out. Finish with a topstitch for a neat edge.
This project allows you to experiment with different fabric patterns on each side, making your table settings more versatile.
Items needed for this project:
- Fusible fleece or cotton batting (for a bit of padding between the two layers)
- Edge-stitching or topstitching foot (for a clean, even line around the finished edge)
- Contrasting or coordinating fabric pair (since the whole point is two different-looking sides)
11. Pot Holders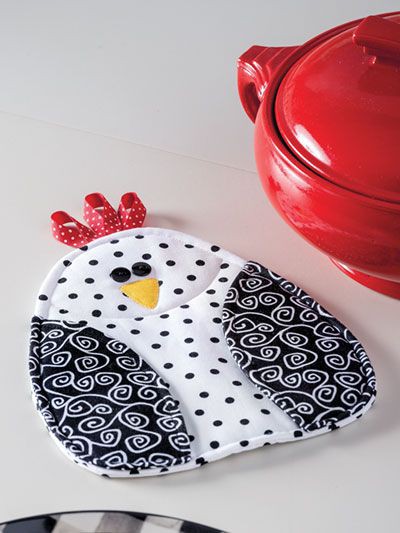
Pot holders are a practical project that helps you work with heat-resistant materials. Cut two fabric squares (about 8 x 8 inches) and one piece of heat-resistant batting.
Layer the batting between the fabric squares and sew around the edges, leaving a small opening. Turn the potholder inside out and finish with a topstitch.
You can add a small fabric loop for hanging. This project is perfect for learning how to sew thick layers while creating something useful for your kitchen.
Tools you’ll need for this are;
- Insul-Bright or heat-resistant batting (essential, regular batting isn’t safe near heat)
- Bias tape (single or double-fold, for binding the edges, very common finish for pot holders)
- Bias tape maker tool (helps fold your own bias tape evenly if not using pre-made)
- Fabric loop or ribbon (for the hanging loop)
12. Fabric Bookmarks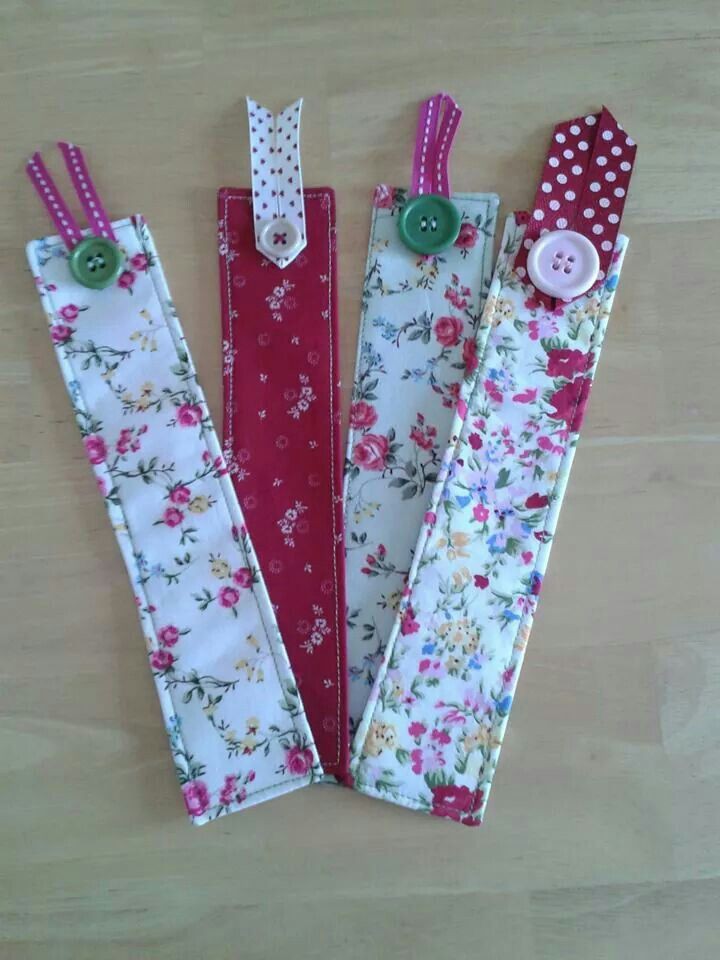
Fabric bookmarks are quick and simple projects that use up small fabric scraps. Cut two rectangular pieces of fabric (about 2 x 6 inches) and sew them together, leaving one side open.
Turn the fabric inside out, sew the opening closed, and topstitch around the edges. You can add embellishments like tassels or ribbons to personalize the bookmarks.
This project is great for beginners who want to practice straight-line sewing and create small, functional items.
Tools you’ll need for this;
- Lightweight fusible interfacing (thin, for a bit of stiffness without bulk)
- Ribbon or tassel (decorative add-on, often stitched into a corner or seam)
- Small embroidery scissors (for precise trimming on a small project like this)
- Pom-pom trim or lace trim (optional decorative edge, easy for beginners to insert into a seam)
13. Baby Bib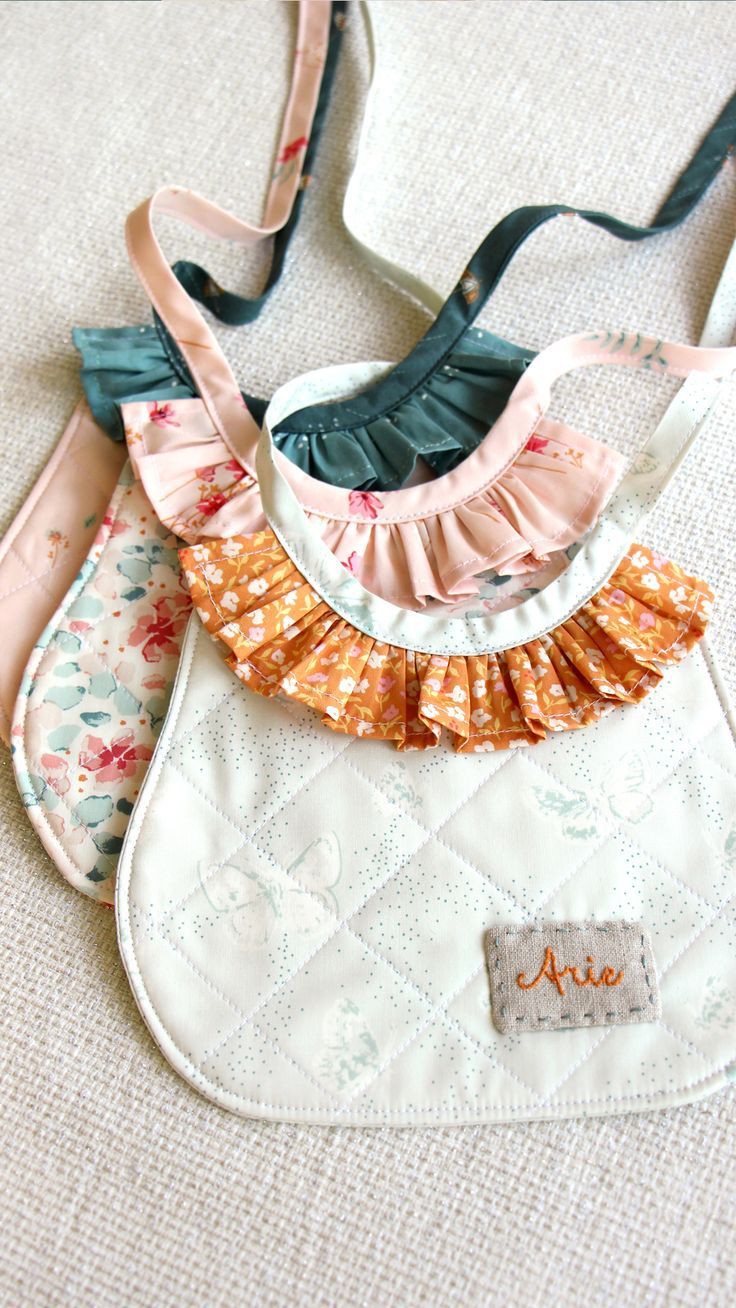
Baby bibs are an adorable and easy sewing project, perfect for new parents or baby showers.
Tools needed:
- Snap fasteners or snap pliers (common closure for bibs, easy on/off for a baby)
- PUL fabric or waterproof laminate lining (keeps moisture from soaking through — same fabric type as snack bags, but worth calling out since bibs specifically need it)
- Terry cloth or absorbent fabric (for the front layer, to actually catch spills)
- Bib pattern template or French curve ruler (for cutting smooth, rounded neckline and edges)
- Bias tape (for binding the curved neckline edge, curves are trickier than straight edges)
Cut two bib-shaped pieces of fabric (about 10 x 12 inches), with one piece being absorbent (like terry cloth or flannel).
Sew the pieces together, leaving a small opening to turn them inside out. Sew around the edges to finish, and add Velcro or snaps for closure.
Bibs are a simple project that allows beginners to practice sewing curves and using fasteners.
14. Zipper Pouch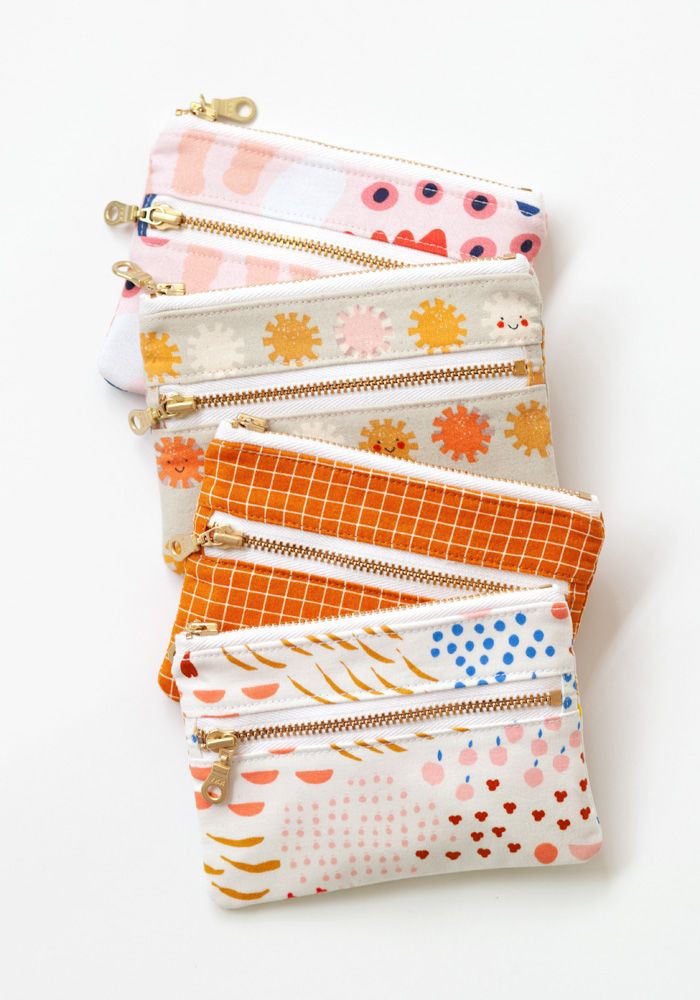
Learning to sew zippers can be intimidating for beginners, but a small zipper pouch is a perfect project to practice.
Tools needed;
- Zipper foot (a special machine foot that lets you stitch close to the zipper teeth, key tool for this project)
- Zipper pull tab or fabric loop (decorative/functional addition to the zipper slider)
- Fabric glue stick or washi tape (temporary hold for the zipper in place before stitching, easier than pins for beginners)
Cut two pieces of fabric for the outside and two pieces for the lining.
Sew the zipper between the outer and lining fabrics, then sew the sides and bottom of the pouch. Turn it inside out, and you’ll have a handy pouch for makeup, pencils, or coins.
This project teaches you basic zipper insertion and gives you a functional, customizable result.
15. Sewing Machine Cover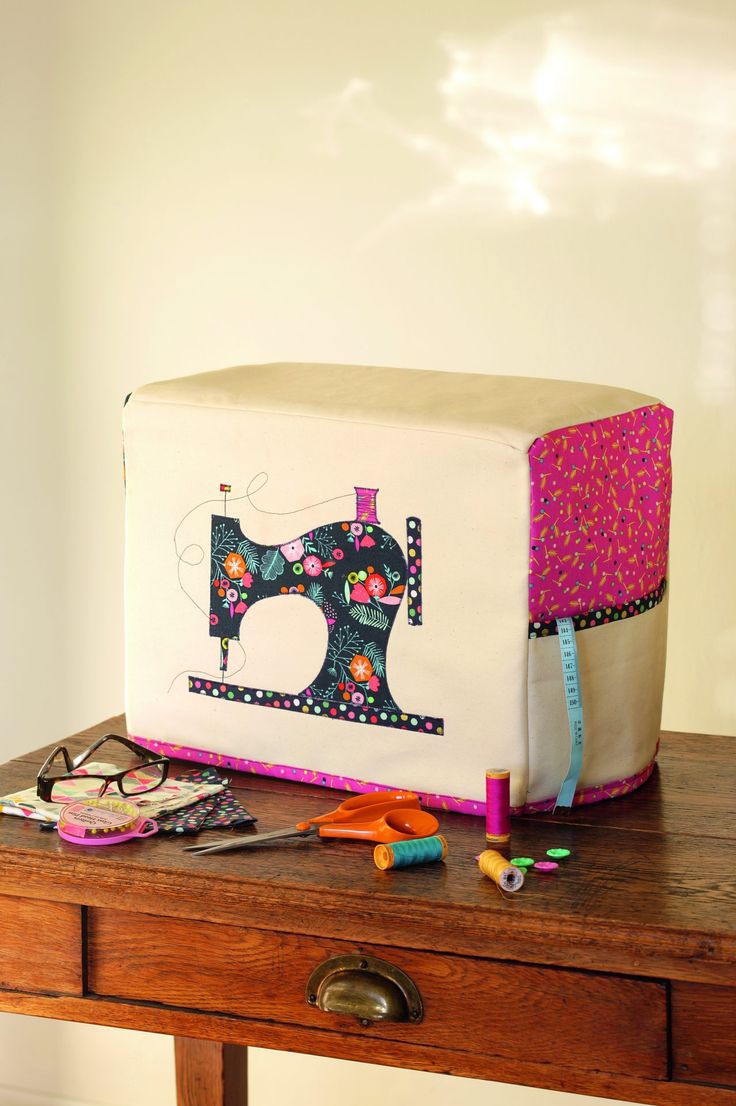
A sewing machine cover is a practical project that protects your machine while also adding a personal touch to your sewing space.
Tools needed:
- Quilting cotton or home décor weight fabric (sturdier fabric to hold its shape over the machine)
- Pattern or template of your machine’s dimensions (you’ll need to measure your specific machine to draft the cover shape)
- Weighted trim or fabric weights (optional, sewn into the hem so the cover drapes and sits nicely without shifting)
- Contrast fabric or trim for pockets (many covers include a front pocket for tools, extra fabric piece needed for that)
Measure your sewing machine and cut fabric to fit, leaving extra room for seams. Sew the pieces together to form a box-like cover that fits over the machine.
You can add pockets for storing small tools or a handle for easy lifting. This project helps you practice measuring, cutting, and sewing seams, all while making your sewing space look tidy and stylish.
16. Fabric Bunting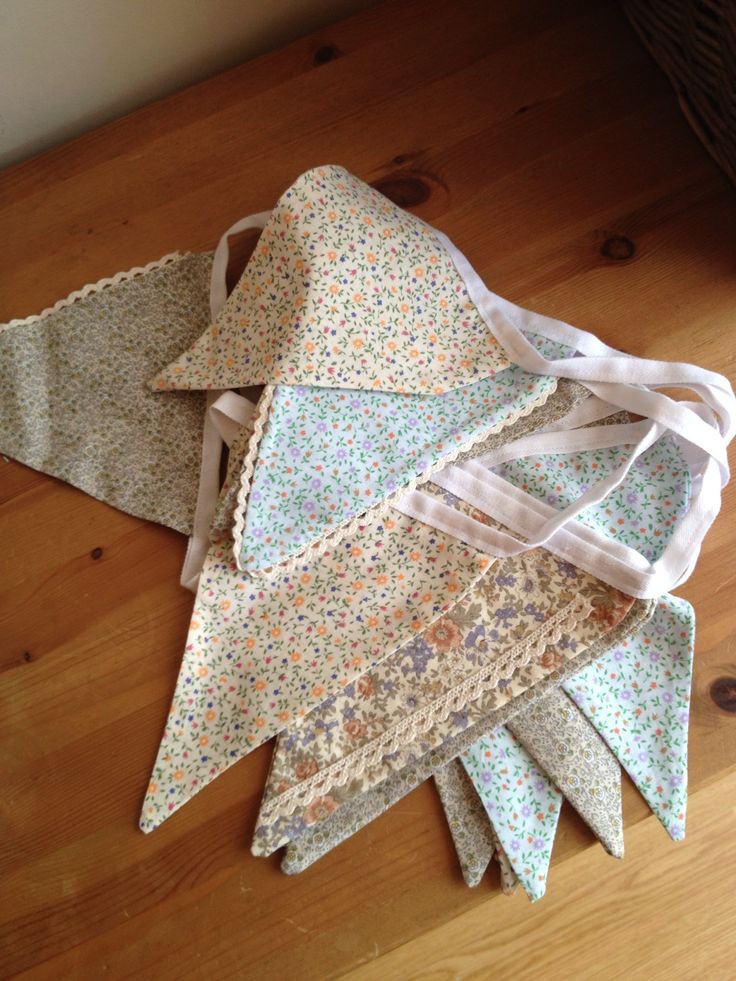
Fabric bunting is a cheerful and easy way to decorate for parties or brighten up a room.
Tools needed;
- Triangle template or pattern piece (for cutting consistent flag shapes)
- Bias tape or twill tape (long strip the flags are sewn onto, doubles as the hanging string)
- Pinking shears for triangle points (helps points lie flatter and reduces bulk when turning corners, worth calling out again here since triangles have sharper points than most projects)
- Fray check or seam sealant (liquid product to prevent fraying at cut points/edges, especially useful on small pointed shapes)
Cut fabric triangles (about 6 inches tall) and sew two pieces together for each flag.
Once you’ve made enough flags, sew them to a length of bias tape or ribbon, spacing them evenly. This project is great for using up fabric scraps and practicing straight-line sewing.
You can customize the colors and patterns to match any theme or occasion.
17. Napkins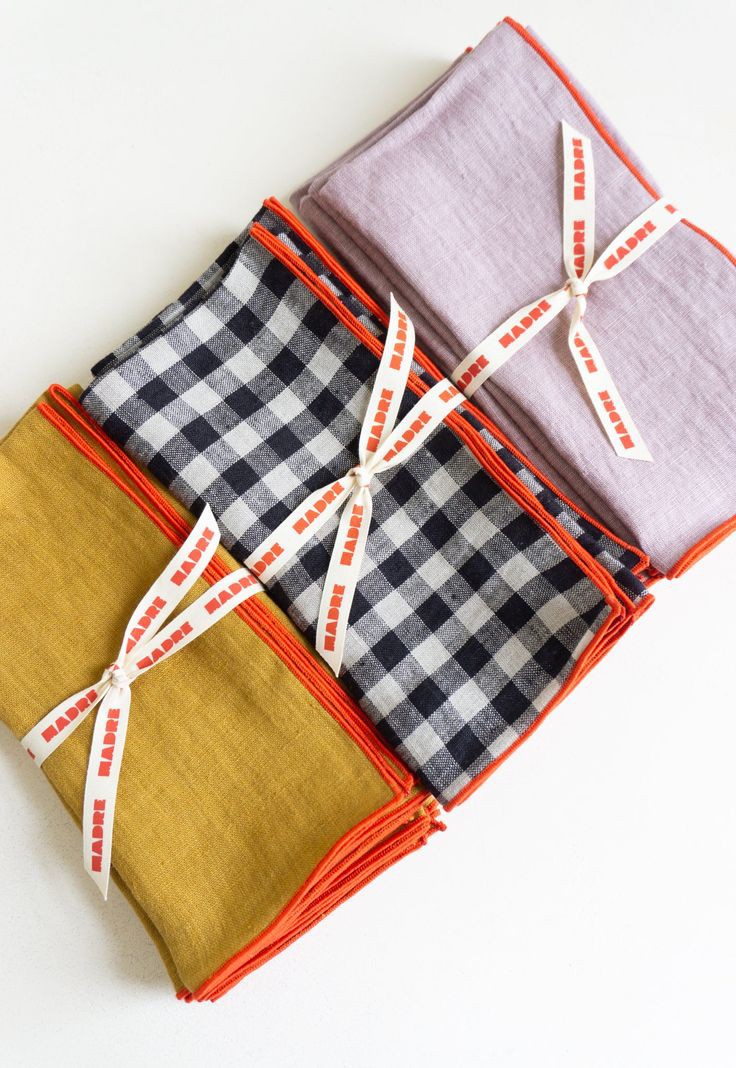
Sewing cloth napkins is a great beginner project that’s both simple and practical. Cut squares of fabric (about 16 x 16 inches), fold and press the edges for a clean hem, and sew around the edges.
Napkins are a perfect way to practice turning corners and sewing neat hems. You can create a matching set for your dining table and reduce your reliance on disposable napkins, making this an eco-friendly project as well.
18. Eye Mask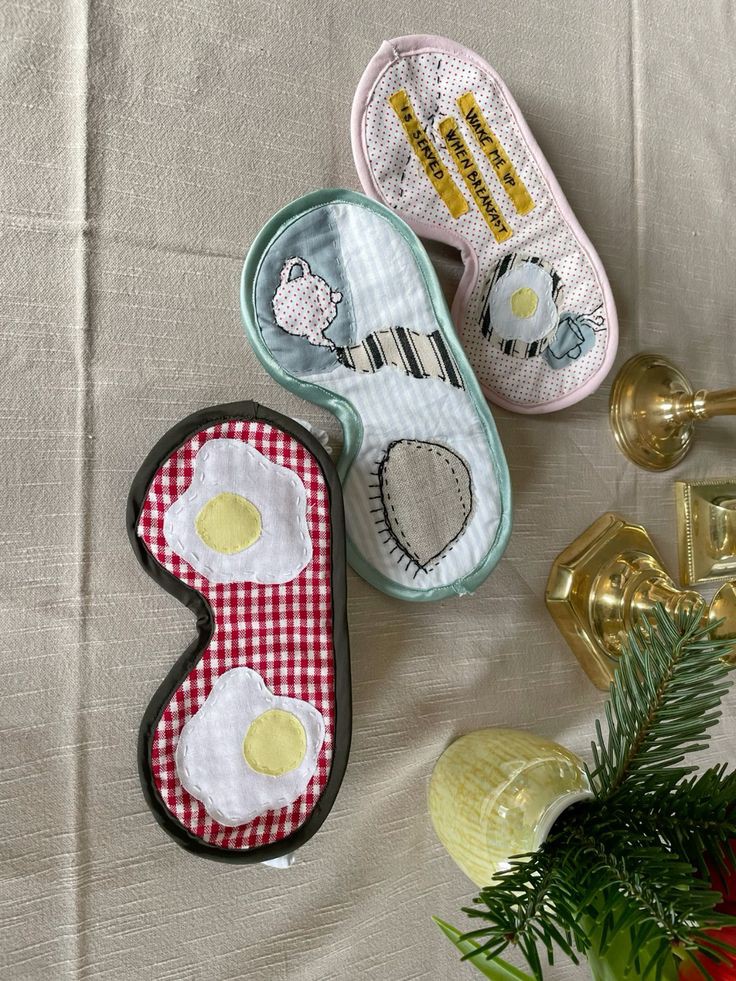
Sewing an eye mask is a quick project that’s both relaxing and useful. Cut two mask-shaped pieces of soft fabric (like cotton or flannel) and a piece of batting for added comfort.
Sew the pieces together, leaving a small opening to insert the elastic band. Once the elastic is in place, sew the opening closed and finish with a topstitch.
This project allows beginners to practice sewing curves and working with elastic, and the result is a cozy, handmade eye mask perfect for travel or a good night’s sleep.
Items needed;
- Soft eye mask pattern or template (curved shape for the eye area, needs its own pattern piece)
- Foam or extra-soft batting (thicker, plush filling for comfort against the face)
- Elastic or ribbon for the strap (measured to fit around the head)
- Silk or satin fabric (popular choice for eye masks. smooth against skin and eyelashes)
19. Simple Skirt
A basic elastic-waist skirt is a great introduction to garment sewing for beginners. Measure your waist and cut a piece of fabric twice as wide as your waist measurement.
Sew the sides together to form a tube, then fold and sew the top to create a channel for the elastic. Insert the elastic, sew the hem, and you’ve got a cute, custom-made skirt.
Tools needed;
- Elastic waistband (wider, 1″-2″, specifically for a waistband casing rather than small projects)
- Pattern paper or pre-made skirt pattern (for cutting garment pieces to your size)
- Fabric with some drape/stretch (like cotton lycra or rayon, appropriate for garment wear)
- Hem gauge (a small ruler tool for folding and pressing even hems)
- Tailor’s chalk or fabric marking pencil made for garments (for marking darts, waist, and hem lines on the body)
This project teaches you how to work with elastic and sew simple hems while creating a wearable piece of clothing.
20. Pillowcase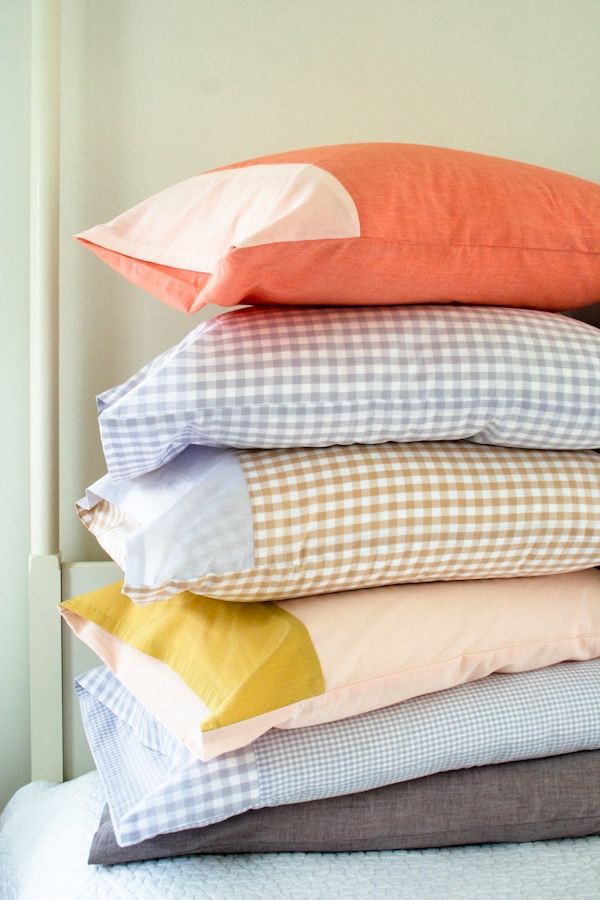
A pillowcase is one of the easiest sewing projects for beginners and a great way to practice basic sewing skills. Cut two large rectangles of fabric (around 20 x 30 inches), sew the sides and bottom together, and hem the top edge.
You can make pillowcases in fun colors and patterns to match your bedding or give as gifts. This project helps you practice measuring, sewing straight lines, and hemming.
Tools needed;
- Cotton or percale sheeting fabric (bed-linen-weight fabric, different from quilting cotton)
- Contrast cuff fabric (many pillowcases have a decorative band at the opening, needing a second coordinating fabric)
21. Key Fob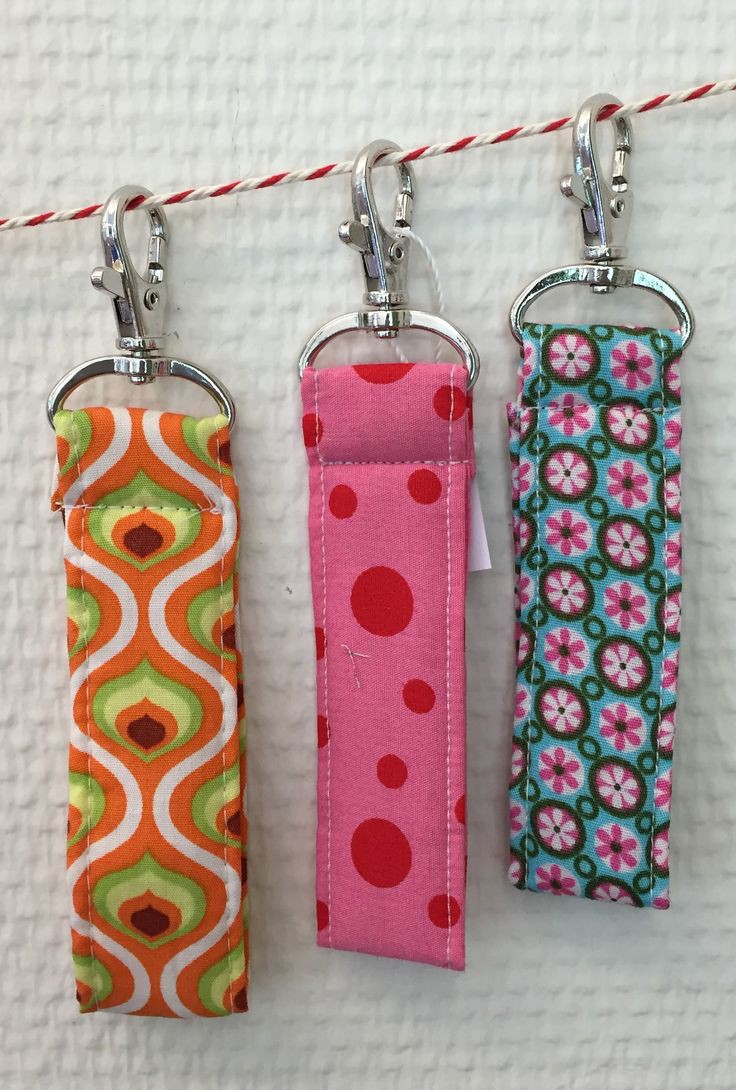
Sewing a fabric key fob is a quick and practical project that uses minimal fabric and helps you practice straight stitches.
Cut a fabric strip (about 3 x 12 inches), fold it in half lengthwise, and sew the long edges. Attach a keyring to one end and sew the ends together.
This project is perfect for using up fabric scraps and creating a stylish, personalized keychain that’s easy to spot in your bag.
22. Hand Warmers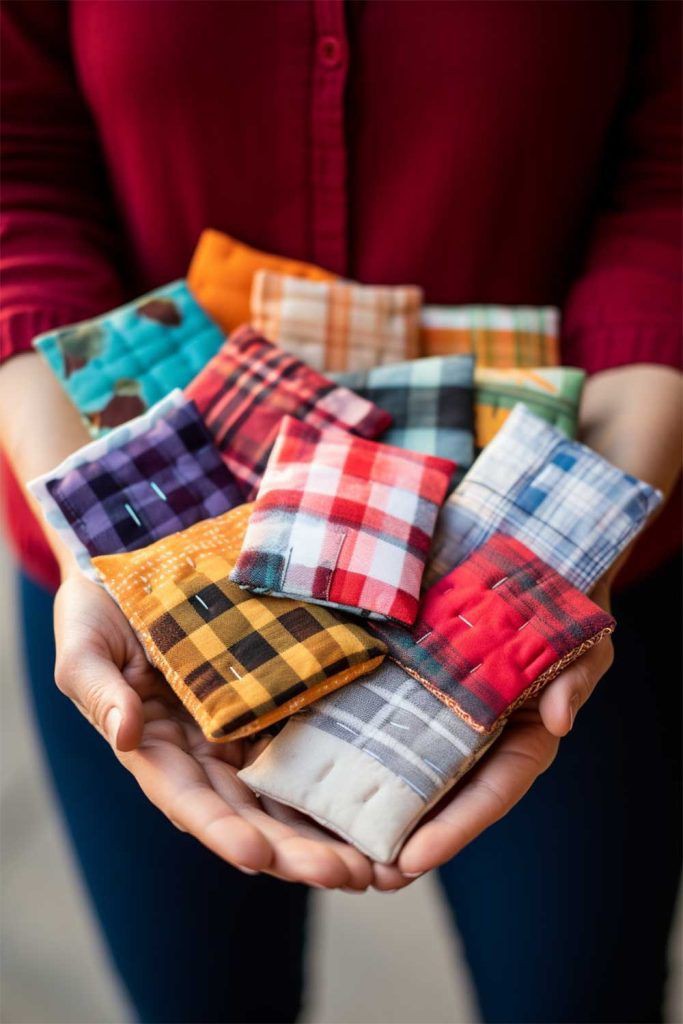
Hand warmers are simple fabric squares filled with rice that you can microwave for a few seconds to keep your hands warm.
Cut small squares of fabric (about 4 x 4 inches), sew three sides together, fill them with rice, and sew the last side closed.
Tools needed:
- Funnel (for filling small fabric pouches without spilling)
- Rice, flaxseed, or dried corn filler (the actual warming material, heated in a microwave)
- Kitchen scale or measuring cup (to portion the filler evenly between warmers)
- Double-stitched or reinforced seams (extra pass of stitching so the filler doesn’t leak out over time)
These quick projects are perfect for winter and make great gifts. You can also add essential oils to the rice for a relaxing scent when heated.
23. Simple Curtains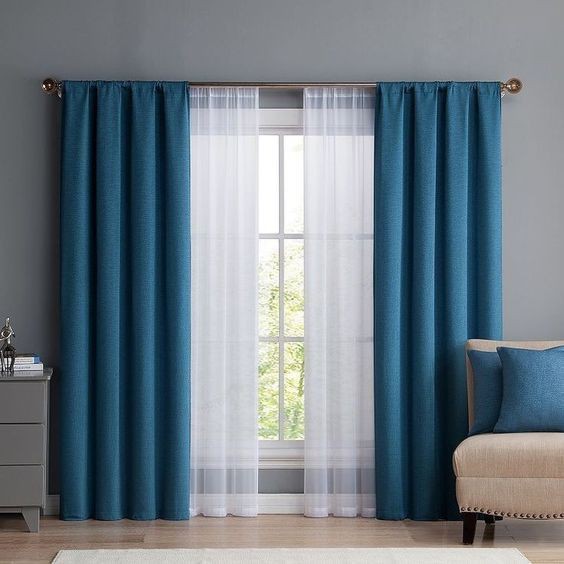
Sewing basic curtains is a rewarding project that adds a personal touch to any room. Measure your windows and cut fabric to the appropriate length, adding a few extra inches for hems and a rod pocket at the top.
Sew the sides and bottom hems, then fold the top to create the pocket for the curtain rod.
Curtains are a great way to practice sewing long, straight seams, and they allow you to customize your space with your favorite fabrics.
24. Reusable Shopping Bags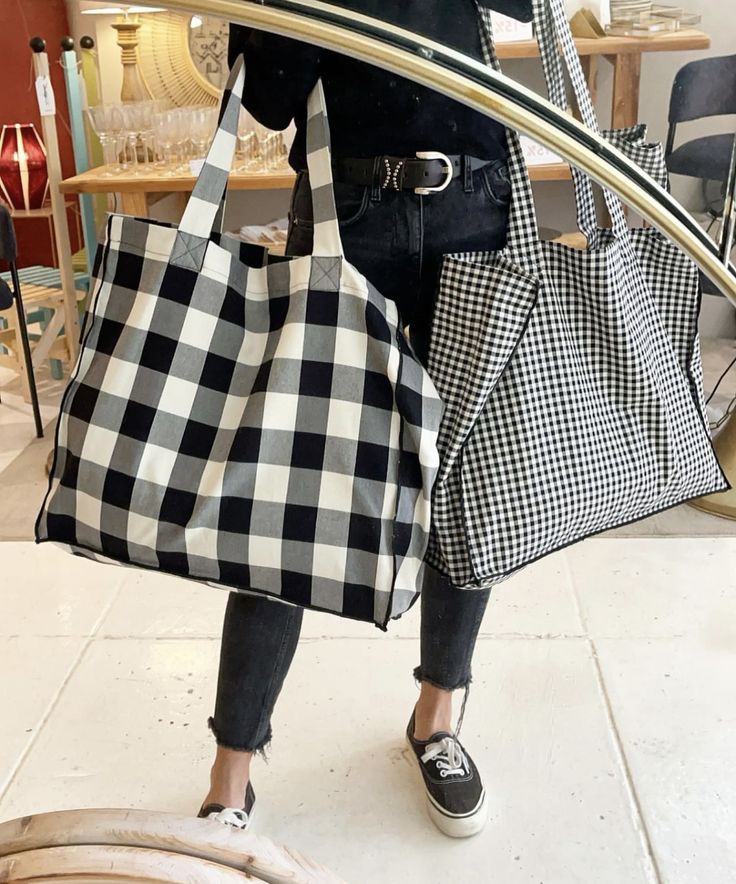
Replace single-use plastic bags with sturdy, reusable shopping bags that are easy to make. Cut two large fabric rectangles for the body of the bag and two smaller strips for the handles.
Sew the body pieces together, attach the handles, and reinforce the seams for extra strength. You can make these bags in fun patterns or sturdy fabrics like canvas to carry groceries, books, or anything else.
This project is great for learning how to sew durable seams and handles.
25. Quilted Mug Rug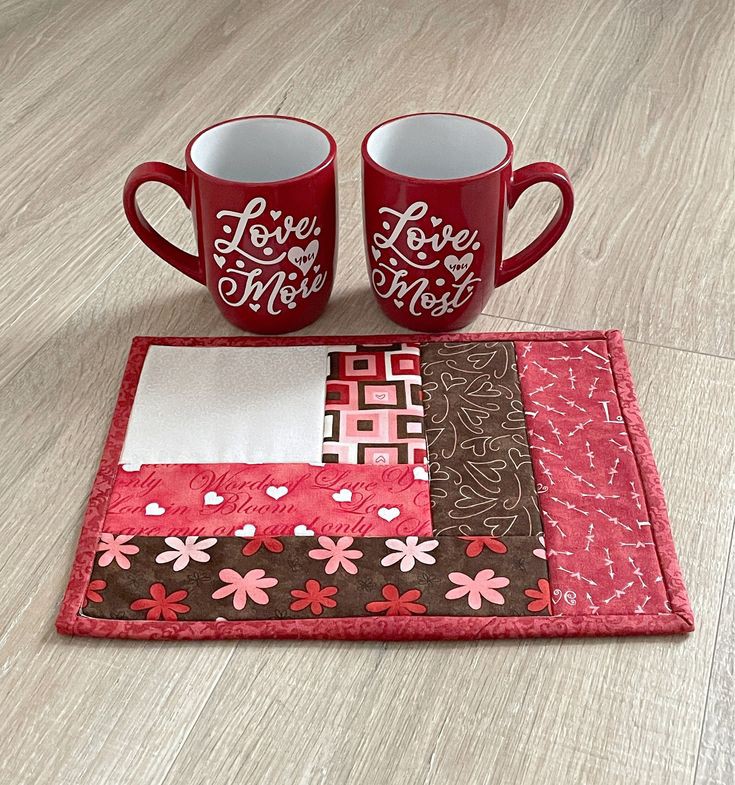
A quilted mug rug is a small, padded coaster that’s perfect for protecting your table from hot drinks. Cut fabric squares (about 5 x 5 inches) and a piece of batting, then sandwich the batting between the fabric layers.
Sew around the edges, leaving a small opening, then turn it inside out and topstitch around the edges.
You can quilt the mug rug with a simple design, making it a great project for practicing basic quilting techniques without the commitment of a full quilt.
This post showed you 25 Quick and Easy Sewing Projects for beginners.
You may also like: