Mother’s Day has a way of stirring up those tender feelings—the scent of your mom’s cooking, the warmth of her hugs, the laughter from the kitchen while making family meals. One of the sweetest ways to show appreciation is by giving a handmade gift, and nothing says “I love you” quite like a DIY apron made with care.
This Mother’s Day apron is simple, elegant, and from the heart. It’s a lovely project whether you’re sewing for your mom, grandmother, or a mom figure who means the world to you. And guess what? You don’t need to be a pro. Just a little fabric, your sewing machine, and a lot of love.
Materials You’ll Need: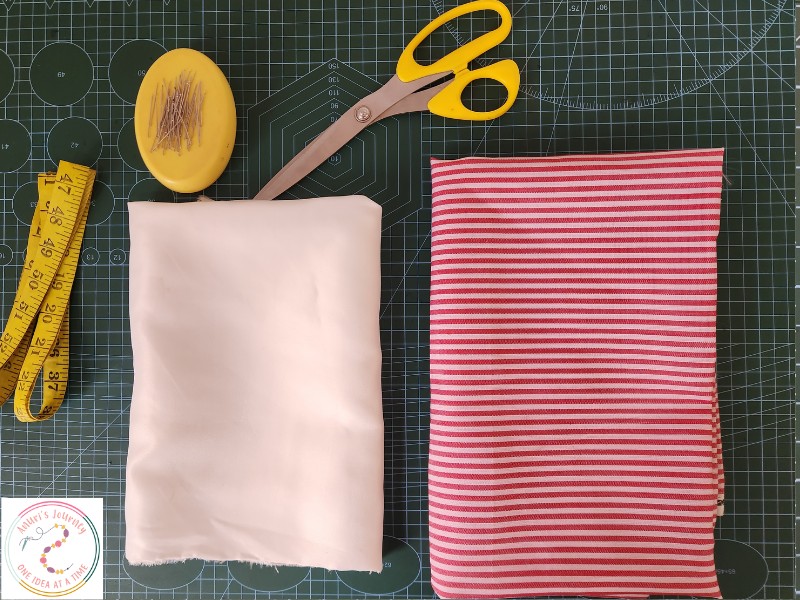
1 yard of fabric for the main apron
½ yard of fabric for the straps
Sewing machine
Measuring tape
Scissors
Pins
Tailor’s chalk
Pressing iron
Coordinating sewing thread
Step-by-Step: How to Make a Mother’s Day Apron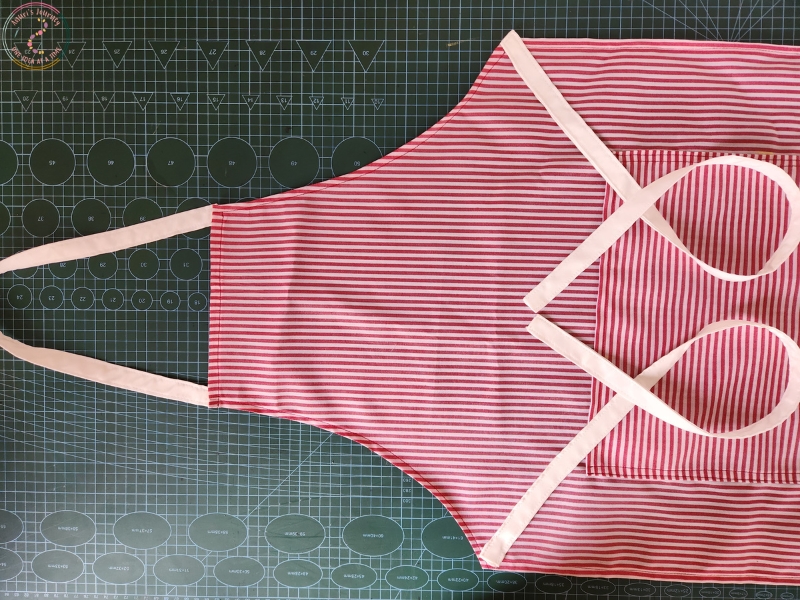
1. Cut your fabric pieces: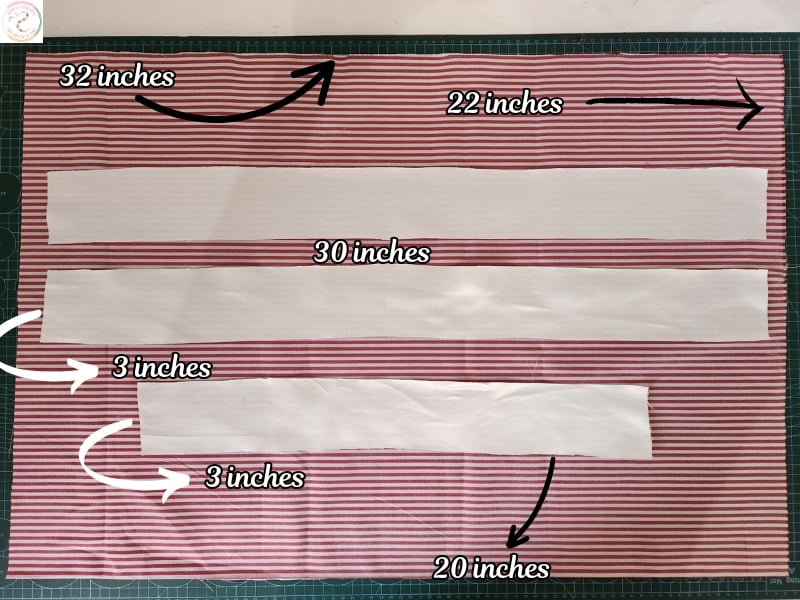
Start by cutting:
Main apron body: 32″ × 22″
Waist straps (2 pieces): 30″ × 3″
Neck strap (1 piece): 20″ × 3″
2. Shape the arm curves:
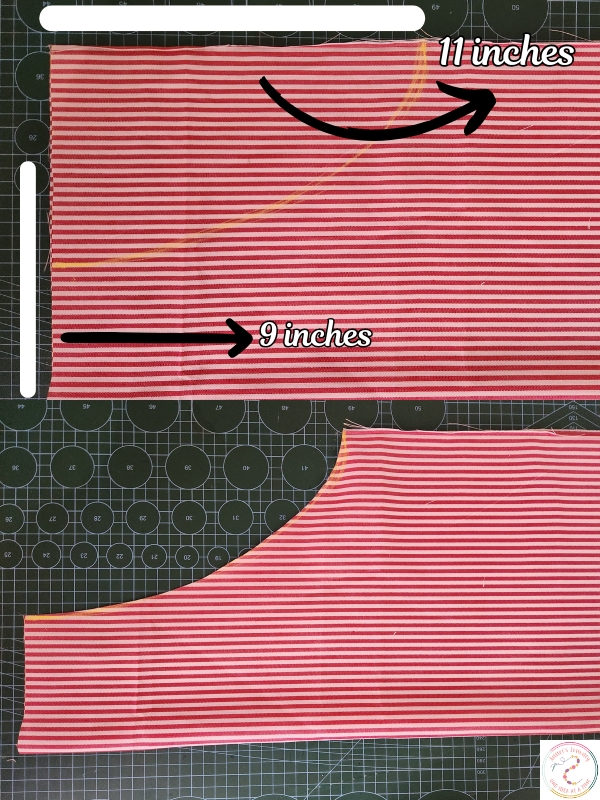
Fold the large apron fabric in half, right sides facing in.
From the folded edge at the top, measure 9 inches across and mark. Then, from the top edge down, measure 11 inches and mark.
Connect the two marks in a gentle curve (or a style you prefer) and cut it out—this creates the classic apron shape.
3. Hem the edges: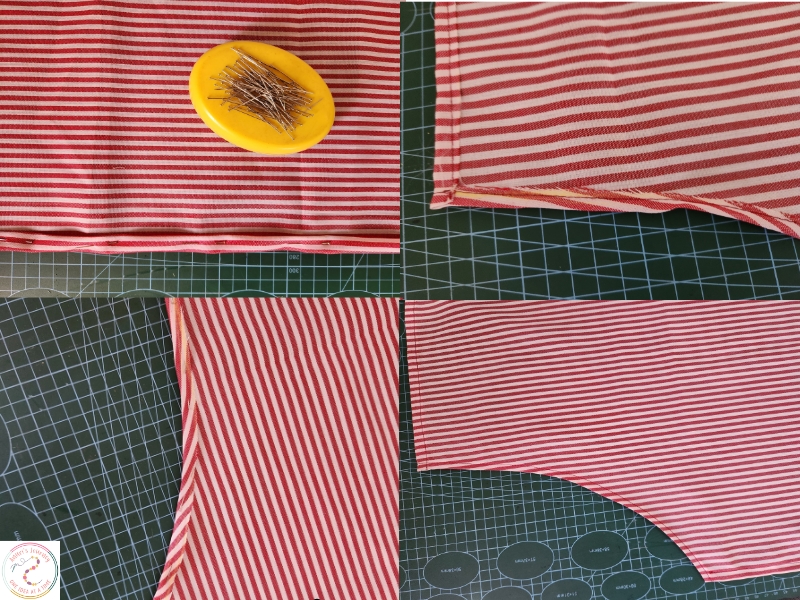
Fold the top and side edges in by ¼ inch, pin, then fold again and pin to hide the raw edges.
For the bottom edge, fold in by ¾ inch, then fold again and pin.
Sew all these edges down on your machine. Remove pins as you go, and press the seams flat with an iron for a crisp, polished look.
4. Create the pocket: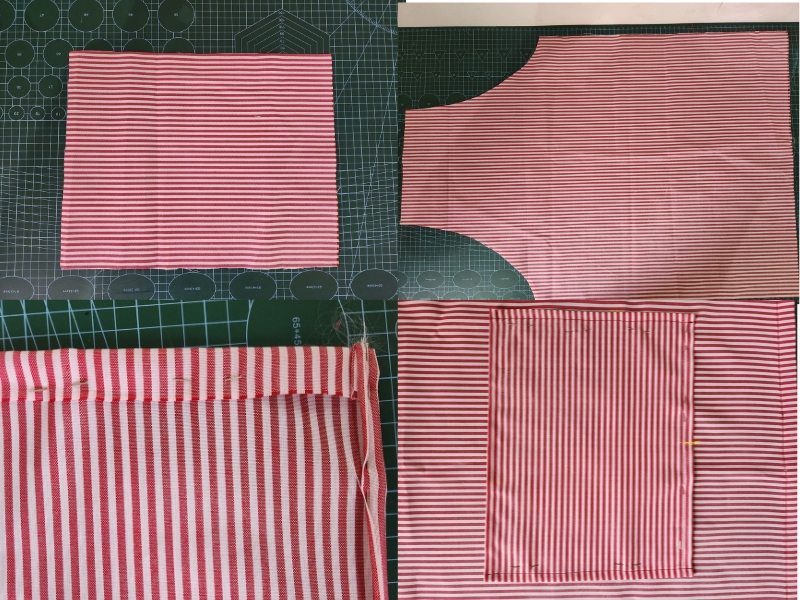
Cut a fabric piece measuring 14″ × 11″.
Double fold all four edges (¼ inch each fold), pin in place, and sew around the edges to hem.
On your apron body, measure 5 inches up from the bottom, then find the center point of the apron and the pocket.
Align the center of the pocket with the apron’s center, pin the sides and bottom of the pocket only, and sew in place. Leave the top edge open—this is your actual pocket.
5. Make and attach the straps:
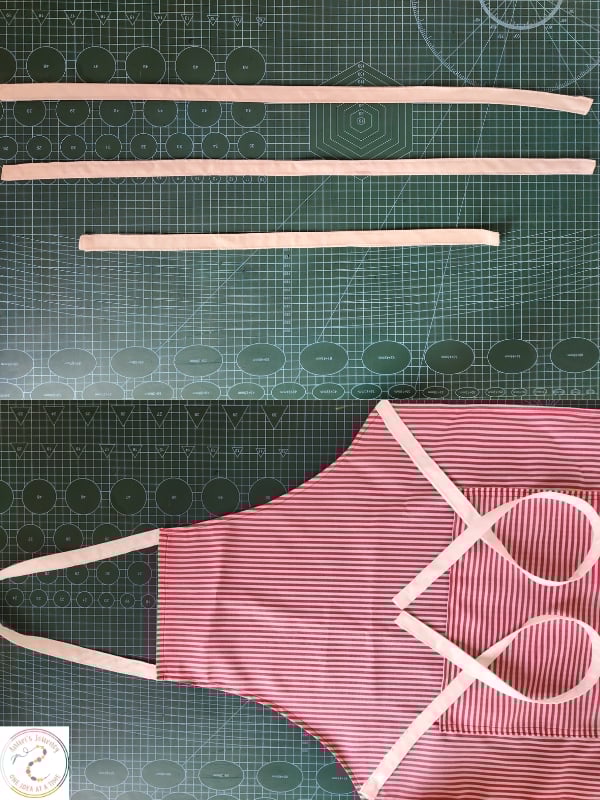
Fold each strap piece lengthwise into quarters, so the raw edges are tucked in, and sew along the open edge to form neat straps.
Attach the two long straps to the angled side edges of the apron (these tie around the waist).
Attach the shorter strap ends to the top corners of the apron to form the neck loop.
Give the entire apron a final press—and just like that, you’ve made a heartfelt, handmade gift.
And There You Have It—A Mother’s Day Apron Made with Love
Whether your mom is a whiz in the kitchen, loves gardening, or just enjoys a thoughtful handmade piece, this apron is a beautiful way to celebrate her. You can personalize it even more by using a fabric in her favorite color or adding an embroidered message like “Best Mom Ever” or “Queen of the Kitchen.”
Simple, sweet, and full of love—just like moms.
You may also like: