There’s something so satisfying about making something useful with your own two hands—especially when it turns out cute and practical. One of my favorite beginner-friendly projects is a zipper pencil pouch. It’s perfect for storing pens, makeup brushes, or even small sewing supplies.
Whether you’re sewing for yourself, your kids, or as a thoughtful handmade gift, this pouch is simple to make, customizable, and doesn’t take much fabric at all. Once you make one, you’ll want to sew them in every color and pattern you can find.
Let’s get into this fun and rewarding sewing project.
Materials You’ll Need:
½ yard of fabric
(¼ yard for the main fabric, ¼ yard for lining fabric)
¼ yard of fusible fleece
20” zipper
Sewing machine
Sewing thread
Scissors
Affix pins
Pressing iron
Cutting Instructions:
Cut 2 pieces of main fabric measuring 9.5” x 5”
Cut 2 pieces of lining fabric (linen or cotton) measuring 9.5” x 5”
Cut 2 pieces of fusible fleece, each 0.5” smaller than the fabric (i.e., 9” x 4.5”)
Step-by-Step Sewing Instructions:
1. Fuse the fleece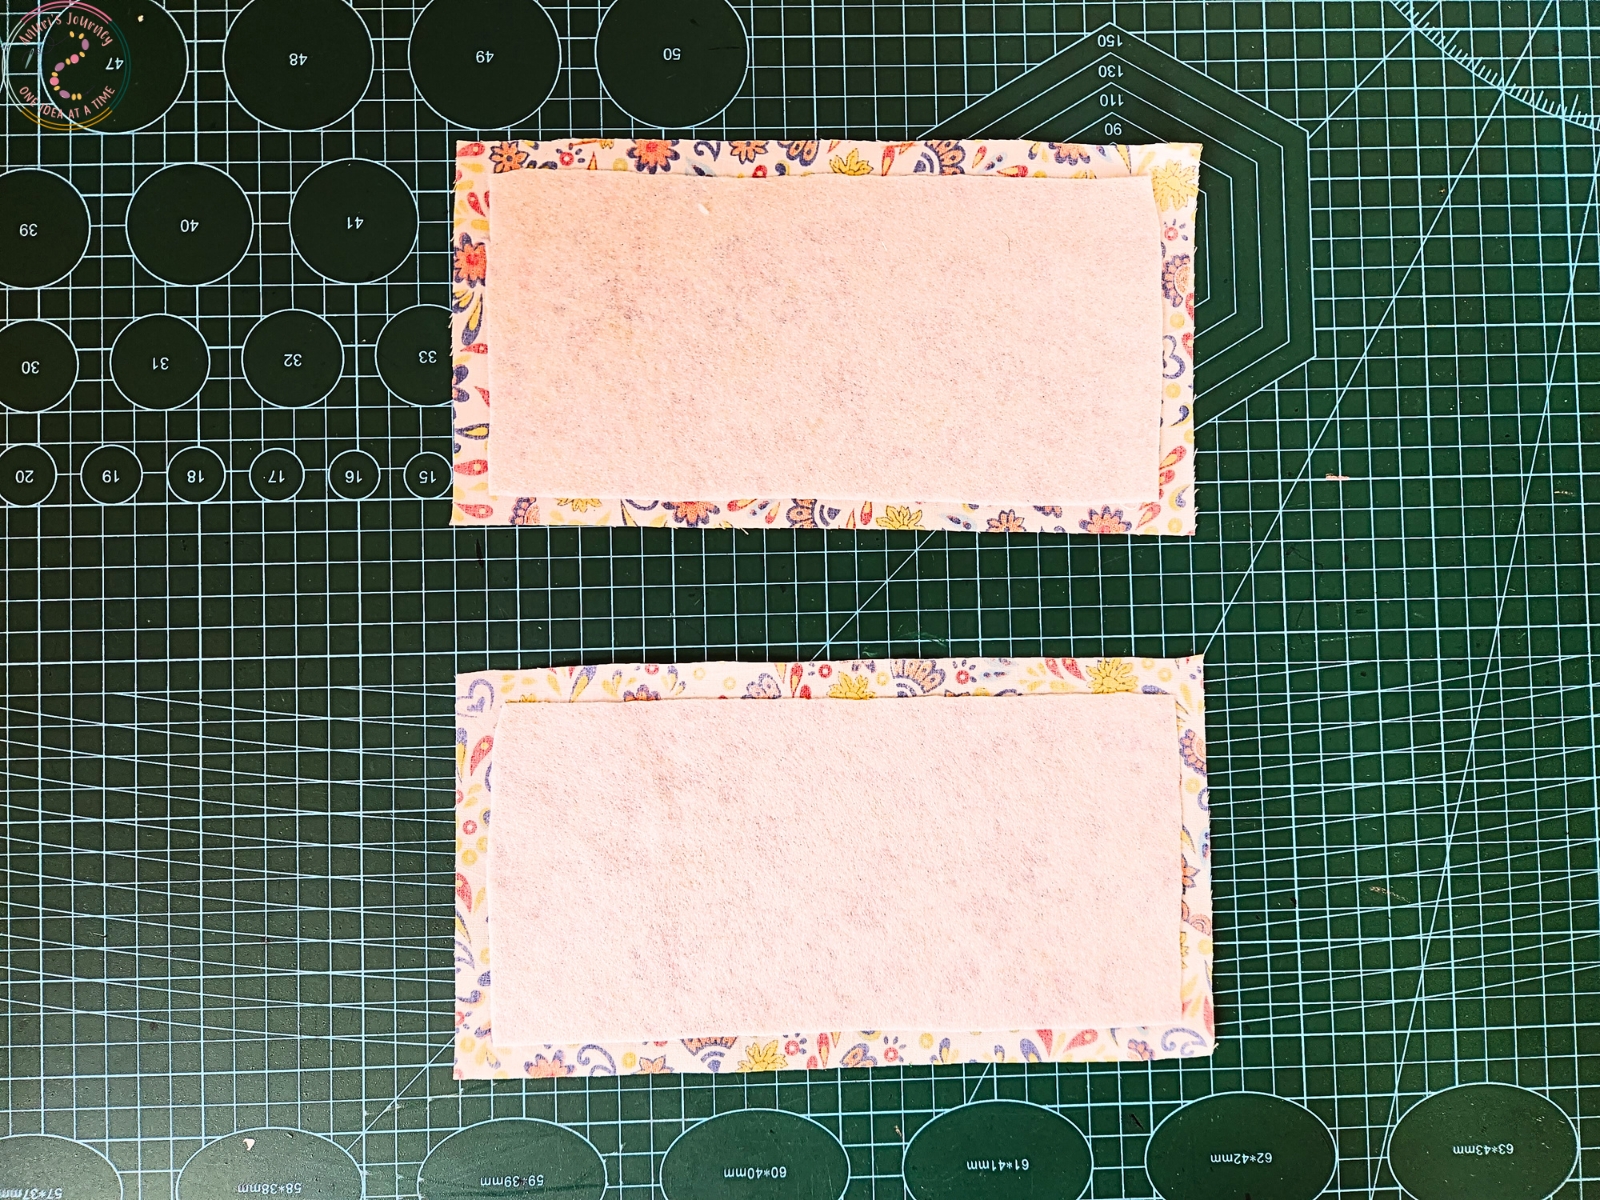
Take the two main fabric pieces and fuse the fleece to the wrong side of each using a pressing iron.
This will give your pouch structure and a soft, padded feel.
2. Attach the zipper (first side)
Lay one main fabric piece right side up.
Place the zipper on top of it, right side facing down, leaving a little extra zipper length on both sides.
Then place one lining piece right side facing down on top of the zipper, sandwiching it between the fabrics.
Pin to secure, then sew along the edge with a 0.4” seam allowance.
Remove pins and topstitch along the zipper to keep the fabric from getting caught in the zipper teeth.
3. Attach the zipper (second side)
Repeat the same process on the other side:
Layer the second main fabric piece (right side up), place the zipper (right side down), then the second lining piece (right side down).
Pin, sew with a 0.4” seam allowance, remove pins, and topstitch again.
4. Prepare to sew the pouch together
Open the zipper halfway (this is very important for turning the pouch later).
Fold so that the two main fabric pieces are right sides together and the two lining pieces are right sides together.
Pin around all edges, making sure the zipper teeth are facing toward the lining side.
5. Sew the pouch
Sew all the way around the edges with a 0.4” seam allowance, but leave a 3” gap at the bottom of the lining. This is where you’ll turn the pouch right-side out.
Trim off any excess zipper ends.
6. Finishing up

Through the opening in the lining, gently turn the pouch right side out.
Tuck in the raw edges of the opening and sew it shut, either with a neat topstitch or an invisible hand stitch.
Push out the corners neatly and give the entire pouch a good press with a pressing iron.
And voilà—your zipper pencil pouch is ready to use.
You can keep it simple or add extra details like a zipper pull, embroidery, or a tag. It’s such a quick and satisfying project that makes for a great gift or personal organizer. Once you’ve made one, you’ll probably want to make a bunch—they’re that addictive.
You may also like: