This site contains affiliate links. I may earn a small commission, at no cost to you.
There’s something incredibly comforting about wrapping your hands around a warm cup of tea, coffee, or hot chocolate, especially on a cool morning or a rainy afternoon. But here’s the thing, mugs can get really hot, and no one enjoys doing the “ouch-ouch” dance while trying to enjoy their favorite drink.
That’s where a fabric mug cozy comes in. Not only does it protect your hands from the heat, but it also adds a personal, handmade touch to your drinkware. Plus, it’s a great scrap-busting project if you have leftover fabric from other sewing creations.
This tutorial is beginner-friendly, so even if you’ve never made one before, you’ll be able to follow along. And the best part? You can whip one up in less than an hour, perfect for gifting or adding to your own kitchen collection.
Materials You’ll Need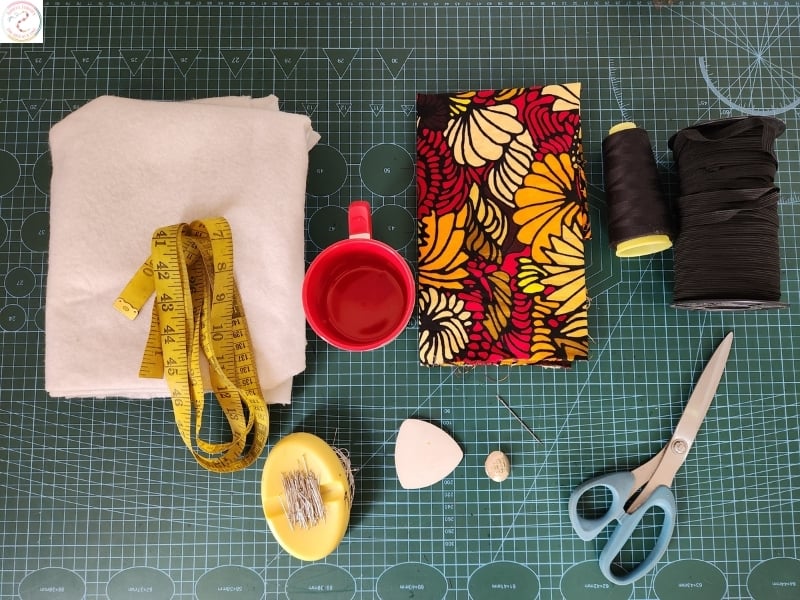
A quarter yard of fabric (two coordinating prints work beautifully)
A pair of scissors (or rotary cutter)
Fusible interfacing (for structure)
Measuring tape
Button (wooden, plastic, or fabric-covered)
Elastic (flat, 3.5″ long)
Pins or clips
Sewing machine
Hand sewing needle
Pressing iron
Step-by-Step Instructions
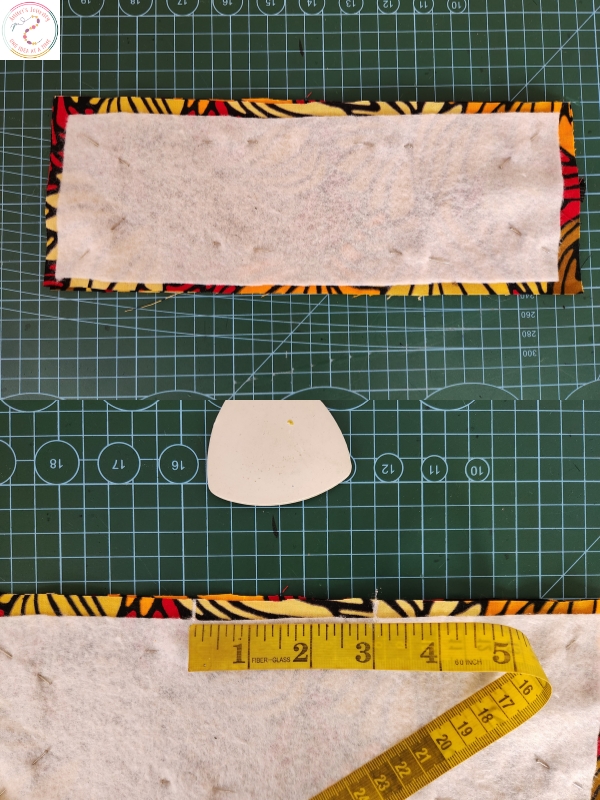
1. Measure Your Mug
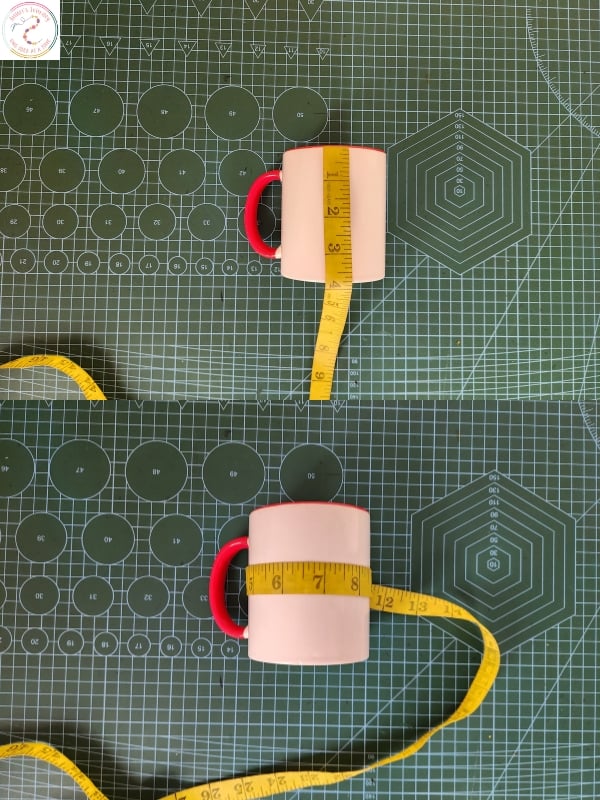
Use a measuring tape to measure your mug vertically and horizontally. From both measurements, subtract 0.5″ to allow for a snug but comfortable fit.
2. Cut Your Fabric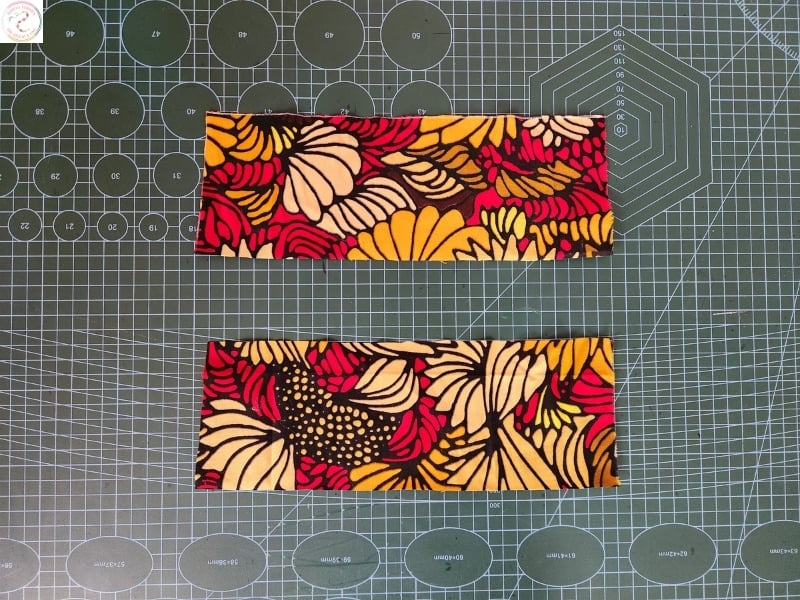
Using the measurements you got, cut two pieces of fabric, one for the outer layer and one for the lining.
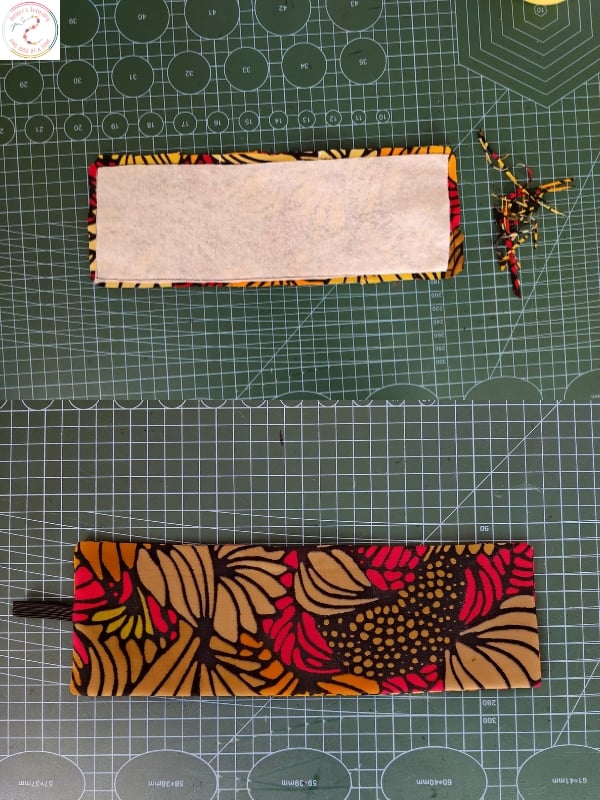
3. Cut Your Interfacing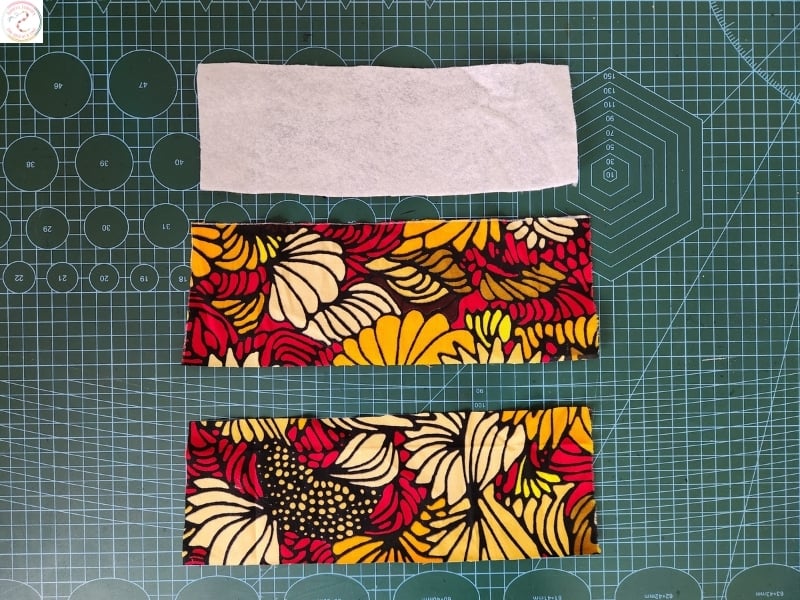
Cut the fusible interfacing so it’s 0.25″ shorter than the fabric on all sides. This helps reduce bulk in the seams.
4. Fuse the Interfacing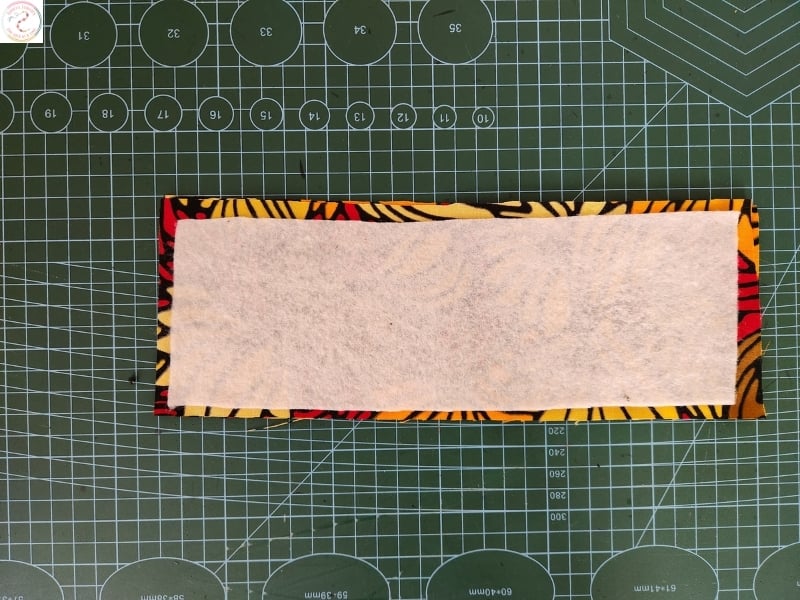
Iron the interfacing onto the wrong side of one fabric piece, following the manufacturer’s instructions.
5. Assemble Your Layers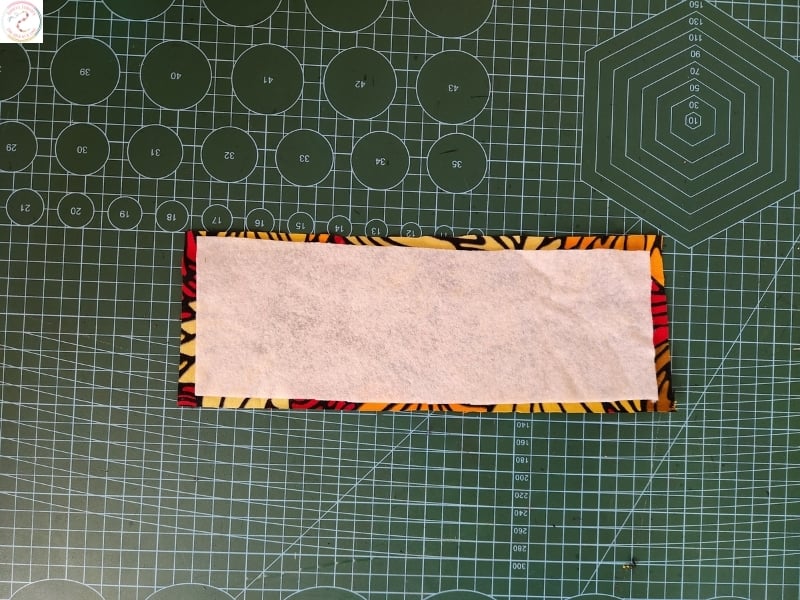
Place your fabric pieces right sides together.
6. Prepare the Elastic Loop
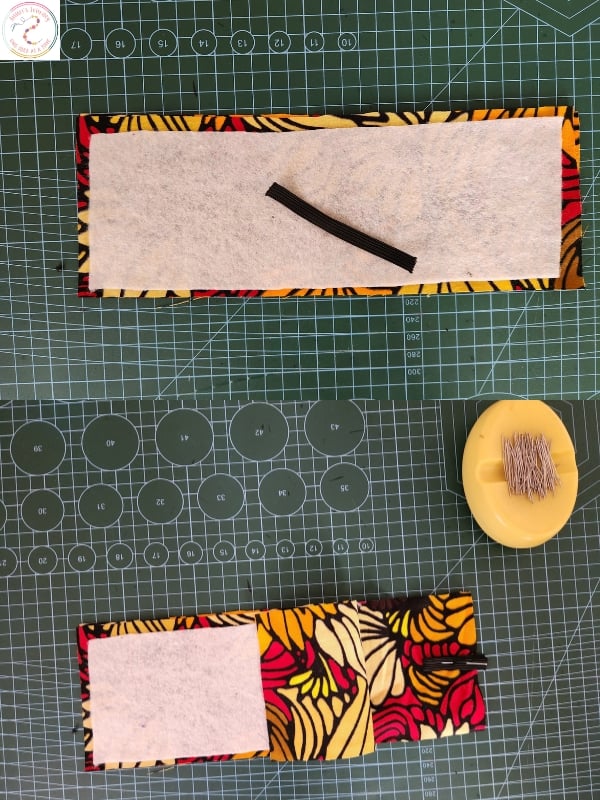
Cut a flat elastic piece measuring 3.5″. Fold it into a loop, position it in the center of one short side of the fabric, and pin it in place. This will be your button loop.
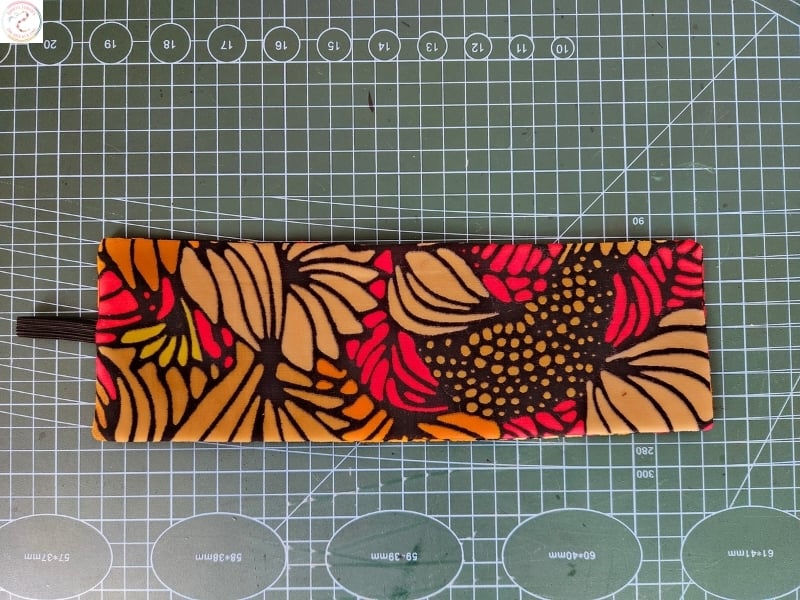
7. Pin and Sew
Pin around the entire piece. Using a 0.25″ seam allowance, sew all around, but leave a 3″ opening along one side so you can turn it right side out.
8. Trim and Turn
Trim the corners and excess seam allowance to reduce bulk. Turn the cozy right side out through the opening, pushing out the corners gently with a blunt tool.
9. Press
Use a pressing iron to smooth everything out, folding the raw edges of the opening inward.
10. Topstitch
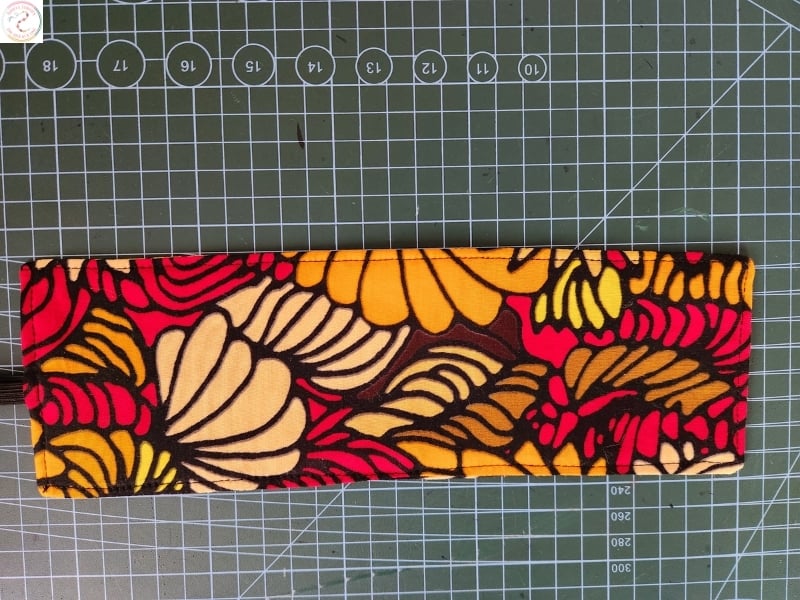
Topstitch all the way around for a neat finish and to close the opening.
11. Attach the Button

On the side opposite the elastic, sew on your button. This will be the front of your cozy.
And You’re Done.
Your fabric mug cozy is ready to use. Just wrap it around your mug, secure the elastic around the button, and enjoy your hot beverage without burning your hands.
Tips & Variations
Go seasonal: Use festive fabrics for Christmas, fall, or Valentine’s Day.
Make it reversible: Choose two pretty fabrics so both sides can be used.
Gift idea: Pair the cozy with a mug and some tea bags for a thoughtful present.
You may also like: