This site contains affiliate links. I may earn a small commission, at no cost to you.
This post shows you 11 moon and stars pumpkin carving pattern ideas and also tools you will need for pumpkin carving.
As the crisp autumn air begins to settle in and the nights grow longer, it’s time to embrace the enchanting spirit of Halloween.
While traditional jack-o’-lanterns with their grinning faces have long been a staple of this festive season, there’s a celestial twist that can elevate your pumpkin carvings to a whole new level.
Imagine your porch aglow with pumpkins adorned with intricate moon and star patterns, casting magical shadows and adding a touch of cosmic wonder to your Halloween décor.
Whether you’re a seasoned carver or a novice looking to try something new, these celestial-inspired designs will light up your spooky season in the most bewitching way.
11 MOON AND STARS PUMPKIN CARVING PATTERN IDEAS
1. Moon and Star Silhouette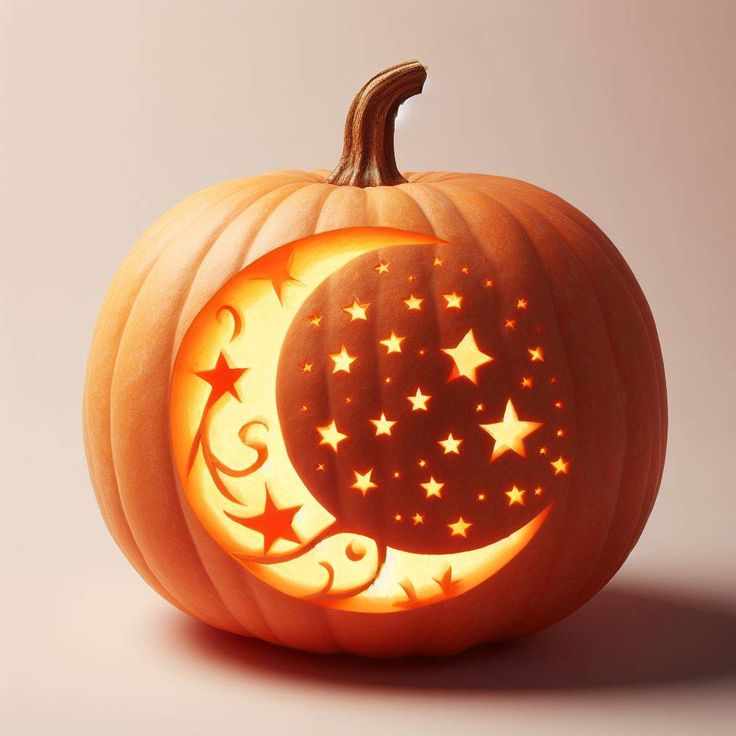
For this design, carve a large crescent moon on one side of the pumpkin. Around the crescent, scatter small star shapes.
The contrast between the large moon and the tiny stars will create a striking effect, making it look as though the pumpkin is glowing with a celestial display.
2. Moon Phases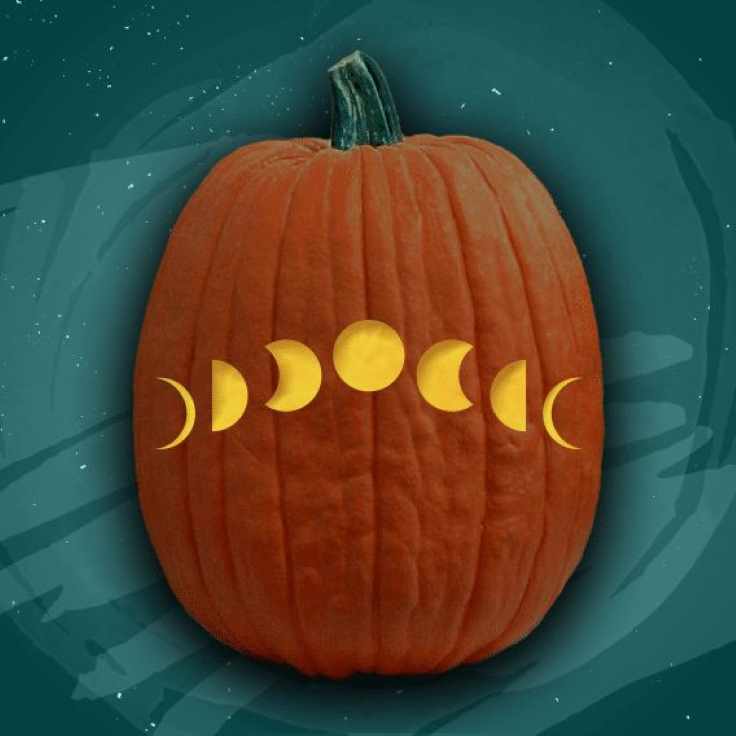
Divide your pumpkin into sections to represent the different phases of the moon.
You could arrange these phases around the pumpkin or in a sequence on one side.
Start with a new moon (full carving) and transition through the crescent, half moon, and gibbous to a full moon.
This pattern can be both educational and visually captivating.
3. Starry Night Sky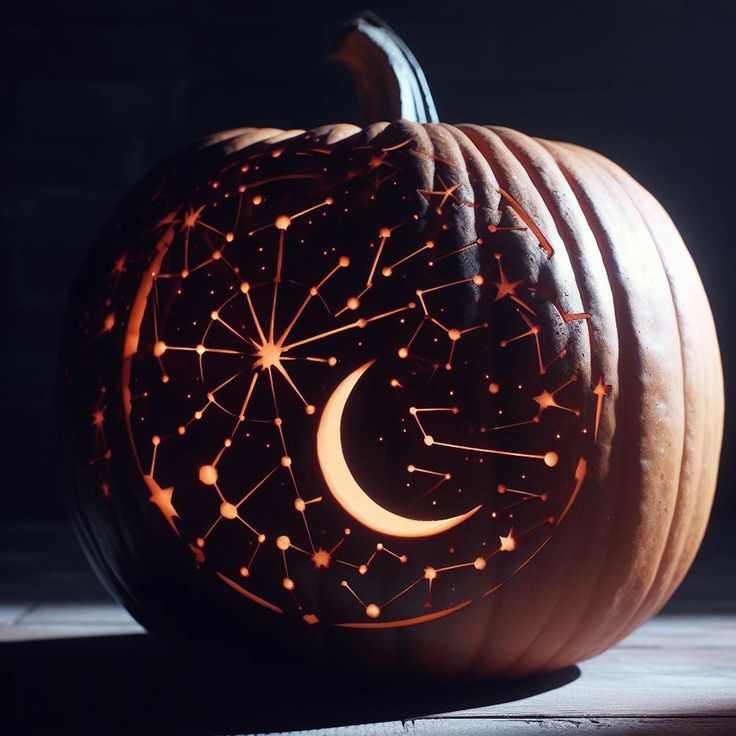
Carve various sizes of stars scattered across the pumpkin’s surface.
Connect some of the stars with thin lines to mimic constellations or create a night sky map.
This design will give the impression of a twinkling night sky, adding a touch of magic to your Halloween décor.
4. Sleeping Moon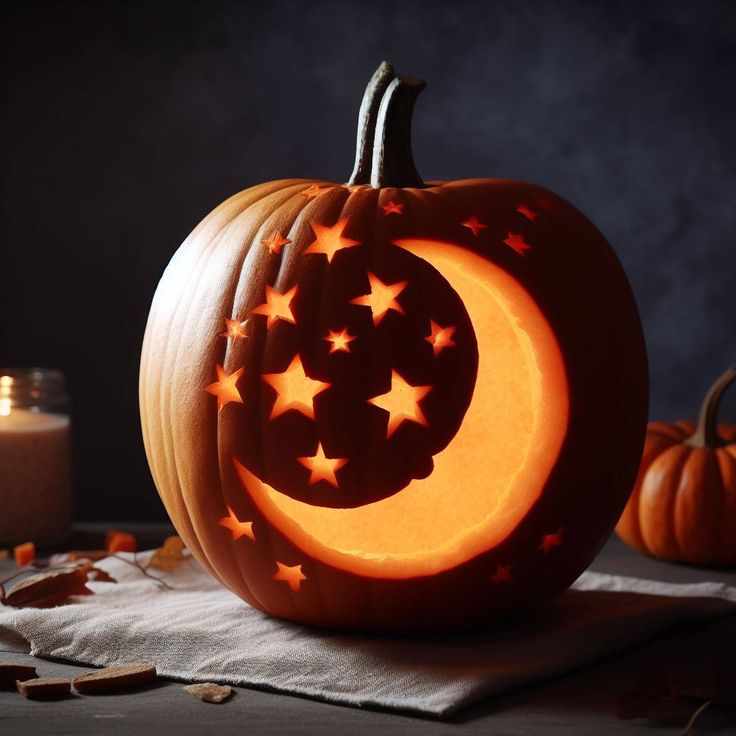
Craft a crescent moon with a serene, sleepy face. Add small stars around the moon to enhance the dreamy effect.
The face can have closed eyes and a gentle smile, making the pumpkin look like a peaceful night sky figure, perfect for a whimsical Halloween display.
5. Moon and Shooting Stars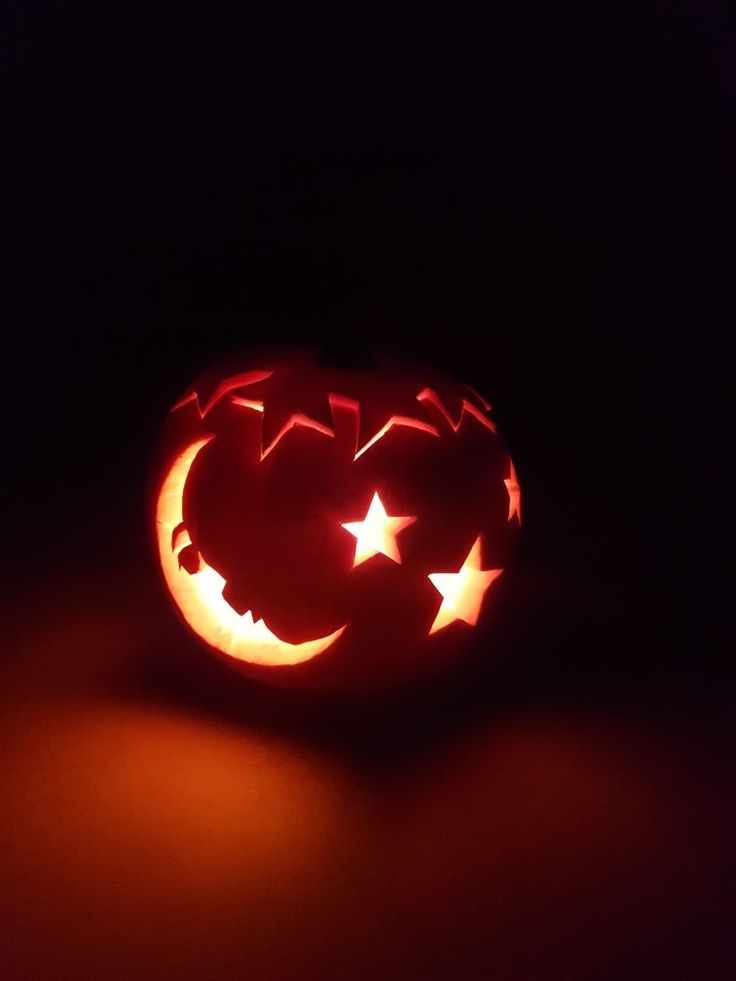
Create a crescent moon and carve several elongated star shapes to represent shooting stars.
Position the shooting stars to appear as if they are streaking across the pumpkin.
This design captures the dynamic nature of shooting stars and adds a sense of movement to your carving.
6. Celestial Faces
Design a full moon with a detailed face, such as a smiling or mysterious expression.
Surround the moon with tiny, twinkling stars. This combination creates a playful and engaging piece that blends both lunar and stellar elements into one charming design.
7. Lunar Landscape
Carve a detailed crescent moon with surface features like craters.
Pair it with a scattering of stars to create a mini lunar landscape.
This design not only highlights the moon but also adds depth and texture to your pumpkin, making it stand out.
8. Starburst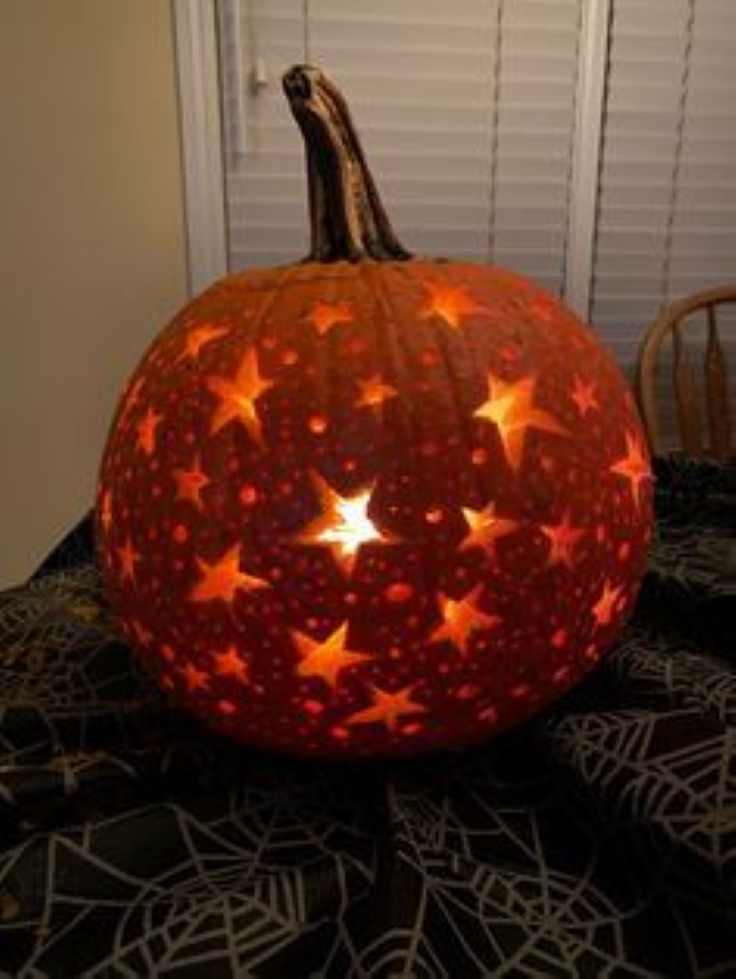
Design a large, central star with rays extending outward.
Carve smaller stars around it, and add radiating lines to simulate a starburst effect.
This pattern draws the eye to the center and creates a dramatic, radiant look that will make your pumpkin shine brightly.
9. Moonlit Forest
Combine a crescent moon with a silhouette of trees or a forest.
Carve the moon in one section of the pumpkin and position the forest scene in another.
Scatter a few stars in the background to complete the scene.
This design evokes a magical, moonlit forest that is both enchanting and atmospheric.
10. Moon and Stars Mosaic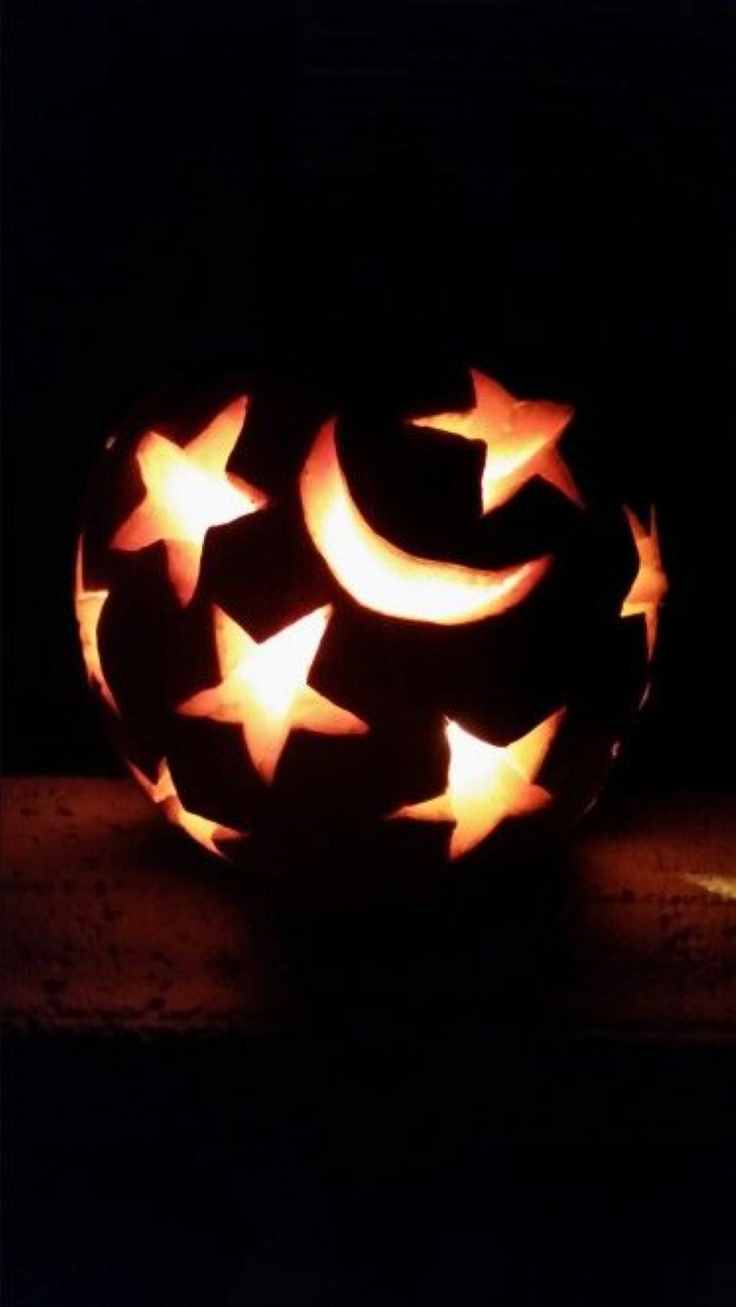
Create an intricate pattern with overlapping moons and stars in various sizes.
Arrange them in a mosaic-like layout across the pumpkin.
This design allows for a lot of creativity and variation, as you can experiment with different shapes and orientations to form a visually interesting pattern.
11. Constellation Pattern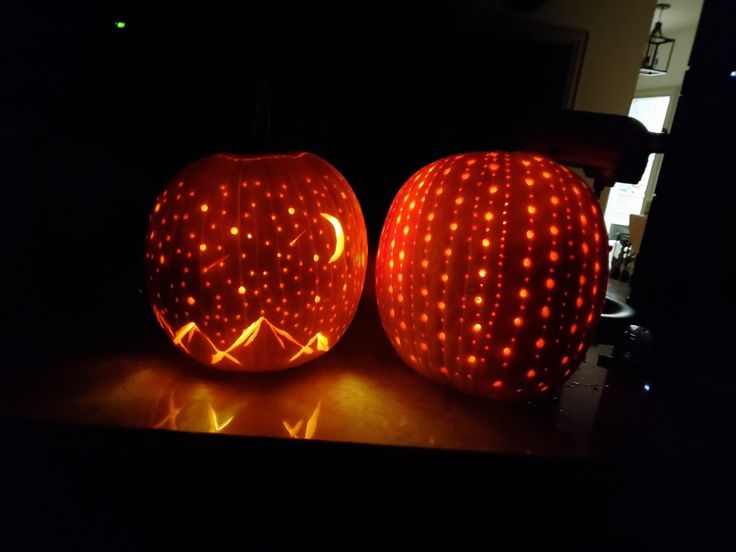
Carve a recognizable constellation, such as Orion or the Big Dipper, on your pumpkin.
Add a crescent moon in the design to enhance the celestial theme.
This pattern is ideal for those who want a more sophisticated and detailed design, reflecting their interest in astronomy and the night sky.
Tools needed for moon and stars pumpkin carving pattern
To carve moon and star pumpkin patterns, you’ll need the following tools:
1. Pumpkin Carving Kit
Typically includes a serrated knife, a small saw, and a scoop for cleaning out the pumpkin.
2. Paring Knife
For precise cuts and detailed carving, a paring knife can be very useful.
3. Pumpkin Scoop or Ice Cream Scoop
To remove the seeds and stringy insides of the pumpkin efficiently.
4. Pen or Marker
To sketch your design on the pumpkin’s surface before carving.
5. Stencils or Templates
If you prefer pre-designed patterns, print or trace stencils of moon and star designs onto your pumpkin.
6. Craft Knife
For fine details and intricate designs, a craft knife offers better control.
7. Cutting Mats
To protect your work surface and keep your carving area clean.
8. Small Drill or Pin
To make small holes for stars or to outline details before carving.
9. Tweezers
Useful for removing small pieces of pumpkin flesh and for precise adjustments.
10. Gloves
To protect your hands from sharp tools and pumpkin guts.
11. Flashlight or LED Candle
To light up your pumpkin and highlight your carved designs.
This post showed you 11 moon and stars pumpkin carving pattern ideas and also tools you will need for the carving.
You may also like: