As a mom and sewing enthusiast, I’ve found so much joy in making handmade baby items. One of my absolute favorites is the reversible baby bib, it’s adorable, functional, and a great way to use up leftover fabric scraps. Plus, you get two looks in one, making it perfect for stylish little ones and busy days.
Whether you’re sewing for your baby, preparing a baby shower gift, or just love a fun, easy sewing project, this reversible bib ticks all the boxes. It’s beginner-friendly, doesn’t require special tools, and comes together in no time. Let me walk you through every step.
Materials Needed: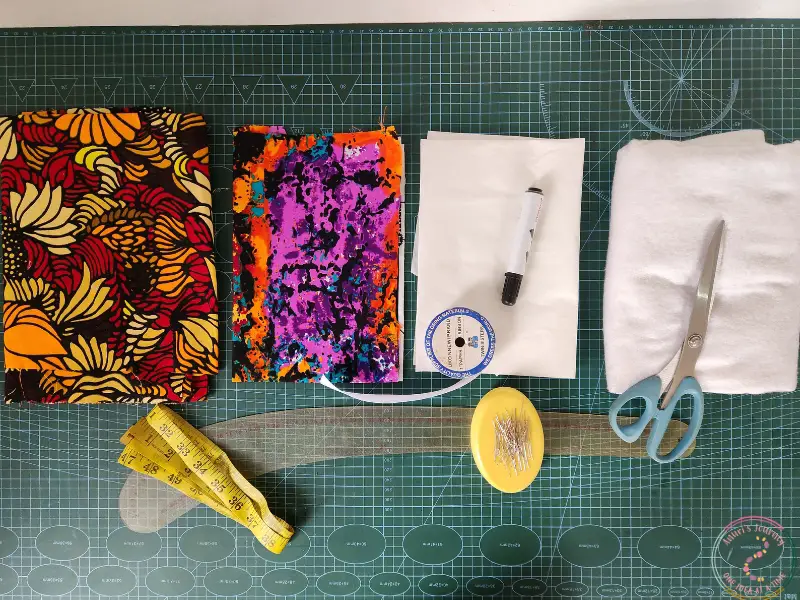
½ yard of cotton fabric (¼ yard each of two different fabrics)
¼ yard of soft gum padding (or fusible fleece for structure)
Sewing machine
Sewing thread
Scissors
Pins or affix pins
Measuring tape
Pattern paper
Ink marker or fabric marker
Measuring ruler
Curve ruler
1 yard of 1” wide ribbon
Pressing iron
Step-by-Step Instructions:
1. Draft the bib pattern: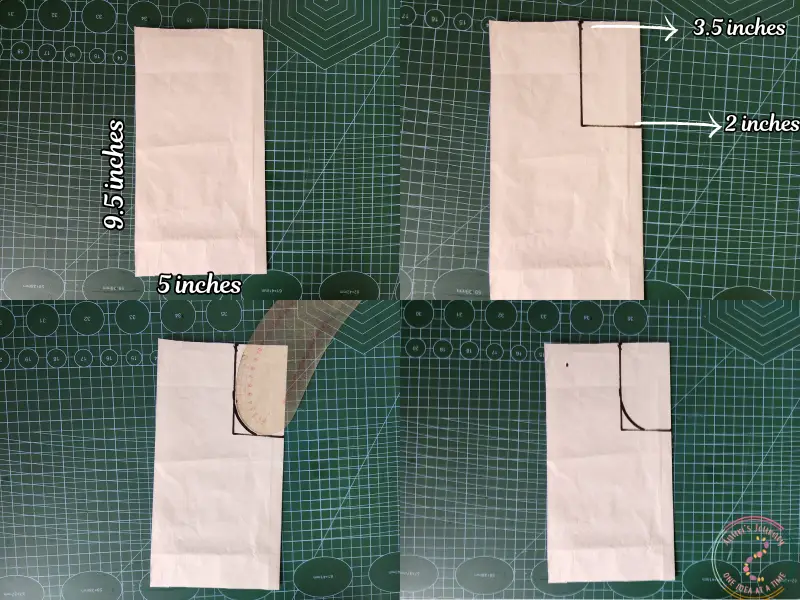
Start by folding a piece of pattern paper and measuring 9.5” by 5” on the fold.
On the top (folded) edge, measure 2” inward from the fold.
Then measure 3.5” downward from that 2” point.
Use a curve ruler to draw a gentle neckline curve connecting those two points.
2. Shape the body of the bib: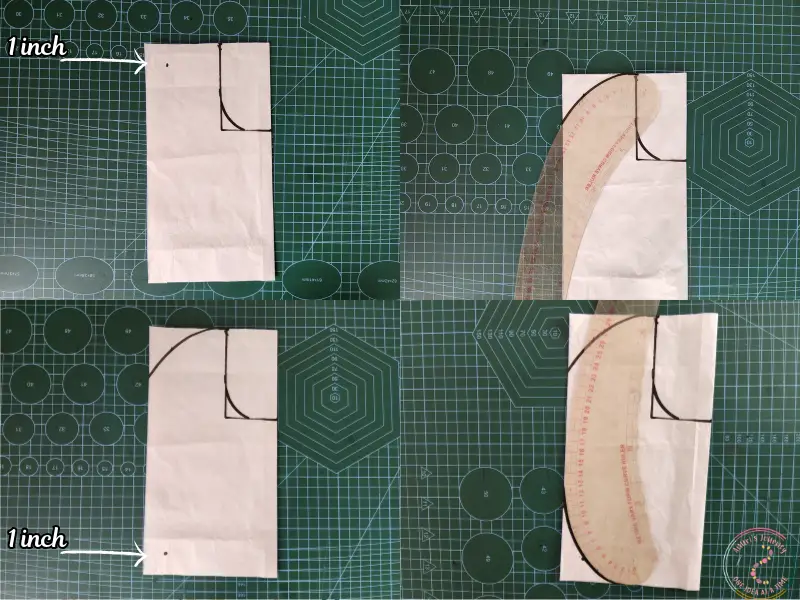
On the top edge (outside the neckline), mark 1” diagonally downward toward the side.
Use your curve ruler to connect the neckline to this mark and curve it gently toward the outer edge.
Repeat for the bottom edge: mark 1” inward diagonally from the lower corner and curve it smoothly into the sides and bottom of the bib.
3. Cut out the bib pattern and unfold it you now have your full bib shape.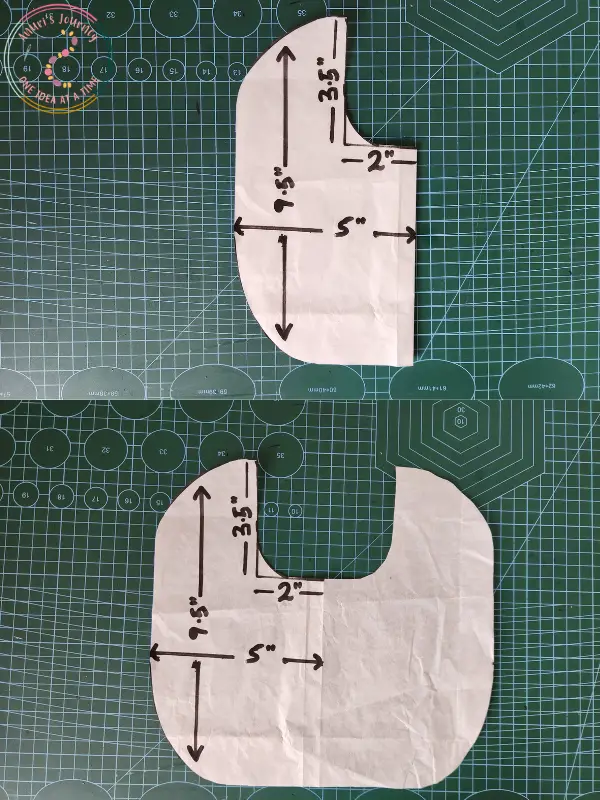
4. Cut your fabric and padding:
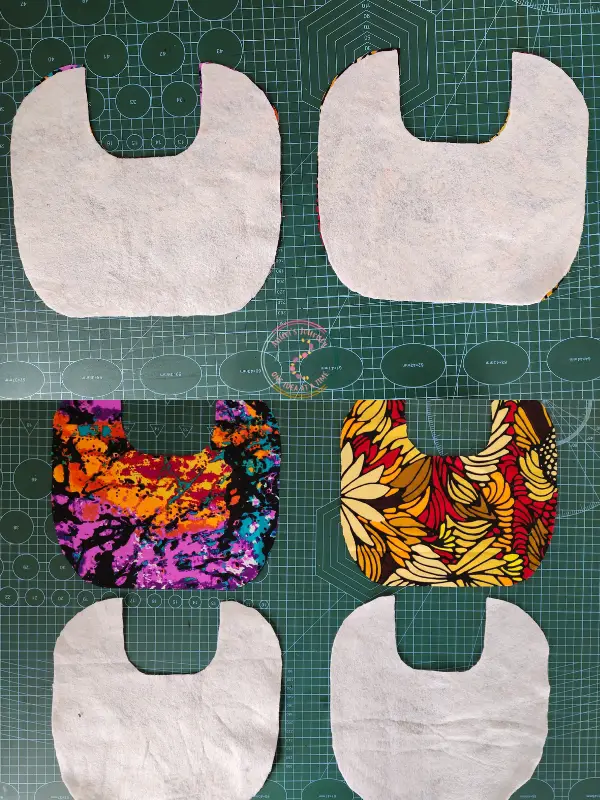
Place the pattern on your two fabrics and pin securely.
Cut one bib shape from each fabric, and also cut one piece of soft gum padding for each.
5. Fuse the padding: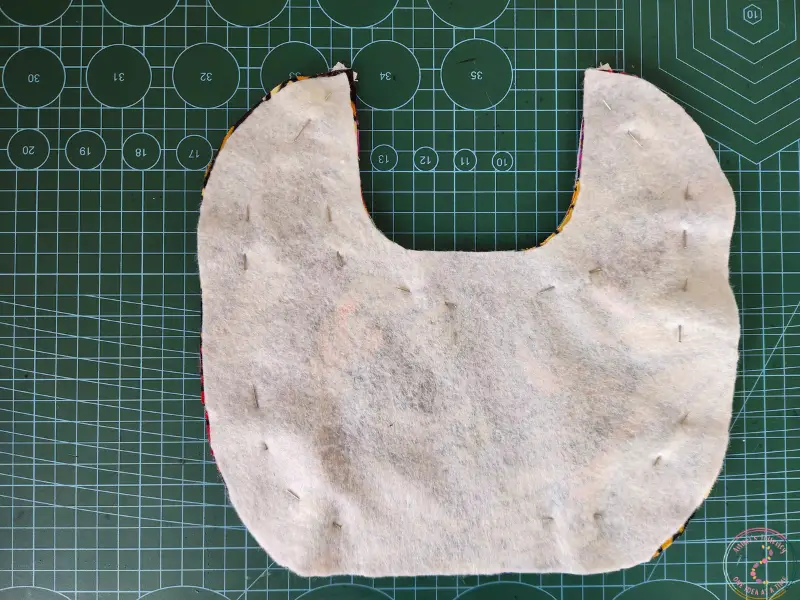
Use a pressing iron to fuse the gum padding to the wrong side of both fabric pieces.
6. Prepare your ribbon ties:
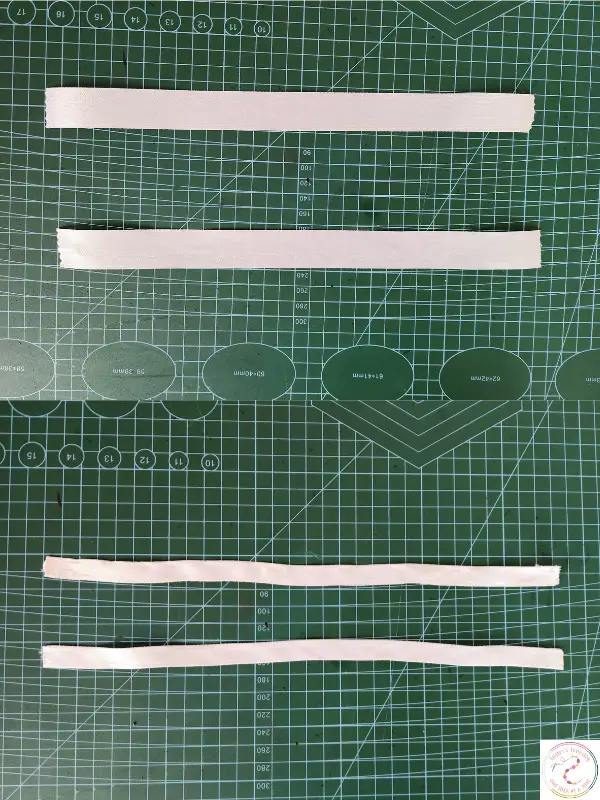
Cut two pieces of ribbon, each 12 inches long.
Fold each ribbon in half lengthwise and stitch along the open edge to create strong, neat ties.
7. Assemble the bib: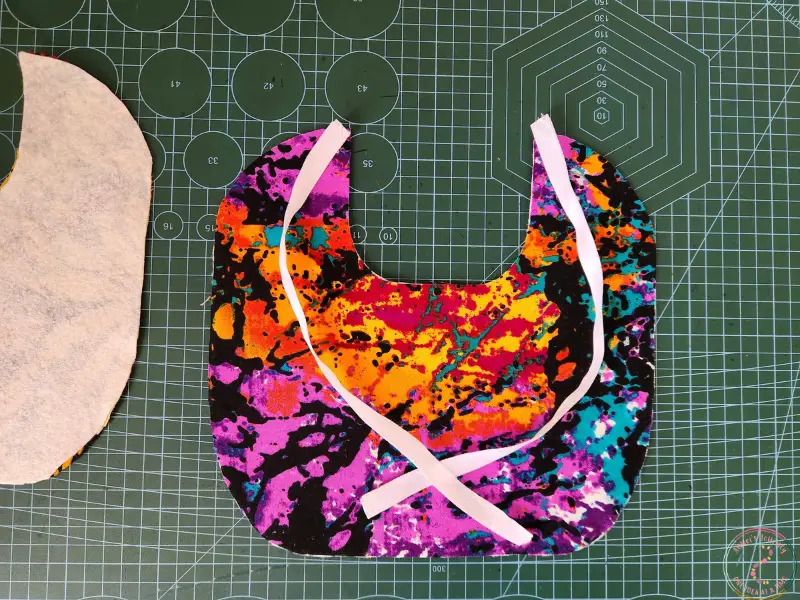
Place both fabrics right sides facing each other.
Position the two ribbon ties between the layers at the neckline edges, with the raw edges of the ribbons sticking out and the rest tucked inside.
Secure all edges with pins, leaving a 2-inch opening at the bottom for turning.
8. Sew around the edges: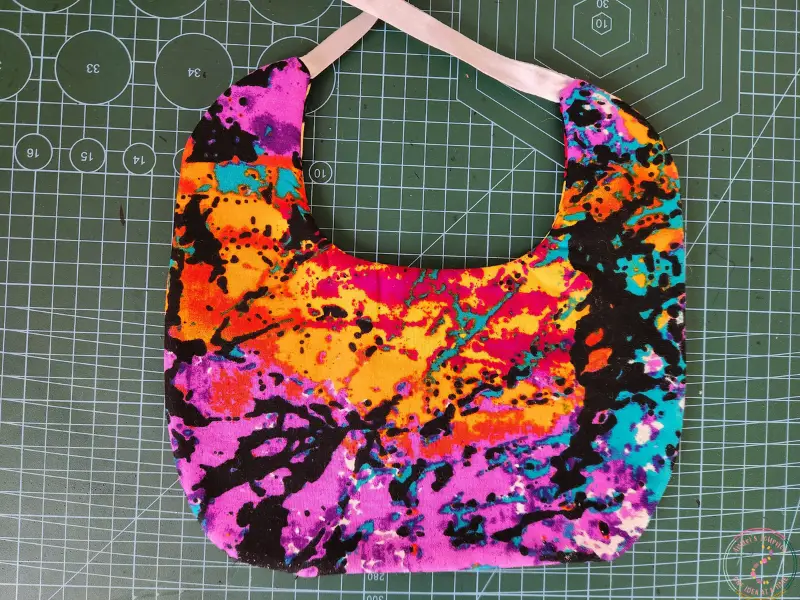
Sew around the entire bib using a ¼-inch seam allowance, making sure to leave the bottom opening unstitched.
9. Turn it right-side out:
Gently turn the bib right-side out through the opening.
Use a point turner or your fingers to smooth out the curves, then press it flat with an iron.
10. Finish with topstitching: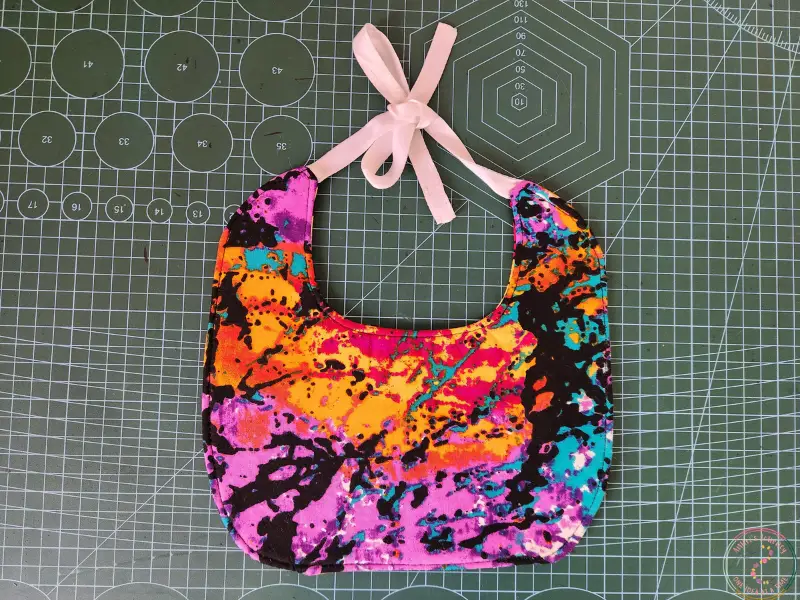
Tuck in the raw edges at the opening, then topstitch all around the bib, closing the opening and adding a clean, professional finish.
And that’s it, your Reversible Baby Bib is ready!
It’s soft, washable, and perfect for catching drool, spills, or milk dribbles. The reversible feature means you get two designs in one, making it extra handy when you’re out and about. You can personalize it with fun fabrics, embroidery, or even themed prints for holidays or birthdays.
This bib makes a heartfelt handmade baby shower gift, and once you make one, you’ll definitely want to make a whole stack.
You may also Like: