There’s something so nostalgic and sweet about scrunchies. Whether you remember them from the ’90s or you’re just falling in love with their cute, puffy charm, one thing’s for sure—scrunchies are back, and they’re here to stay.
But here’s the best part: you can make your own scrunchies at home with just a bit of fabric, a needle, thread, and a little patience. I still remember the first time I hand-stitched one for my daughter—it felt like such a small, loving thing, but she wore it proudly for days. And now, making scrunchies has become a fun, quick, and satisfying little project in our home.
If you’re ready to create something cute and practical (either for yourself or as a gift), this tutorial will walk you through making a scrunchie without a sewing machine—just some basic hand stitching.
Materials You’ll Need: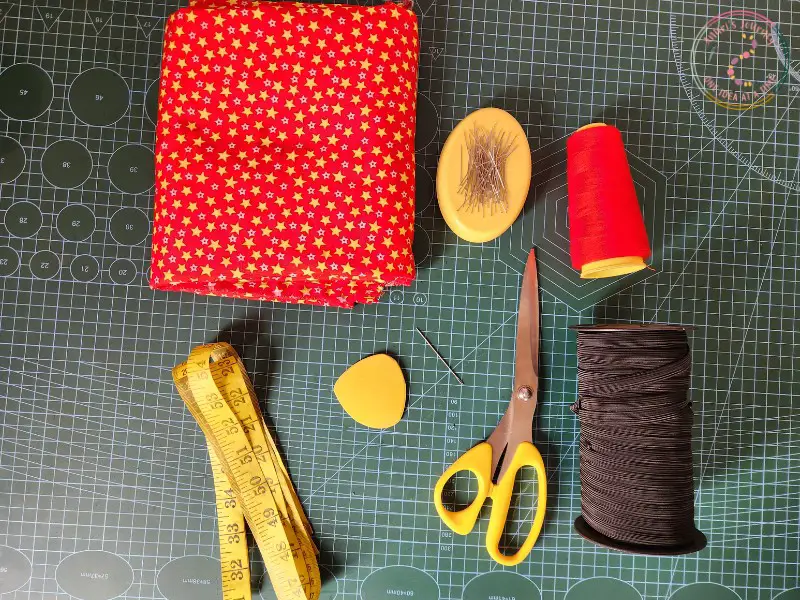
½ yard of fabric (cotton or satin works great)
Measuring tape
Hand needle
Stitching thread
Affix pins (or straight pins)
Scissors
¼” wide elastic (9 inches long)
Safety pin
Step-by-Step: How to Make a Scrunchie by Hand
1. Cut your fabric and elastic: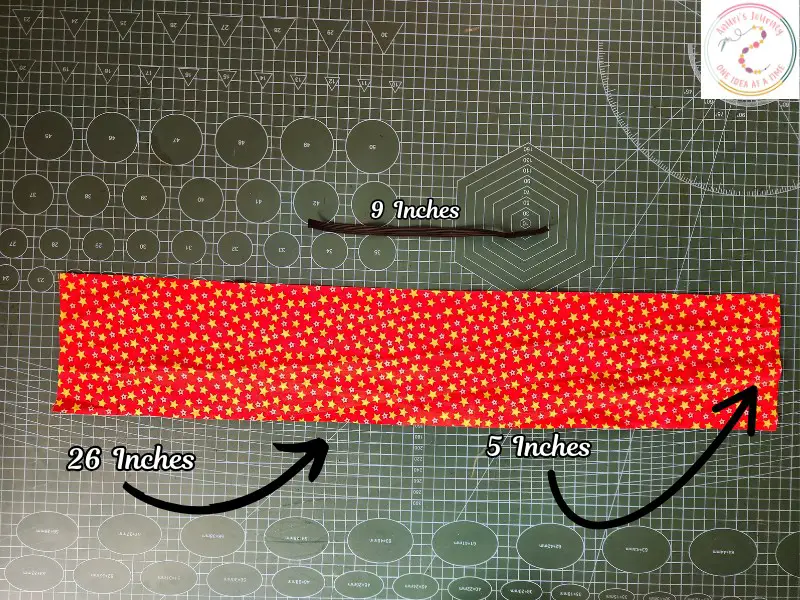
Start by cutting a strip of fabric measuring 26 inches long and 5 inches wide.
Cut a piece of ¼-inch wide elastic to 9 inches in length.
2. Fold and pin the fabric:

Fold your fabric in half lengthwise, with the right sides facing each other (the pattern or shiny side should be inside).
Use your measuring tape to mark a ½-inch seam allowance along the raw edge. Draw a guide line with chalk or fabric marker, then secure it in place with affix pins.
3. Start stitching: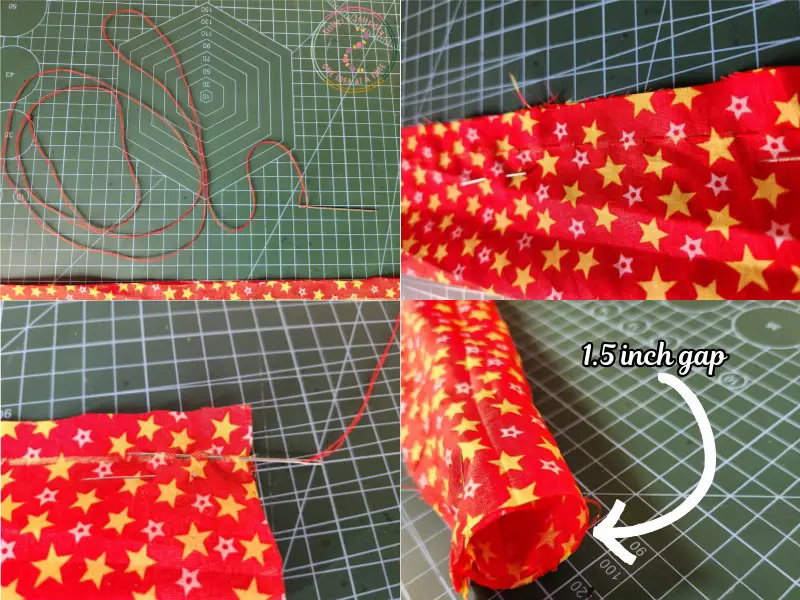
Thread your needle and tie a knot at the end. Use a running stitch or a backstitch to sew along the line you marked, securing both ends with a few tight backstitches.
Important: Leave about a 1.5-inch gap near the middle of the seam—this is where you’ll turn the fabric right side out later.
4. Form the scrunchie ring:
Once the seam is complete, remove the pins.
Now, take both short ends of the fabric tube, bring them together right sides facing, and sew them together with a ½-inch seam. This closes the loop and forms the circular shape of your scrunchie.
5. Turn it right side out: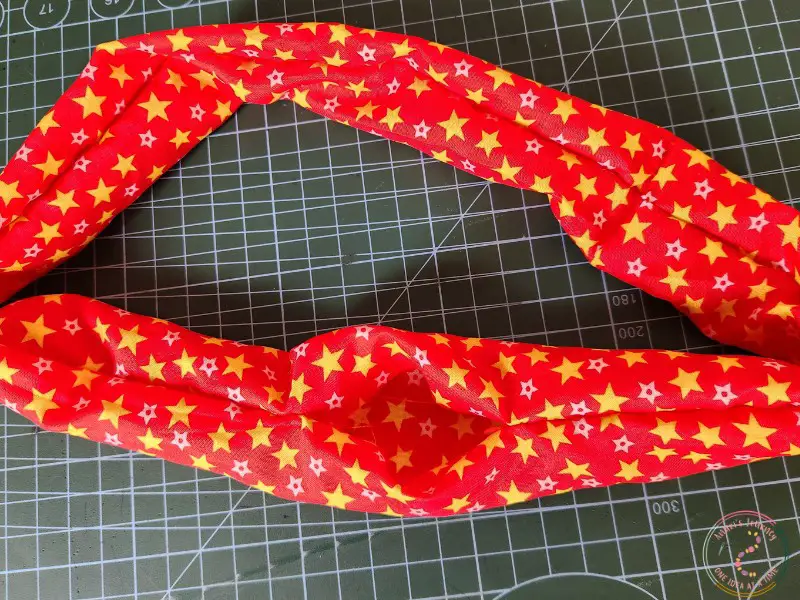
Carefully turn the fabric right side out through the opening you left. Take your time—it helps to use a pencil or chopstick to gently push the fabric through.
6. Insert the elastic:
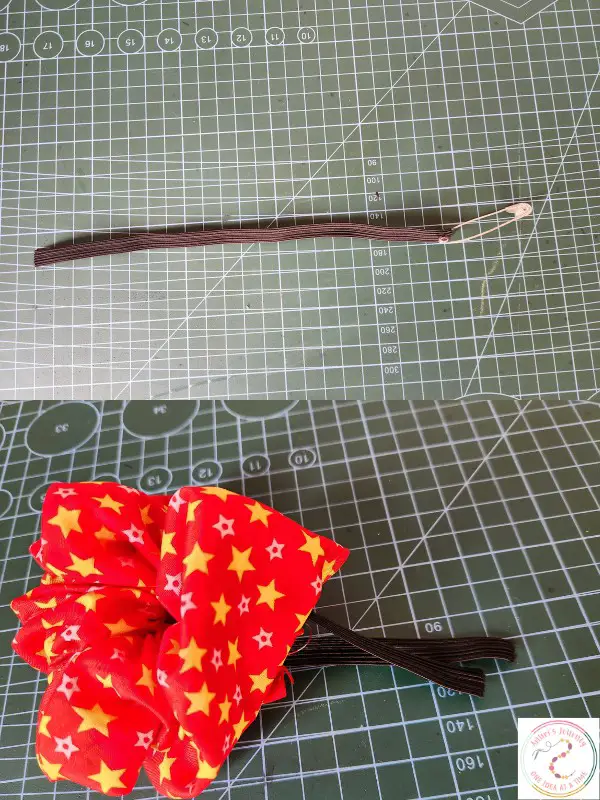
Attach a safety pin to one end of your elastic and feed it through the fabric tunnel. Bunch up the fabric as you go.
Once both ends of the elastic are out, tie a secure double knot or sew them together to hold it tight.
7. Close the opening:
Align the raw edges of the small opening you used to turn the fabric, fold them inward neatly, and use a small hand stitch (like a ladder stitch) to close the gap. Knot securely and trim the excess thread.
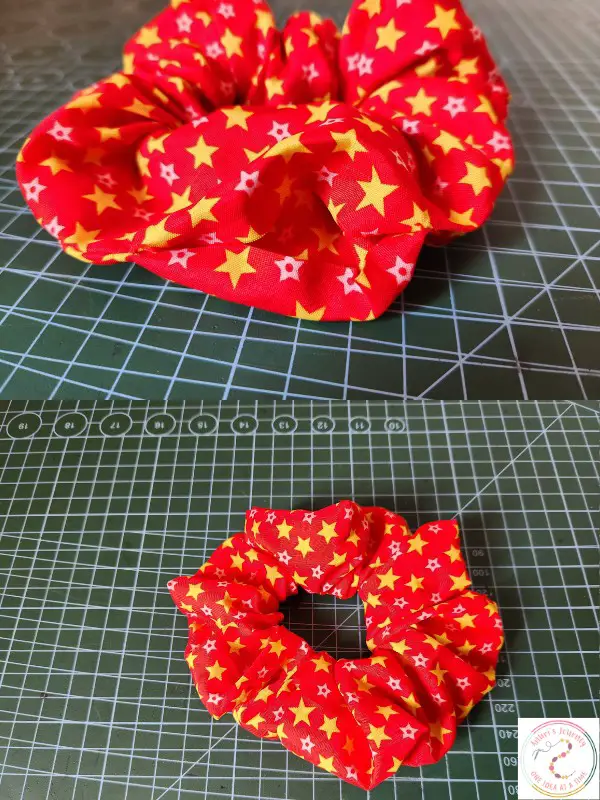
And There You Have It—Your Handmade Scrunchie is Ready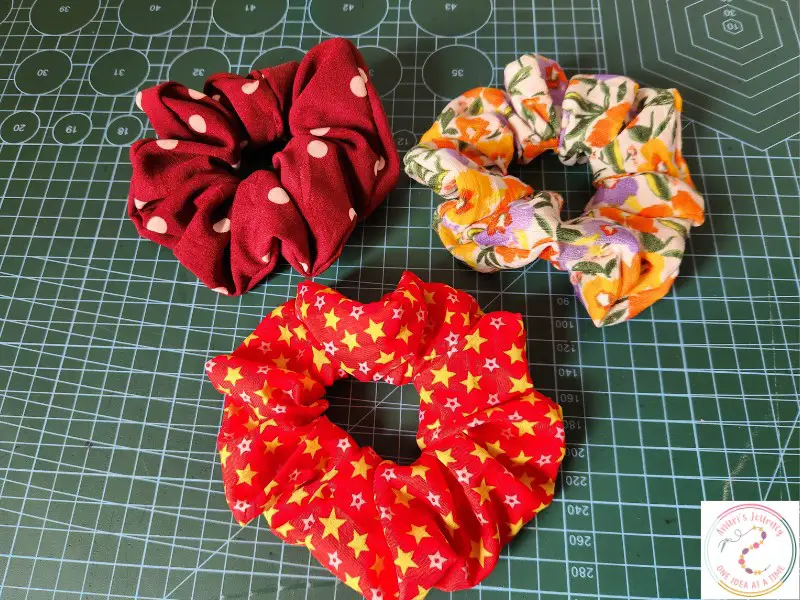
It’s so satisfying to see how a simple piece of fabric transforms into a cute, puffy hair accessory. You can experiment with different fabrics—cotton for casual looks, satin or silk for luxe vibes, or even velvet for a touch of elegance.
Make a few and keep them on hand as last-minute gifts, party favors, or even to match specific outfits. Honestly, once you make one, you’ll want to make five more.
you may also like: