There’s something special about wrapping a gift in something handmade. Whether you’re gifting a bottle of wine to a friend, bringing one to a dinner party, or preparing thoughtful holiday presents, a fabric wine bottle bag adds that perfect personalized touch—and it’s reusable too!
I love sewing these little bags because they come together quickly and look so elegant, especially when made with festive or classic fabrics. Plus, they’re a fantastic way to use up leftover fabric while creating something beautiful and functional.
Let me walk you through how to make your own wine bottle bag from scratch. No fancy skills required—just your sewing machine, a few basic materials, and a bit of creativity.
Supplies You’ll Need: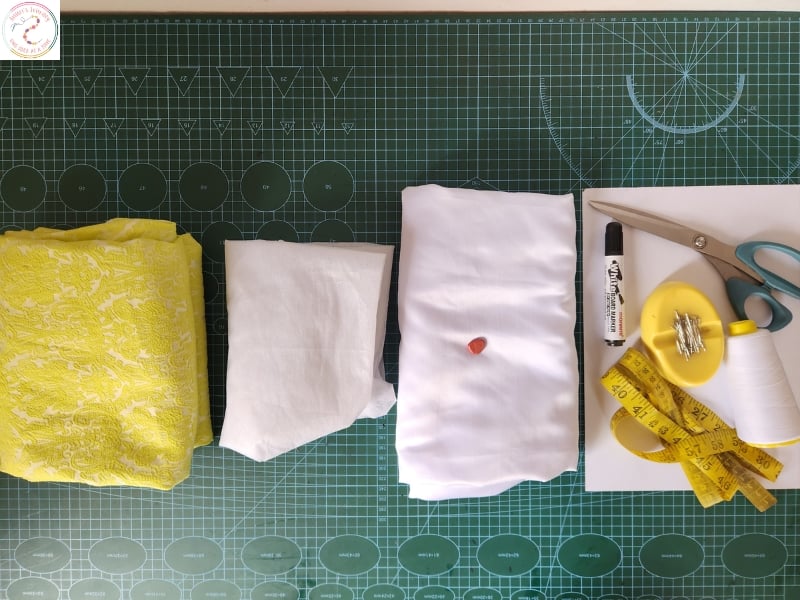
1 yard of fabric
(½ yard for the main fabric, ½ yard for the lining fabric)
½ yard of fusible interfacing
Sewing machine
Sewing thread
A pair of scissors
Affix pins
Pressing iron
Measuring tape
Tailor’s chalk or fabric pen
Pattern paper
Cutting Instructions:
1. Main and Lining Fabrics: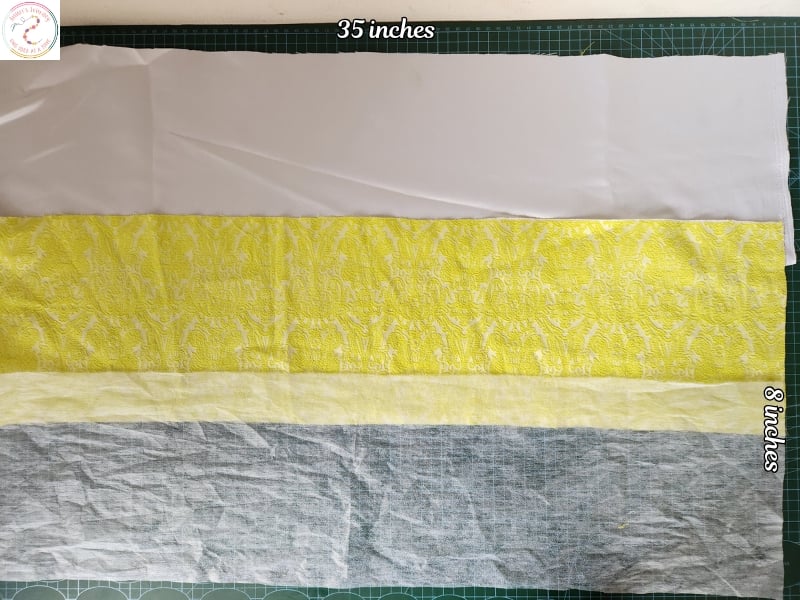
Cut one piece each of main fabric and lining fabric, both measuring 35” x 8”
2. Fusible Interfacing:
Cut one piece measuring 35” x 8”
3. Pattern for the Top Shape: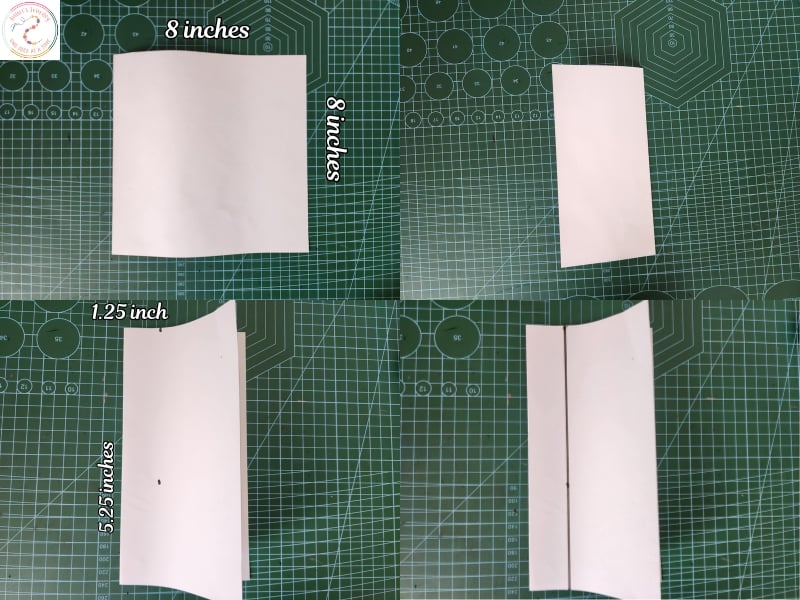
Cut a square pattern paper 8” x 8”
Fold it in half
From the upper folded edge, mark 1.25” inward, then draw a vertical line down
From the bottom, mark 5.25” upwards and draw a horizontal line
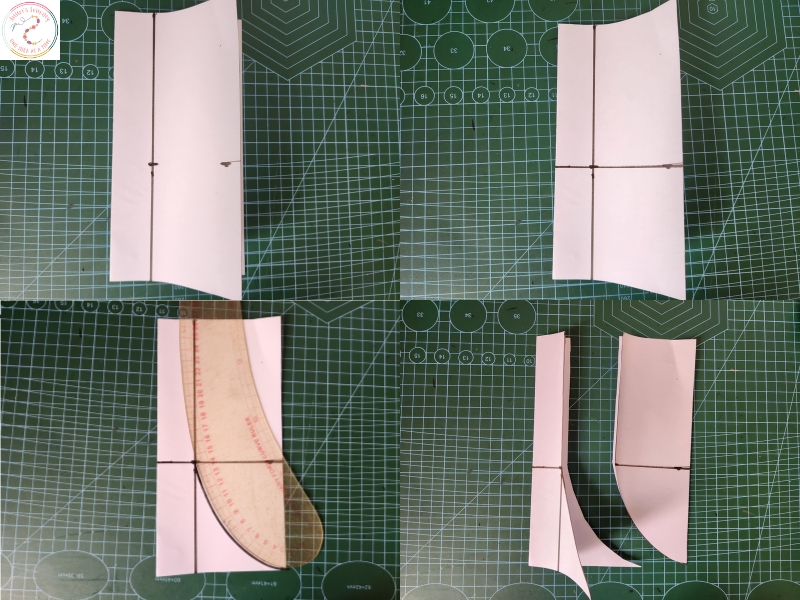
At the point where the two lines meet, draw a curved line down to the bottom edge
Cut out this curved shape to create your top flap pattern
Step-by-Step Sewing Instructions:
1. Fuse the interfacing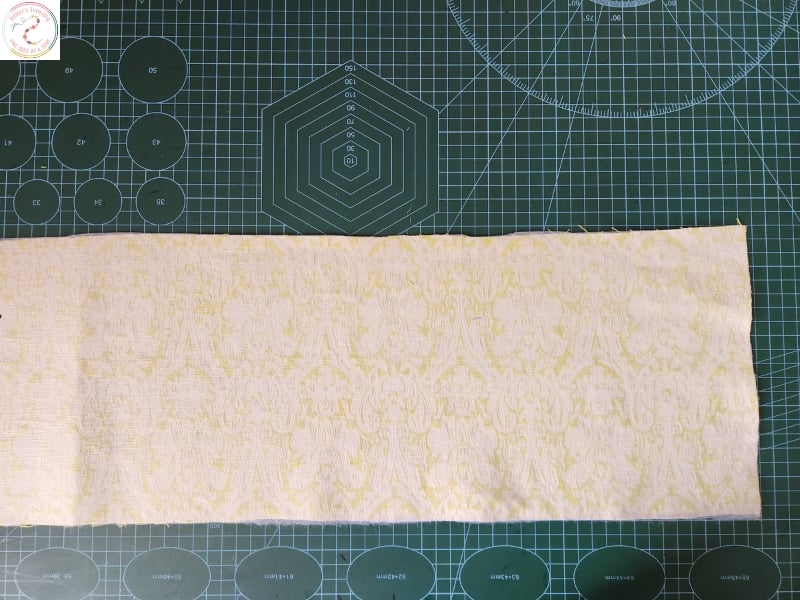
Attach the fusible interfacing to the wrong side of the main fabric using a pressing iron. This will give the bag a more structured and professional finish.
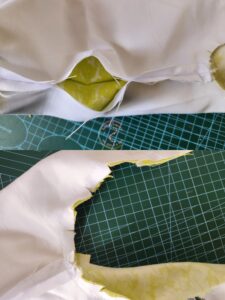
2. Shape the top opening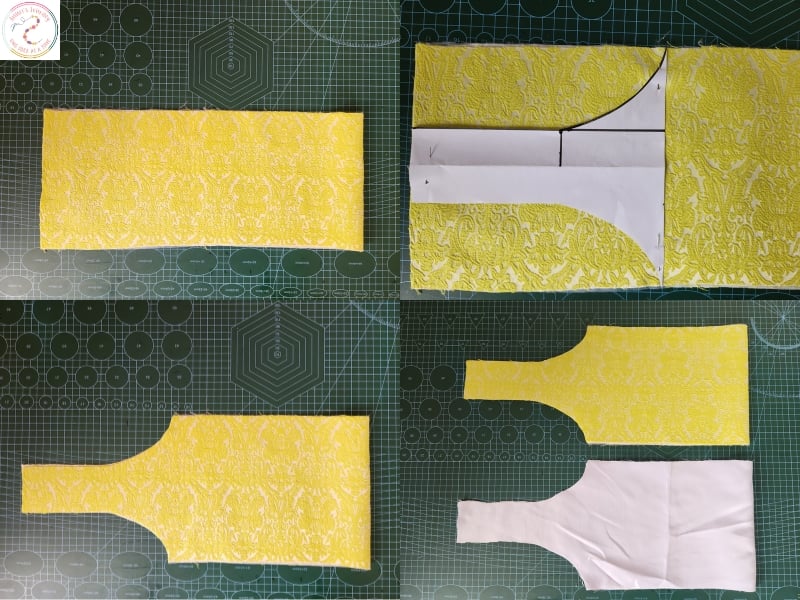
Fold the main fabric in half lengthwise.
Place your top flap pattern on the folded edge, secure with pins, and cut out the shape.
Repeat this process for the lining fabric.
3. Create boxed corners at the bottom
On both fabrics, at the bottom edges, mark 1.5” vertically and horizontally from each corner.
Connect the lines to form a small square, then cut out the squares.
4. Sew the side seams

Place the main fabric right sides together and sew down the two long sides with a 0.4” seam allowance.
Repeat with the lining fabric, but leave a 3” opening at the bottom—this is where you’ll turn the whole bag right side out later.
5. Create the boxed corners

Pinch each bottom cut-out corner (on both main and lining fabrics) to bring the raw edges together, forming a triangle.
Sew across each triangle with a 0.25” seam allowance.
These seams create the flat base that gives the bag depth.
6. Assemble the bag
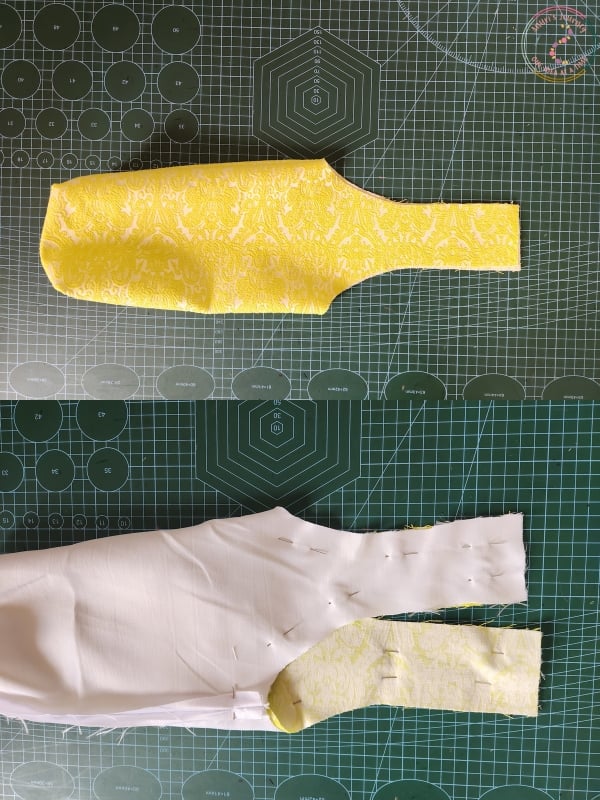
Turn the main fabric right side out.
Tuck it inside the lining fabric, so right sides are facing each other and the seams align.
Match all seam lines and secure with pins.
7. Mark the stitch points for the top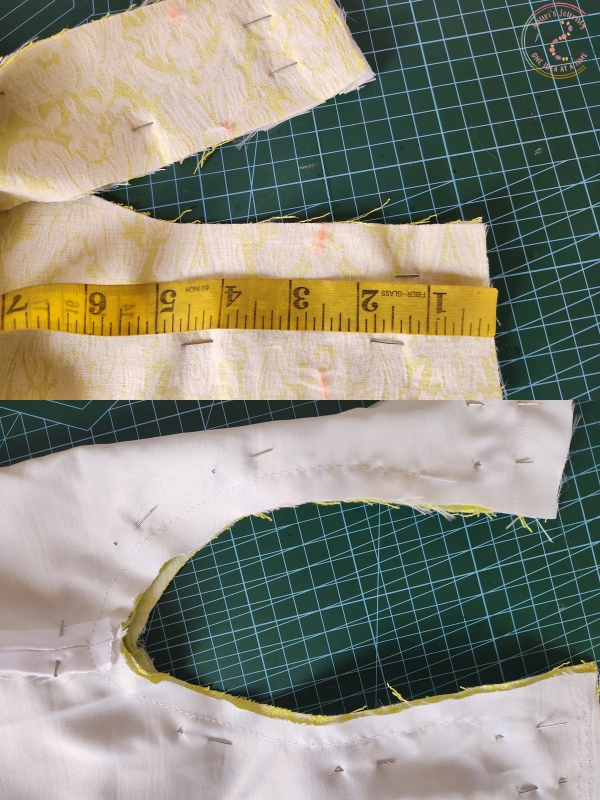
From the top edge of the bag, measure 2.5” downward on both sides and mark with tailor’s chalk or a fabric pen.
These marks indicate where you should start and stop sewing, leaving space at the very top for folding and finishing.
8. Sew the top edge
Stitch around the top edge of the bag, starting and stopping at the 2.5” marks.
Notch the corners of the seam allowances to help the curved areas lay flat when turned.
9. Turn and finish the bag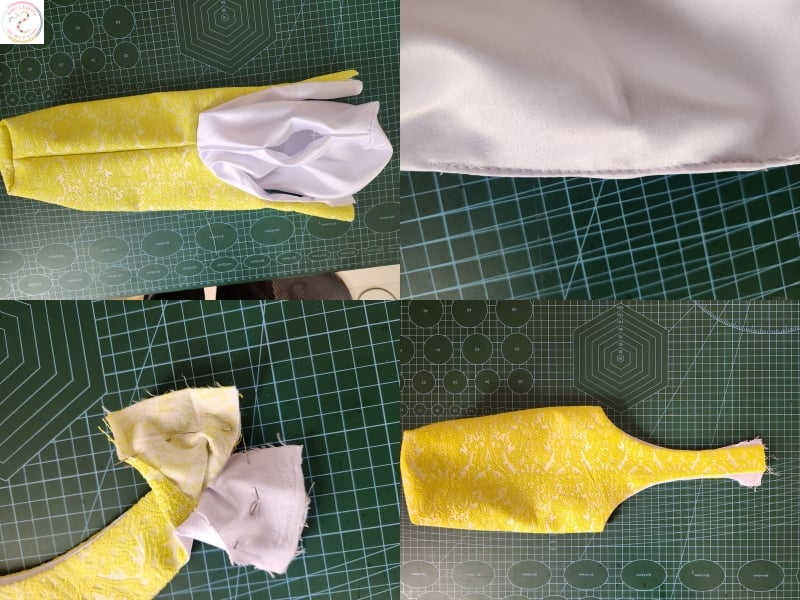
Through the 3” opening in the lining, turn the bag right side out.
Stitch the opening closed by hand or with a neat machine topstitch.
Push the lining inside the main fabric and smooth out all edges.
Give the bag a good press to make everything crisp and flat.
10. Finish the top flap
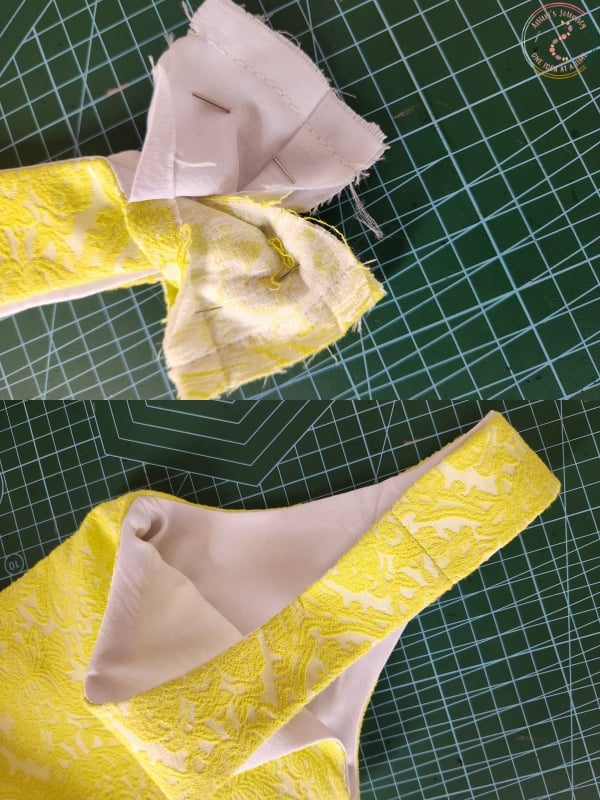
At the top opening, take the two matching flap pieces, align right sides together, and sew with a 0.25” seam allowance.
Remove pins and turn them right side out.
Topstitch along the flap and extend the stitch line neatly down the curved sides to give it a clean finish.
And just like that, your fabric wine bottle bag is ready.
You can personalize it further with ribbon handles, monograms, or even festive fabric for holidays and events. It’s an eco-friendly and thoughtful way to present a bottle—and your sewing skills.
You may also like: