There’s something deeply satisfying about creating beauty with your hands—especially when it’s something small, simple, and useful like a fabric coaster. Lately, I’ve been exploring ways to add a soft, handmade charm to our everyday living space, and that’s how this flower-shaped fabric coaster came to life.
It’s cheerful, beginner-friendly, and the perfect way to use up those cute fabric scraps you’ve been holding onto. Whether you’re sipping morning tea or hosting friends for brunch, this pretty little coaster adds a delicate floral touch to any setting. It also makes a lovely gift—imagine pairing it with a mug and some herbal tea as a thoughtful handmade present.
Let me show you just how easy it is to make your own.
Materials You’ll Need
¼ yard of cotton fabric (choose bright or floral prints for a playful look)
¼ yard of soft padding or lightweight batting
Sewing thread
Sewing machine
Measuring tape or quilting ruler
Fabric scissors or rotary cutter
Pattern paper
Affix pins or clips
Pressing iron
Instructions
Step 1: Cut the Fabric and Padding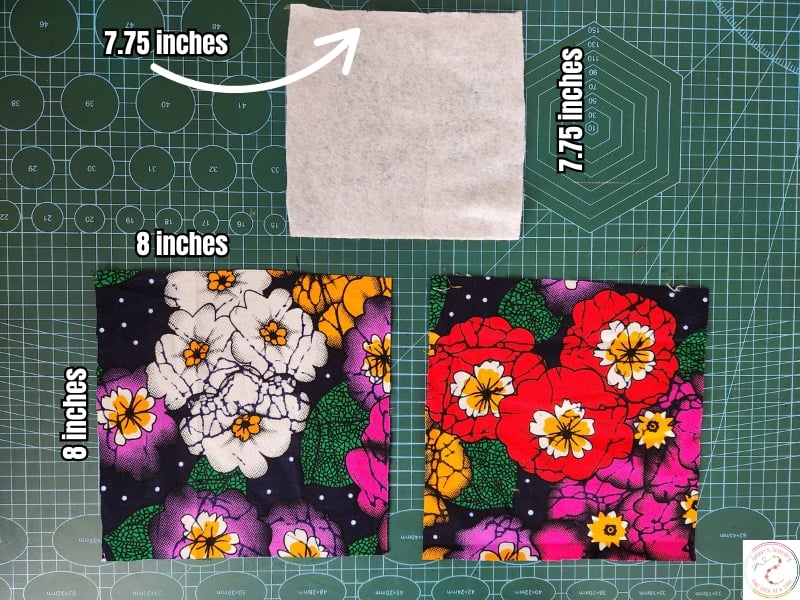
Cut two fabric squares, each measuring 8” × 8”.
Cut one square of soft padding measuring 7.75” × 7.75” (this ensures it stays neatly inside).
Step 2: Create Your Flower Pattern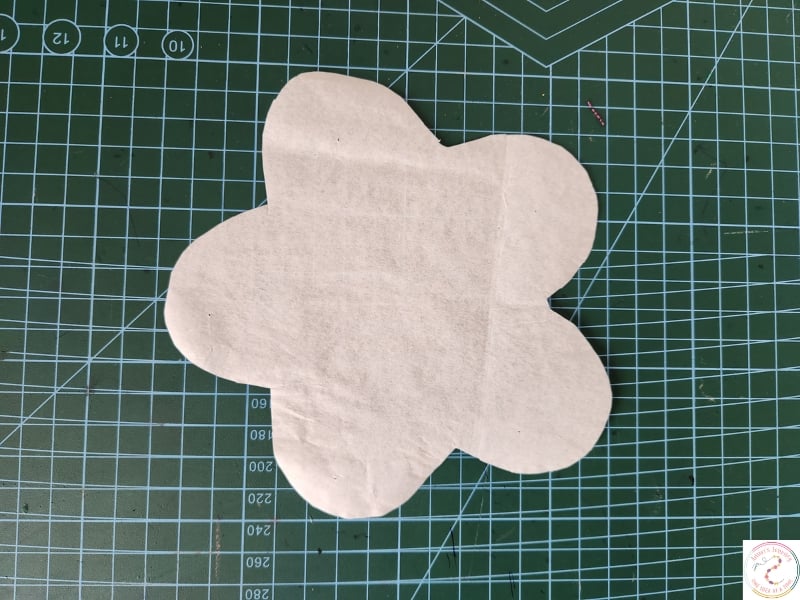
Draw or print out a flower shape of your choice. It could be a simple 5- or 6-petal design or a more stylized floral shape.
Ensure the pattern fits inside your 8” square with enough room for seam allowance.
Cut the flower shape out of your paper or cardboard to create a reusable template.
Step 3: Cut the Flower Shapes
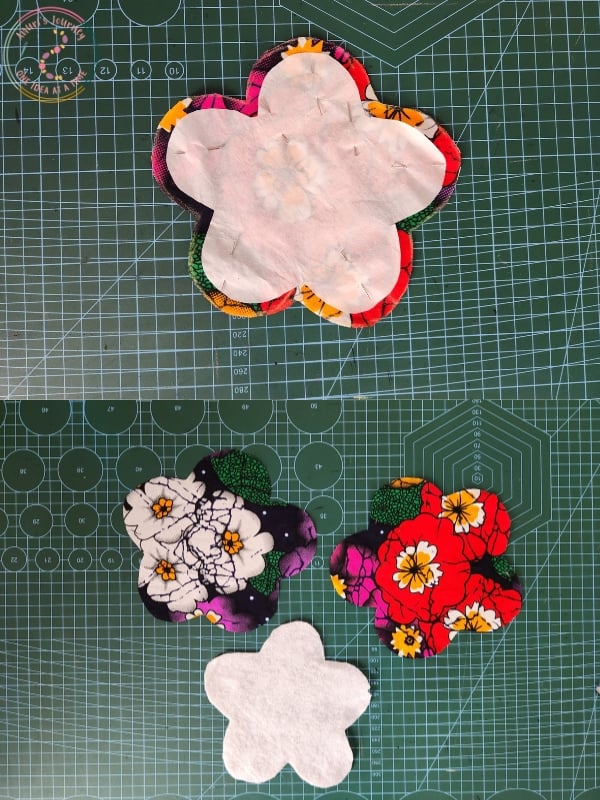
Place your flower pattern on both fabric pieces and pin it down.
Add a ¼ inch seam allowance all around the flower shape before cutting.
Cut the same flower shape out of the soft padding—but without seam allowance, so it’s slightly smaller.
Step 4: Attach the Padding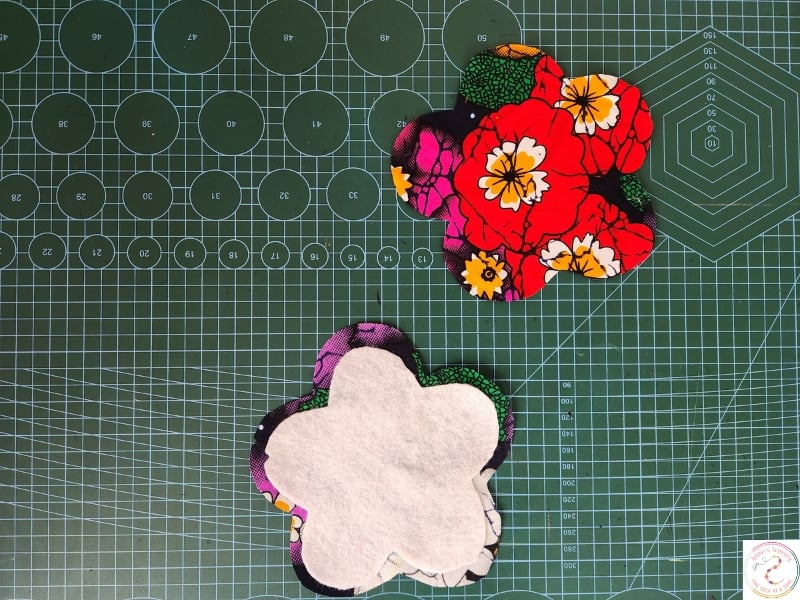
Place the padding on the wrong side of one fabric piece.
Press with an iron to smooth it out and lightly adhere it if using fusible batting.
Step 5: Sew the Flower Coaster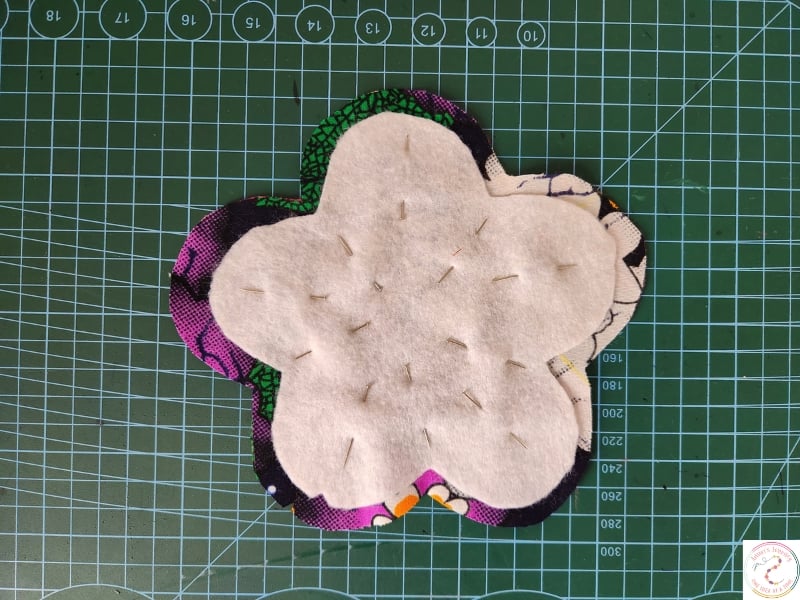
Place the two fabric flower pieces right sides together, with the padded side on the outside.
Pin around the edges to secure.
Sew around the entire flower shape using a ¼ inch seam allowance, but leave a 1.5” opening on one side for turning.
Step 6: Trim and Turn
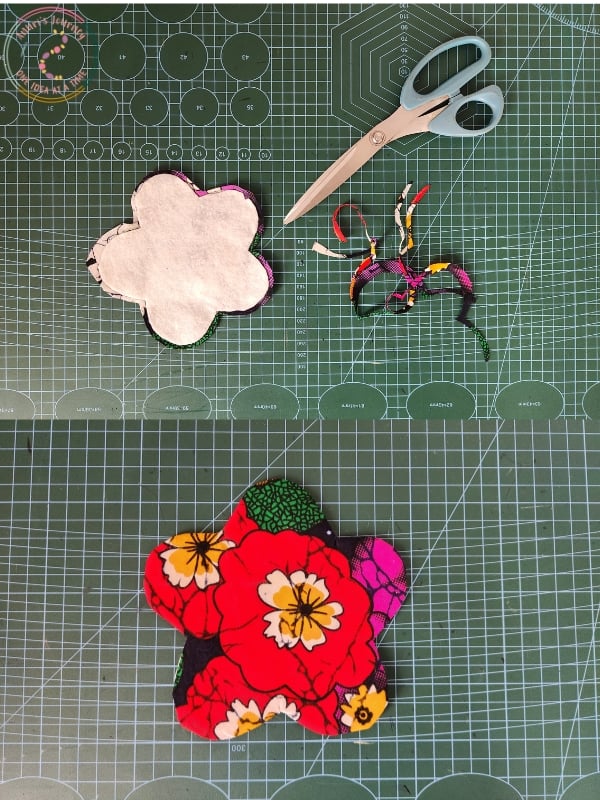
Remove pins and trim any excess fabric from around the curves and corners (especially between petals), being careful not to cut through the stitches. This helps the shape turn out smoothly.
Turn the flower coaster right side out through the opening.
Gently push out each petal and edge to get the full flower shape—use a turning tool or a blunt object like a pen cap.
Step 7: Press and Finish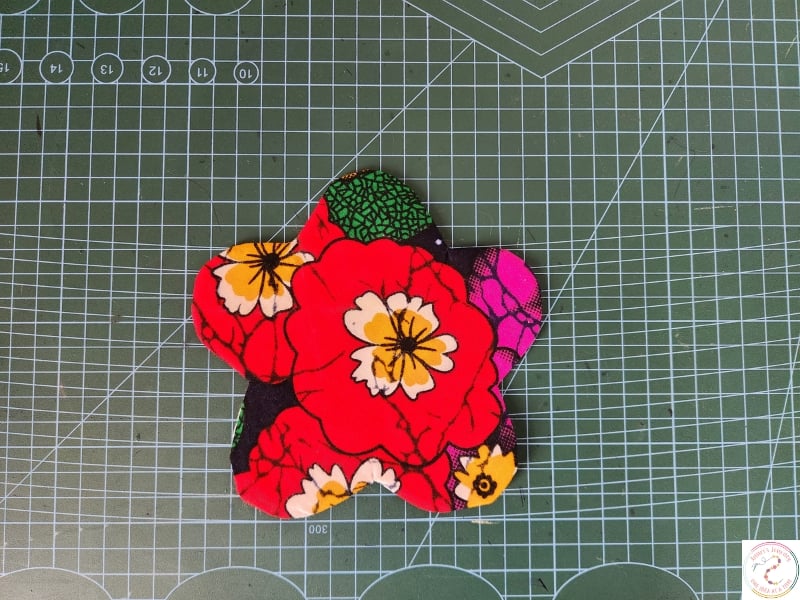
Give the coaster a good press with your iron to smooth everything out.
Fold the edges of the opening inward and topstitch all around the flower. This will close the gap and give your coaster a professional finish.
Optional: Add Quilting Details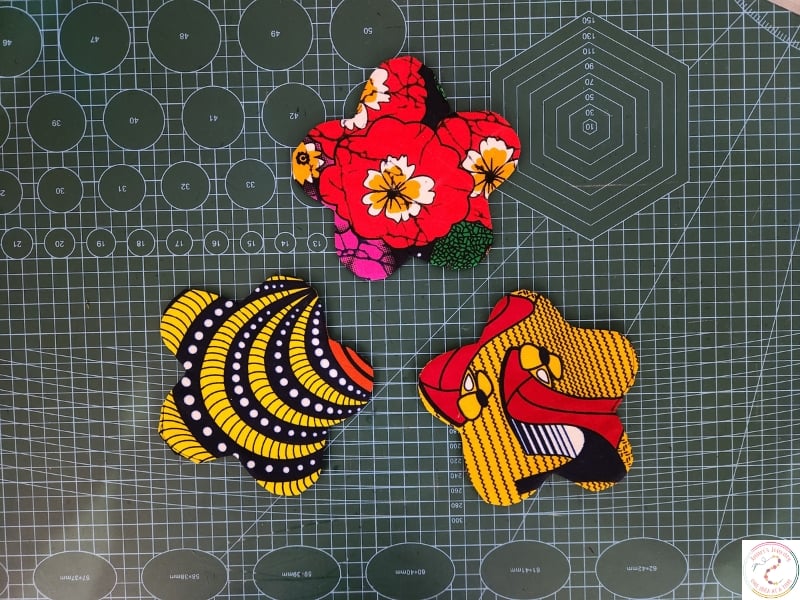
You can quilt inside each petal or add stitching details to mimic the veins of a flower.
I personally chose to leave mine plain to let the fabric speak for itself—but feel free to get creative.
And Your Flower Coaster Is Done.
Just like that, you’ve created a charming little piece of art that can brighten up any table. These are perfect for spring decor, tea parties, or as heartfelt gifts. Try making a set in different floral fabrics for an extra touch of joy.
You may also like: