I’ve always believed that the smallest sewing projects bring the biggest joys—especially when they combine fabric scraps, a dash of creativity, and a love for books. This fabric bookmark tutorial is one of those heartwarming crafts you can whip up in under 30 minutes, perfect for gifting or keeping your place in your current read.
I actually made these bookmarks on a quiet afternoon when my scrap basket was overflowing, and I couldn’t bear to let the pretty prints go to waste. That’s the beauty of this project: it’s quick, easy, beginner-friendly, and gives your leftover fabric a charming new purpose.
Whether you’re sewing for fun, for gifts, or to stock up your Etsy shop, this little project is sure to please.
Materials Needed: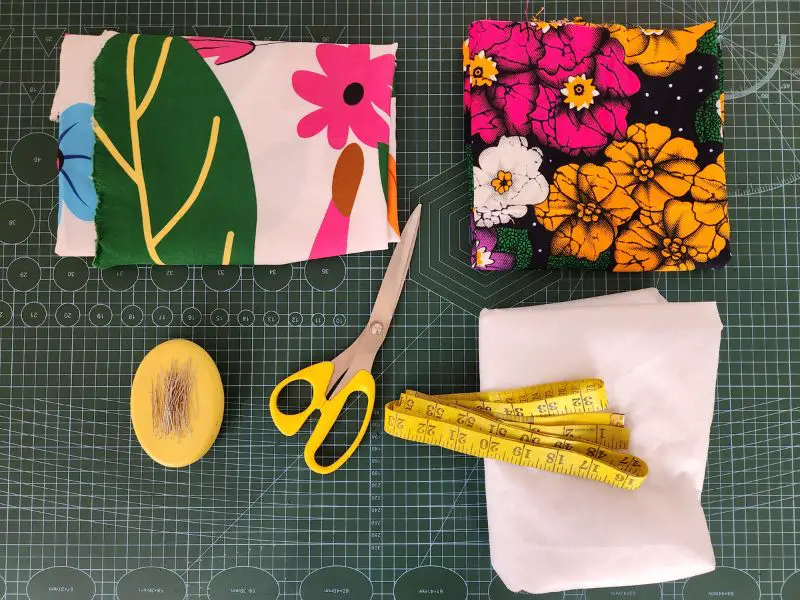
¼ yard of fabric (you can mix and match 2 or 3 prints for variety)
¼ yard of fusible interfacing
Sewing machine
Scissors
Pins
Sewing thread
Measuring tape
Iron and ironing board
Step-by-Step: How to Sew a Fabric Bookmark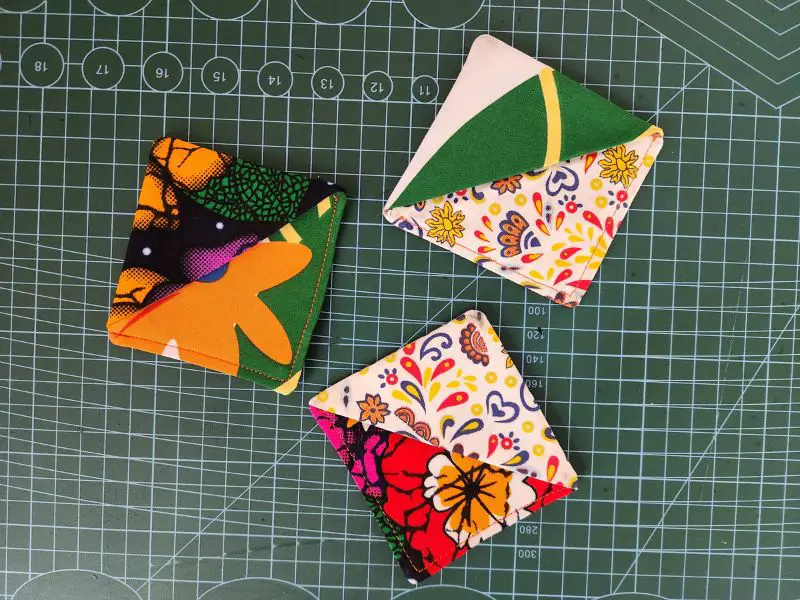
1. Cut your fabrics: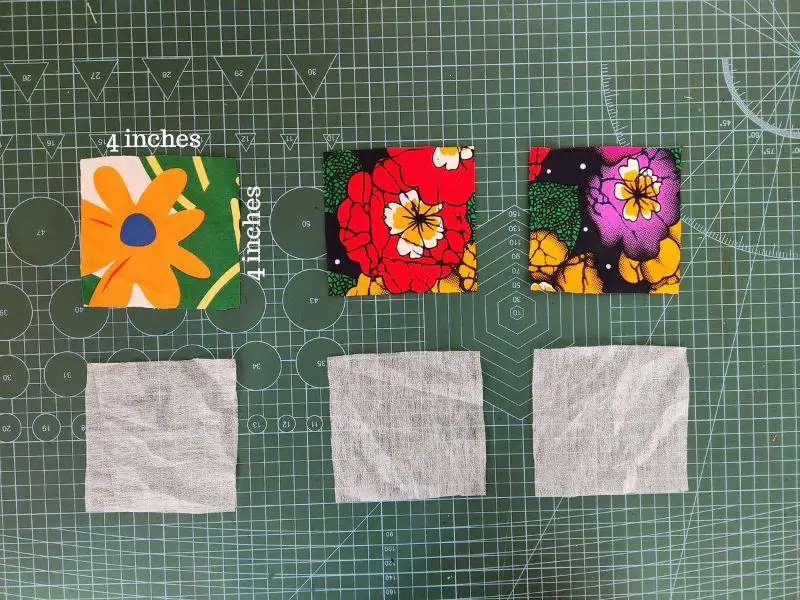
Start by cutting three fabric squares measuring 4″ x 4″ each. Feel free to use coordinating or contrasting prints—this adds a fun visual element to the final look.
2. Prepare the interfacing: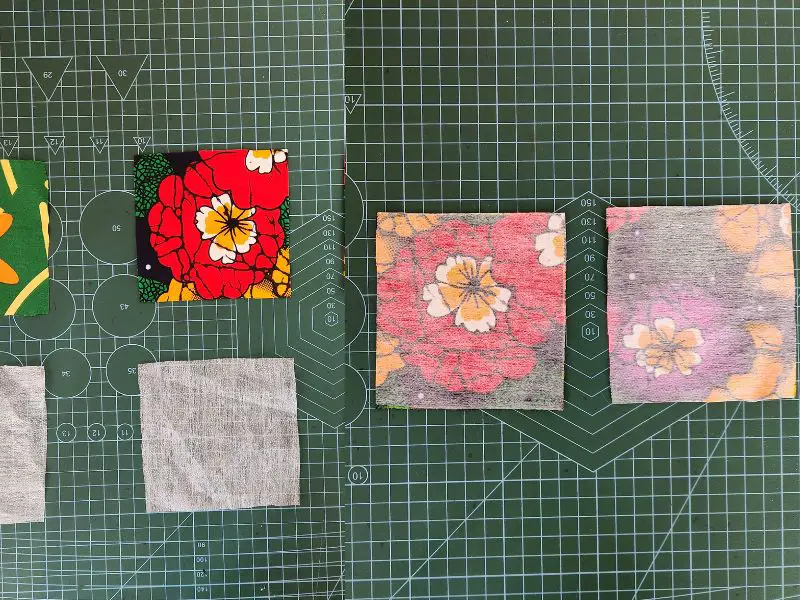
Cut three pieces of interfacing, each sized to match your fabric squares.
Iron each interfacing piece onto the wrong side of each fabric square to give them structure and durability.
3. Create the triangle flap: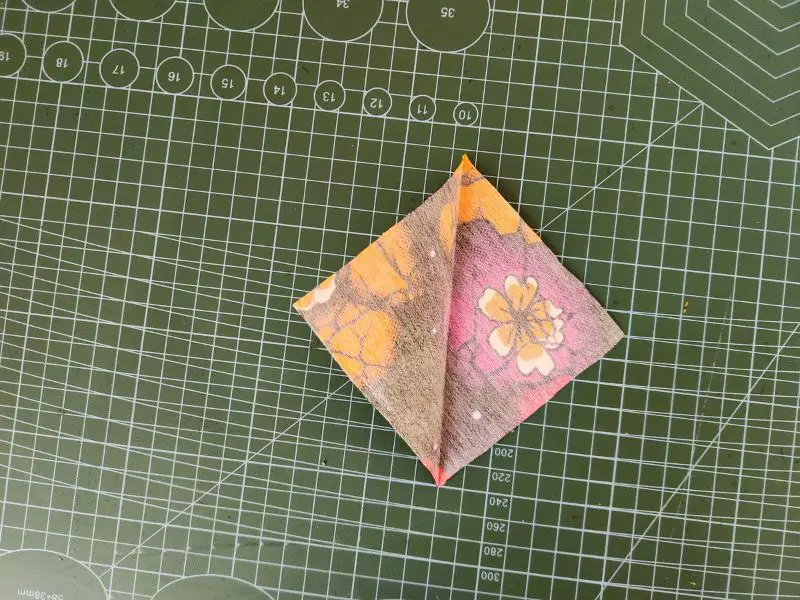
Take one of the fabric squares and fold it diagonally into a triangle. Press it with a hot iron to create a clean fold—this will form the pocket of the bookmark.
4. Layer the fabrics: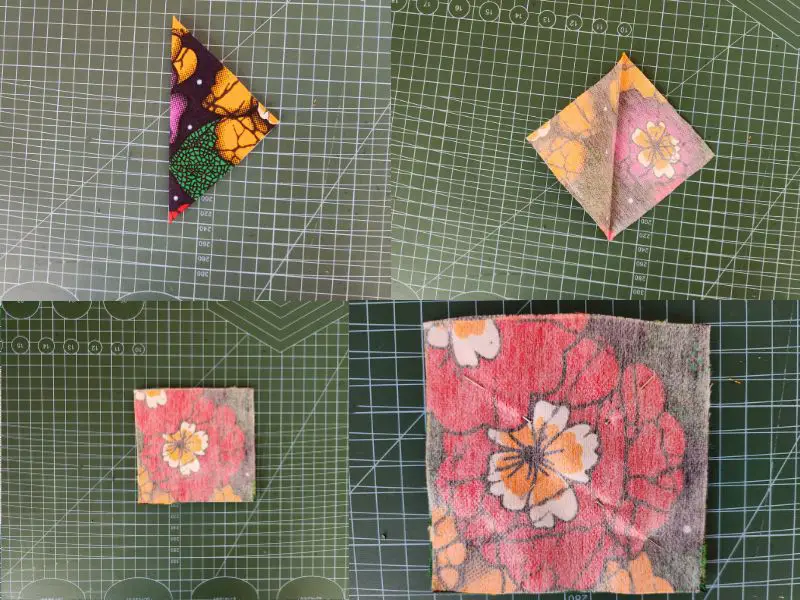
Lay one of the remaining squares right side up.
Place the folded triangle piece on top, aligning the raw edges.
Place the final fabric square on top of everything, right side down—you should have a sandwich with the triangle in the middle.
Pin all the layers together carefully.
5. Sew it all together: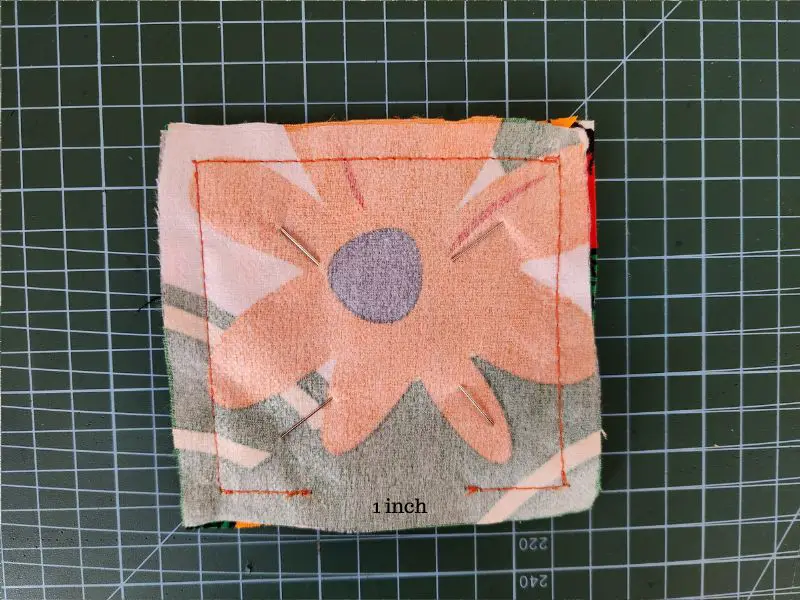
Using a ¼” seam allowance, sew around all four sides, but remember to leave a small opening (about 1–1.5″) so you can turn it right side out.
6. Turn & press: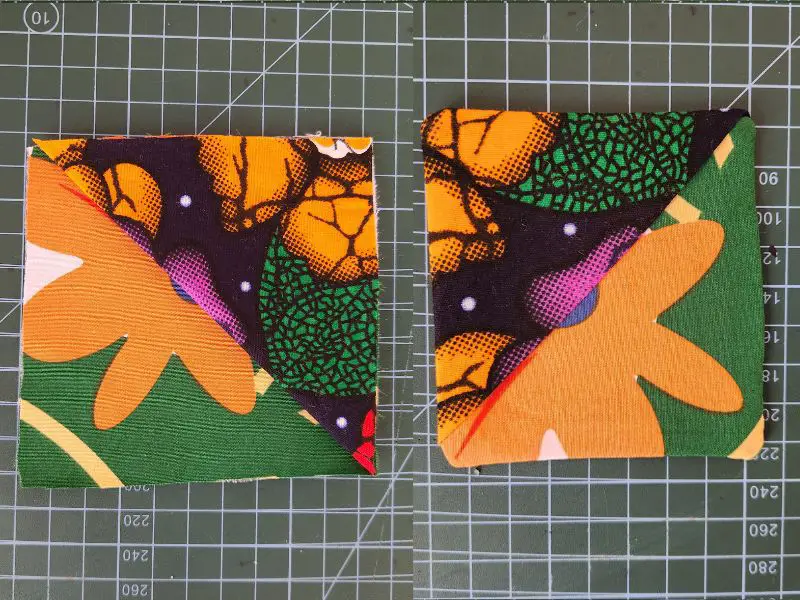
Remove the pins, gently turn the bookmark right side out through the opening, and use a point turner (or the tip of your scissors) to push out the corners. Press flat with an iron, folding the raw edges of the opening inward.
7. Finish with a topstitch: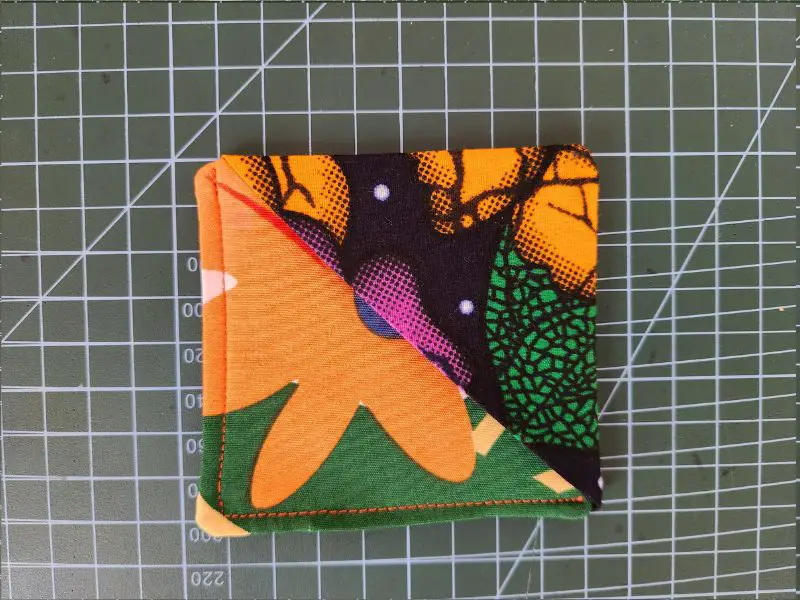
Topstitch around the entire square, focusing especially on the side opposite the triangle flap to avoid too much bulk. This step not only closes the opening but gives your bookmark a neat, professional finish.
And That’s It—Your Fabric Bookmark Is Ready!
There’s something so satisfying about finishing a small sewing project and holding it in your hands. These bookmarks make sweet gifts for book-loving friends, thoughtful teacher appreciation tokens, or even cute packaging add-ons for your handmade business.
Bonus idea? Make a batch of these with seasonal fabrics—autumn prints, holiday motifs, or pastel florals—and pair them with a new book for the perfect gift set.