If you’re anything like me, you know how easy it is to lose or scratch your sunglasses especially when tossing them into a handbag or car compartment. I’ve learned (the hard way) that having a soft but structured sunglass case is essential for keeping them safe. And what better way to protect them than by sewing a cute case yourself?
This DIY fabric sunglass case is not only beginner-friendly, but it’s also a great scrap-busting project. You can whip one up in under an hour and customize it with fun fabrics, linings, and buttons to match your personal style. Whether you’re sewing for yourself or looking for a thoughtful handmade gift, this tutorial will walk you through every step.
Materials Needed: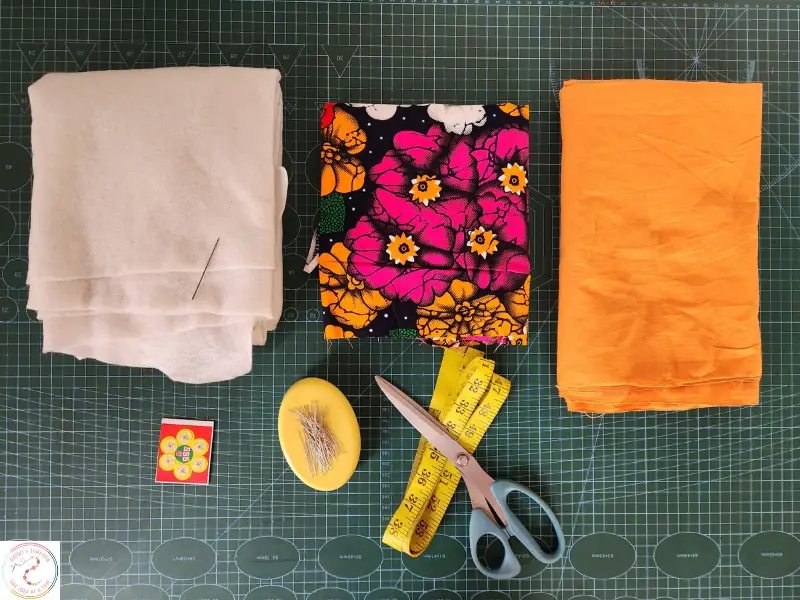
½ yard of fabric (¼ yard for the outer fabric, ¼ yard for the lining)
¼ yard of soft gum padding
Sewing machine
Sewing thread
Clip buttons (or snap fasteners)
Pins
Scissors
Pressing iron
Tailor’s chalk or fabric marker
Measuring tape
Hand sewing needle
Step-by-Step Instructions:
1. Cut out your fabric pieces: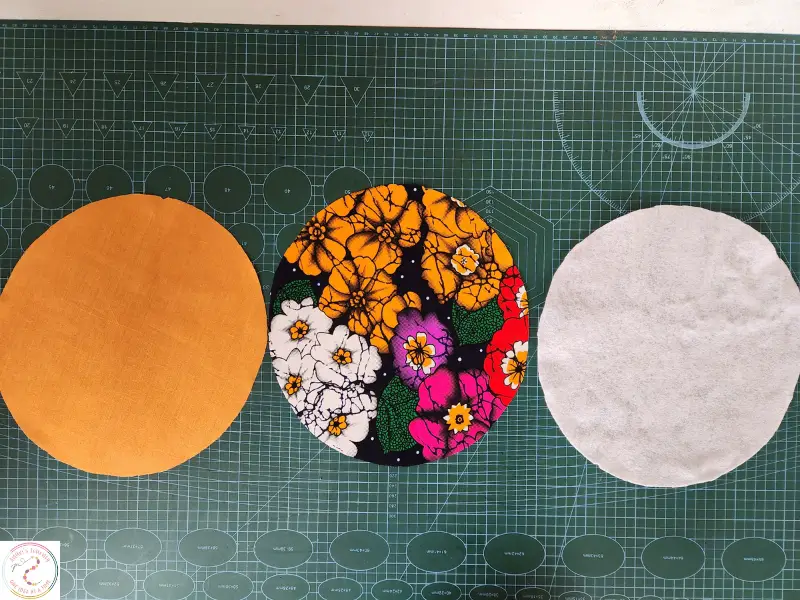
Start by using a measuring tape or circular object to draw a circle of 11 inches in diameter.
Cut this shape from each of the following:
Main fabric (outer)
Lining fabric (inner)
Soft gum padding
2. Add structure with padding: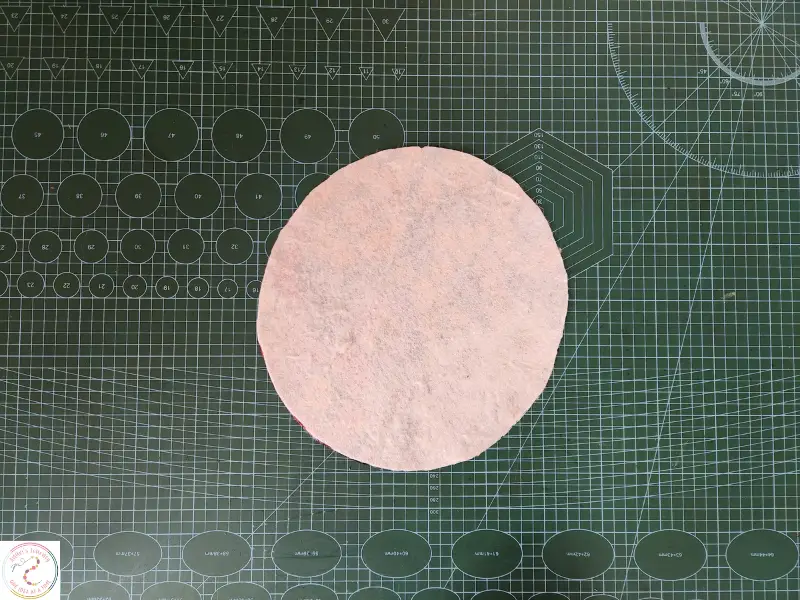
Place the gum padding on the wrong side of the main fabric and press with a hot iron to fuse them together.
3. Prepare the main body:
Place the main fabric (with padding) and the lining right sides facing each other.
Pick a point on the edge and measure 2 inches downward, then draw a straight line across. This will serve as the turning opening.
4. Pin and sew:
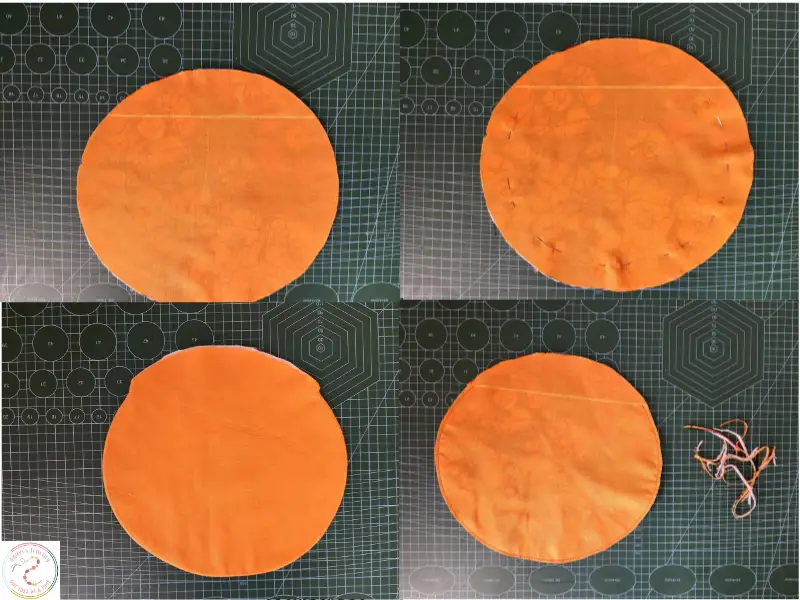
Pin all around the circle, leaving the 2-inch marked area unpinned.
Sew around the pinned edges using a ½-inch seam allowance, stopping at the opening.
Trim off any excess fabric or bulk, then carefully remove the pins.
5. Turn it right-side out:
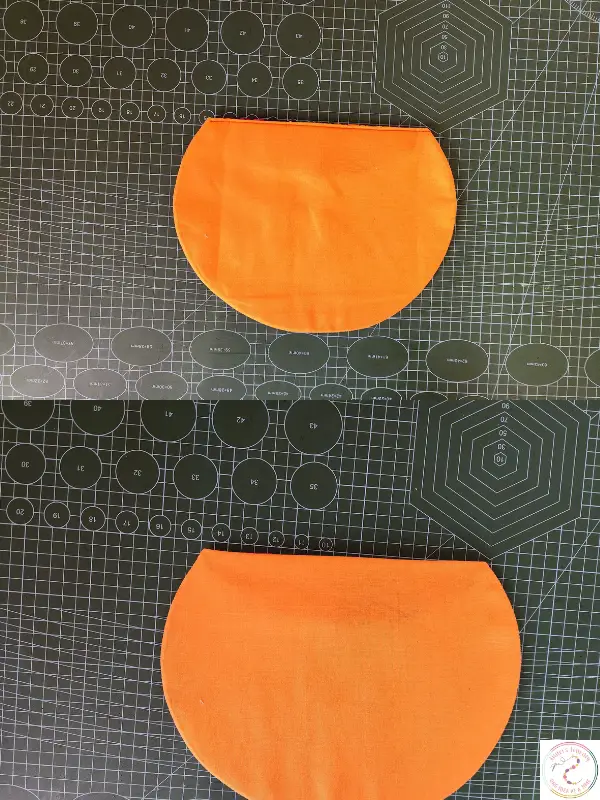
Through the 2-inch gap you left earlier, turn the fabric right-side out.
Use your fingers to gently push out the seams for a smooth edge, then press the entire piece flat with an iron.
6. Close the opening and topstitch: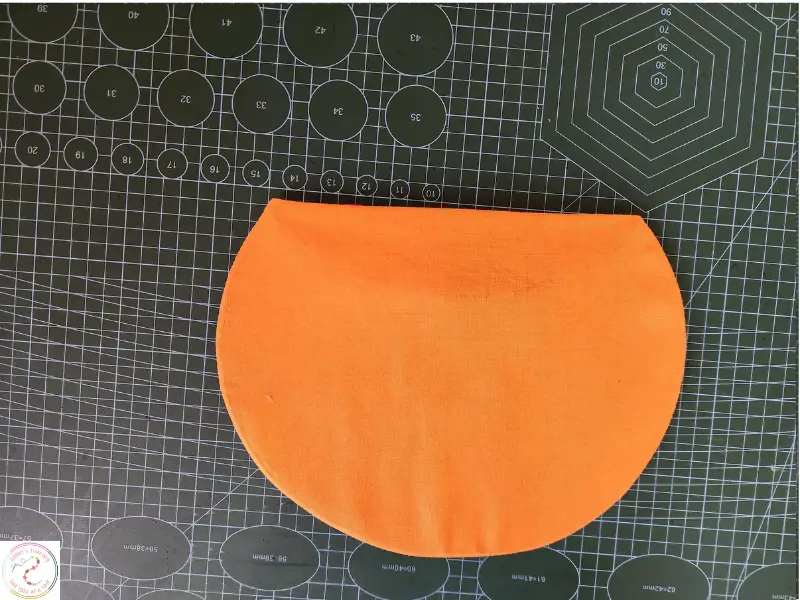
Fold in the raw edges of the opening, then topstitch across to seal it and give the edge a finished look.
7. Create the flap edges:
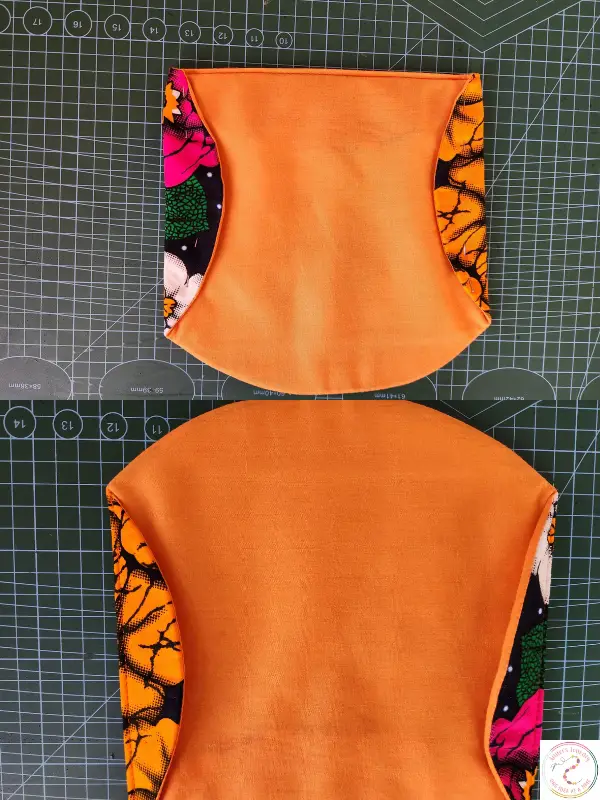
On both the left and right sides of the circle, measure 1.5 inches inward. Fold those edges inward toward the center and pin them in place.
Topstitch along the folded edges to secure.
8. Fold into a case shape:
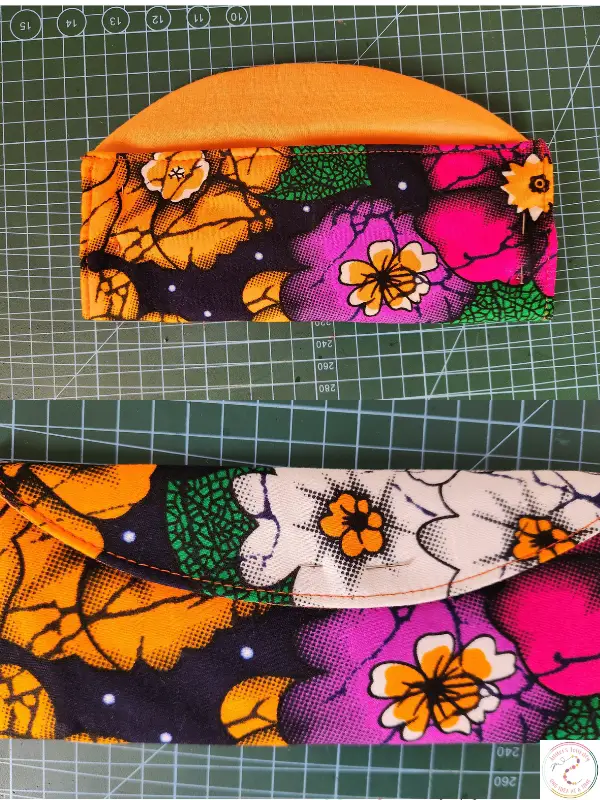
Take the bottom part of the circle and fold it upward until it reaches the bottom of the stitched flap. This creates the pocket for your sunglasses.
Pin both sides and topstitch along the left and right edges to secure the shape.
9. Attach the button closure: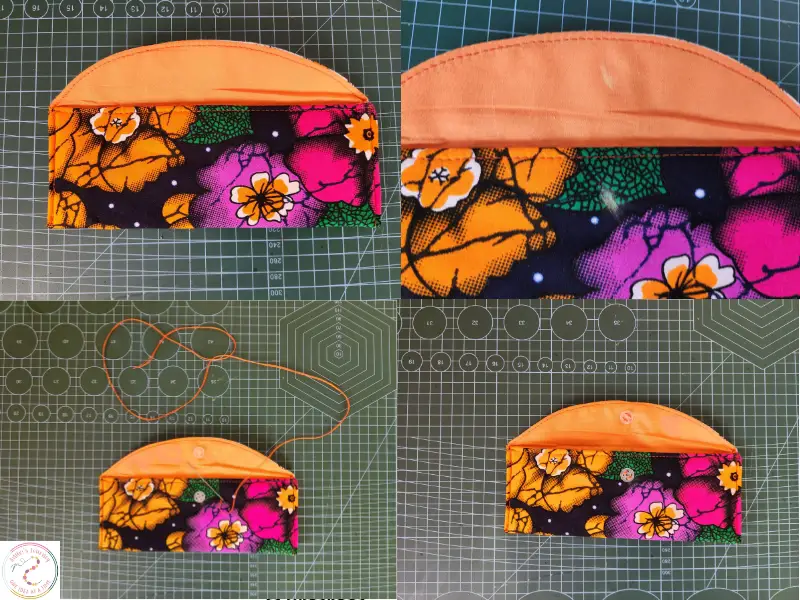
Fold the flap down to cover the case and test where the closure naturally falls.
Mark that spot and hand sew a clip button using needle and thread to complete the closure.
And there you have it, a beautiful handmade sunglass case.
It’s soft enough to protect your lenses from scratches and sturdy enough to hold its shape in your bag. Plus, it’s so stylish you’ll want to show it off every chance you get. Don’t hesitate to get creative, use bold prints, add embellishments, or even embroider your initials!
This project makes a great gift, travel essential, or even a mini pouch for small items like chargers, lip balm, or jewelry. Once you’ve made one, you’ll probably want to make more.
You may also like: