This site contains affiliate links. I may earn a small commission, at no cost to you.
This post shows you the step-by-step process on how to clean a messy house the best way.
A messy house can often feel like an insurmountable challenge, overwhelming even the most organized individuals.
However, with a methodical step-by-step approach, tackling the clutter and grime becomes not only achievable but also gratifying.
From navigating cluttered spaces to banishing dust and dirt, the journey of cleaning a messy house is one of transformation and renewal.
In this guide, we’ll go into a comprehensive step-by-step process, empowering you to reclaim your space and restore order to every corner of your home.
Even if you are facing a mountain of clutter or navigating through neglected cleaning tasks, this guide will equip you with the strategies and techniques needed to turn chaos into cleanliness, one step at a time.
Cleaning a messy house can feel overwhelming, but breaking it down into manageable steps can make it much easier.
Here’s a detailed step-by-step guide to help you clean your home efficiently.
HOW TO CLEAN A MESSY HOUSE: A STEP-BY-STEP GUIDE
Step 1: Gather your supplies
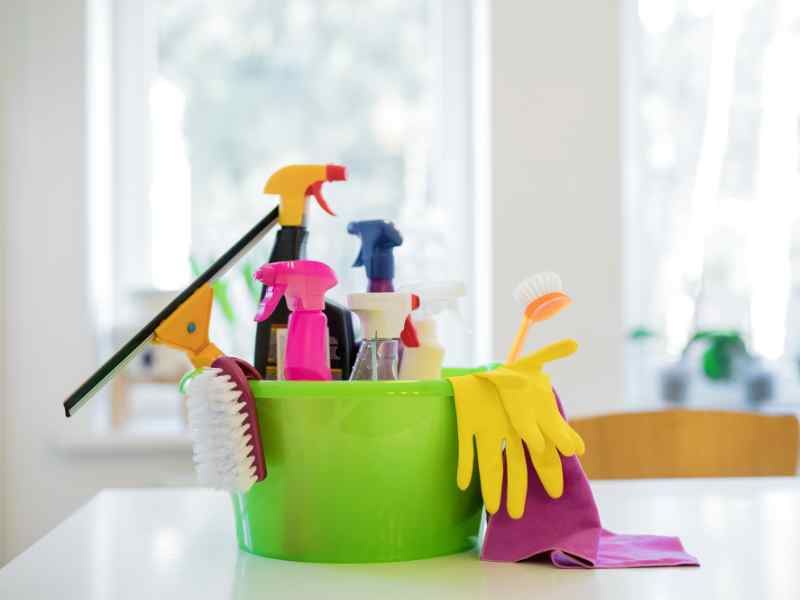 – Cleaning products
All-purpose cleaner, glass cleaner, bathroom cleaner, floor cleaner, disinfectant wipes.
– Tools
Vacuum, broom, mop, dustpan, microfiber cloths, sponges, scrub brushes.
– Organizing items
Trash bags, laundry baskets, storage bins or boxes.
Step 2: Declutter Each Room
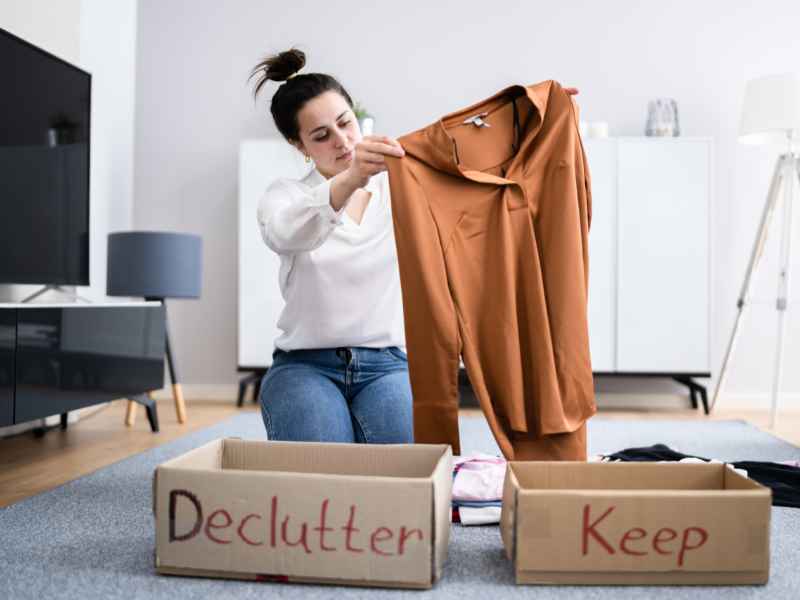 1. Start Small
Begin with one room to avoid feeling overwhelmed.
2. Sort Items
– Trash
Throw away any obvious garbage.
– Laundry
Collect dirty clothes and linens.
– Items to keep
Organize items that belong in the room.
– Items to relocate
Place items that belong in other rooms in a basket to distribute later.
– Donate/Sell
Create a pile for items you no longer need but are in good condition.
Step 3: Clean Room by Room
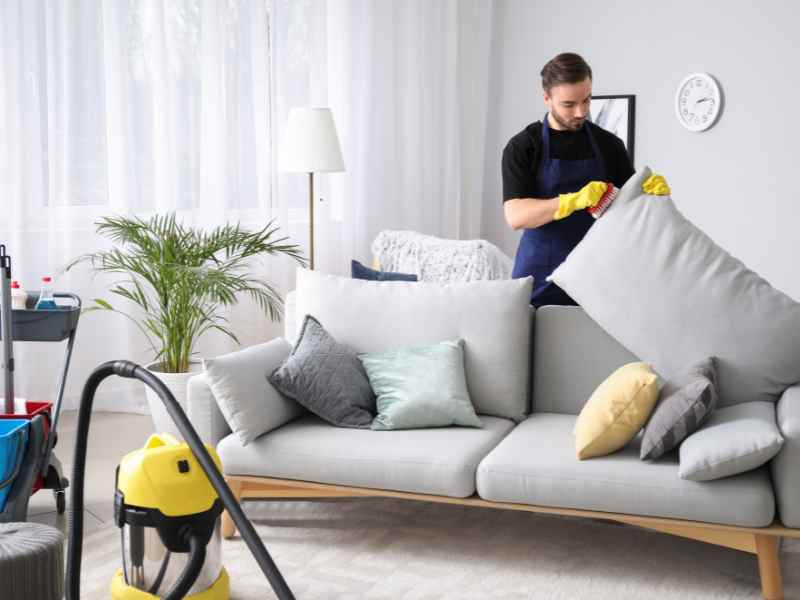 Living Room
1. Dust
Start from the top (ceiling fans, light fixtures) and work your way down (shelves, furniture).
2. Vacuum upholstery
Use the appropriate attachment to vacuum couches and chairs.
3. Clean surfaces
Wipe down tables, TV stands, and any other hard surfaces. Clear coffee tables, side tables, and shelves of clutter.
4. Vacuum and mop floors
Vacuum carpets and rugs. Sweep and mop hard floors.
5. Evaluate Furniture
Assess whether any furniture can be rearranged or removed to create more space.
6. Tackle Entertainment Areas
Organize books, DVDs, or electronics.
7. Address Decor
Consider whether decorative items contribute to clutter or can be rearranged for better organization.
Kitchen
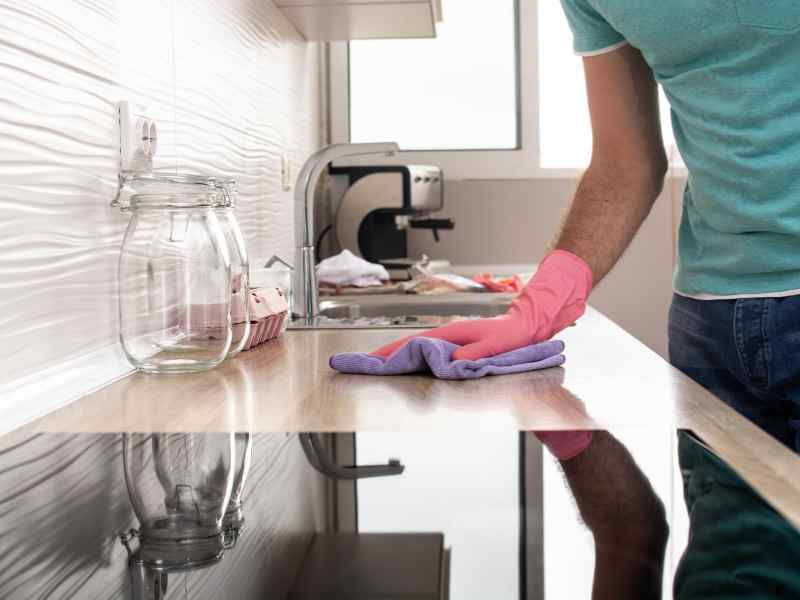 1. Empty sink
Wash dishes or load the dishwasher.
2. Wipe counters
Clean countertops and backsplashes. Remove items not used daily and find proper storage for them.
3. Clean appliances
Wipe down the exterior of appliances (microwave, refrigerator, oven).
4. Clean the stove
Remove grates and clean the stovetop.
5. Sweep and mop floors
Make sure to get into corners and under cabinets.
6. Organize Cabinets
Sort through cabinets and discard expired food, duplicate items, or items no longer needed.
7. Tackle Drawers
Organize utensils, gadgets, and miscellaneous items.
8. Pantry
Discard expired items, organize shelves, and consider storage solutions for better access.
Bathroom
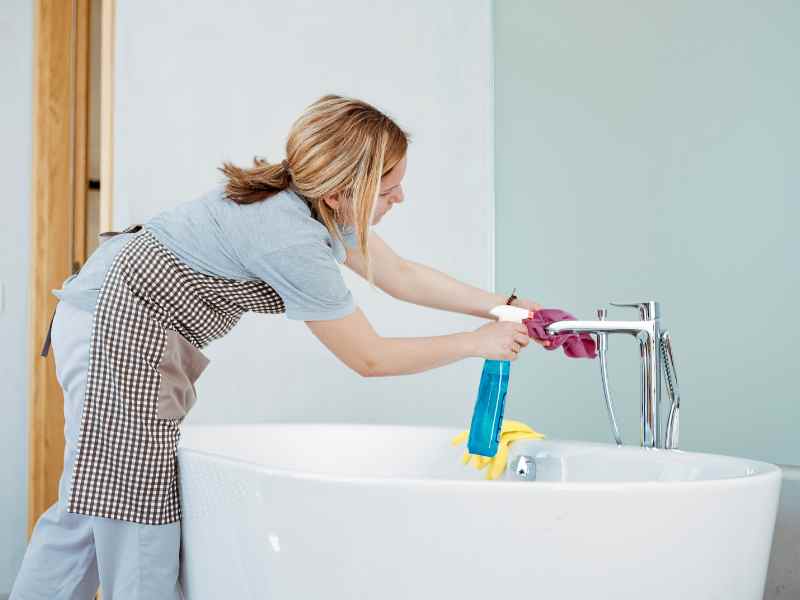 1. Spray surfaces
Apply cleaner to the shower, tub, sink, and toilet.
2. Scrub and rinse
Scrub these areas and rinse with water.
3. Wipe mirrors and fixtures
Use glass cleaner for mirrors and a damp cloth for fixtures.
4. Clean the toilet
Scrub the bowl with a toilet brush and wipe the exterior with disinfectant.
5. Sweep and mop floors
Pay attention to the areas around the toilet and sink.
6. Clear Counters
Remove excess toiletries and products from countertops.
7. Medicine Cabinet
Check for expired medications and discard. Organize remaining items.
8. Under Sink Storage
Sort through cleaning supplies and personal care products. Dispose of expired or unused items.
9. Towels and Linens
Discard worn-out towels and organize remaining linens.
Bedrooms
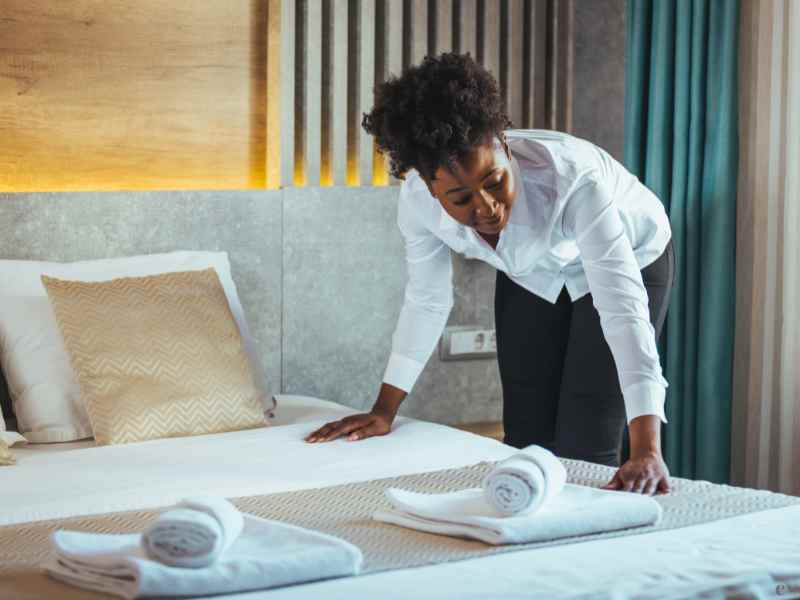 1. Make the bed
Change linens if necessary.
2. Dust
Dust furniture, shelves, and any decor.
3. Organize clutter
Put away clothes, shoes, and personal items.
4. Vacuum or sweep floors
Depending on the type of flooring, vacuum carpets or sweep and mop hardwood floors.
5. Declutter Surfaces
Clear bedside tables, dressers, and other surfaces of unnecessary items.
6. Closet Organization
Sort through clothing, shoes, and accessories. Donate items not worn or needed.
7. Under the Bed
Address storage containers or clutter underneath the bed.
8. Bed Linens
Organize and declutter bed linens and blankets.
Home Office or Study
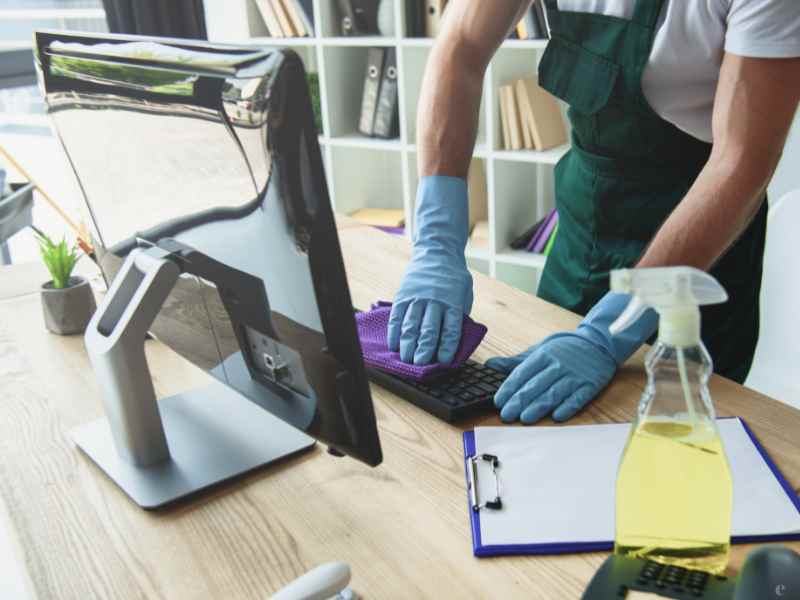 1. Desk Decluttering
Clear the desk of unnecessary papers and office supplies.
2. Filing System
Organize paperwork into labeled folders or files.
3. Bookshelves
Declutter books, magazines, and other materials. Donate or recycle items no longer needed.
4. Electronic Declutter
Organize cables, cords, and electronic devices.
Step 4: Tackle Common Areas
1. Entryway
Clear out shoes, coats, and any items that don’t belong. Wipe surfaces and vacuum or sweep floors.
2. Hallways
Dust baseboards and light fixtures. Vacuum or sweep and mop floors.
Step 5: Final Touches
1. Take out trash
Empty all trash bins throughout the house.
2. Distribute misplaced items
Put away any items that were collected in the “relocate” basket.
3. Laundry
Start a load of laundry if necessary.
Step 6: Maintain Cleanliness
– Daily Tasks
Make the bed, do dishes, wipe down counters, and put things back where they belong.
– Weekly Tasks
Dust, vacuum, clean bathrooms, and mop floors.
– Monthly Tasks
Deep clean appliances, wash windows, and declutter areas that tend to collect junk.
Following these steps will help you transform a messy house into a clean and organized space.
Breaking the task into smaller, manageable steps makes it less daunting and more achievable.
Cleaning a messy house can feel overwhelming, but with a systematic approach and the right supplies, it becomes manageable.
IMPORTANT THINGS TO DO BEFORE CLEANING THE HOUSE
1. Assess the Mess
Before gathering supplies, assess the type and extent of mess. Is it general clutter, dust, stains, or a combination?
This will help determine the specific supplies needed.
2. Create a Checklist
Make a checklist of cleaning tasks to ensure you have all the necessary supplies for each job.
Include categories like surface cleaning, vacuuming, mopping, and specific tasks like bathroom or kitchen cleaning.
3. Basic Supplies
– Cleaning Solutions
Multipurpose cleaner, glass cleaner, disinfectant spray, and bathroom cleaner.
– Tools
Microfiber cloths, sponges, scrub brushes, old toothbrushes for tight spaces, and a mop.
– Trash Bags
Different sizes for sorting items to keep, donate, or throw away.
– Gloves
Rubber or latex gloves to protect your hands.
4. Specialized Supplies
– Stain Removers: For carpets, upholstery, and hard surfaces.
– Grout Cleaner: If tiles have stubborn grime.
– Wood Polish: For wooden furniture or floors.
– Oven Cleaner: If the kitchen needs deep cleaning.
5. Equipment
– Vacuum Cleaner: Ensure it has attachments for different surfaces and crevices.
– Broom and Dustpan: For sweeping larger areas.
– Steam Cleaner: Optional but useful for deep cleaning carpets or upholstery.
6. Organizational Supplies
– Storage Containers: Bins, baskets, or boxes for organizing clutter.
– Labels: Optional but helpful for labeling containers or shelves.
7. Safety Supplies
– Face Masks: Especially if dealing with dust or mold.
– Ventilation: Ensure windows or doors can be opened for fresh air circulation.
8. Environmentally Friendly Options
– Natural Cleaners: Vinegar, baking soda, and lemon juice can be effective and eco-friendly alternatives to commercial cleaners.
– Reusable Cleaning Cloths: Instead of disposable wipes or paper towels.
9. Personal Comfort Items
– Water Bottle: Staying hydrated is important during cleaning.
– Snacks: Keep energy levels up, especially for longer cleaning sessions.
– Music or Podcasts: Make the cleaning process more enjoyable.
10. Emergency Supplies
– First Aid Kit: In case of minor injuries.
– Emergency Contacts: Keep phone numbers handy in case of accidents or need for assistance.
Remember to prioritize safety, efficiency, and sustainability when gathering supplies.
With the right tools and mindset, cleaning a messy house becomes more manageable and even rewarding.
By following this detailed approach, you can efficiently clean your home room by room, leaving each space sparkling and inviting.
Remember to maintain regular cleaning routines to keep your home in top condition.
Finally,
In the journey of cleaning a messy house step by step, each task completed brings a sense of accomplishment and renewed vitality to your living space.
By following a systematic approach, from decluttering room by room to deep cleaning surfaces and organizing belongings, you’ve transformed chaos into order and restored harmony to your home.
Remember, maintaining cleanliness is an ongoing commitment, but with the strategies and techniques outlined in this guide, you’re equipped to tackle future challenges with confidence.
As you bask in the fresh, rejuvenated atmosphere of your newly cleaned home, take pride in the effort you’ve invested and the transformation you’ve achieved.
Your clean and organized living space is not just a reflection of your diligence, but also a sanctuary where you can thrive and find peace amidst the hustle and bustle of everyday life.
This post showed you a detailed guide on how to clean a messy house. A step by step approach that makes everything easy.
You may also like: