There’s something so satisfying about turning small pieces of fabric into something beautiful and functional. As someone who loves cozy home details and meaningful handmade touches, I find making fabric coasters to be one of those simple pleasures. They’re quick to sew, beginner-friendly, and perfect for using up scrap fabric. I especially love the hexagon shape, it’s modern, cute, and just a little unexpected.
Whether you’re whipping up a set for your coffee table, gifting a few to a friend, or adding them to your craft fair stash, these hexagon coasters are as fun to make as they are to use. Let me walk you through how I made mine!
Materials You’ll Need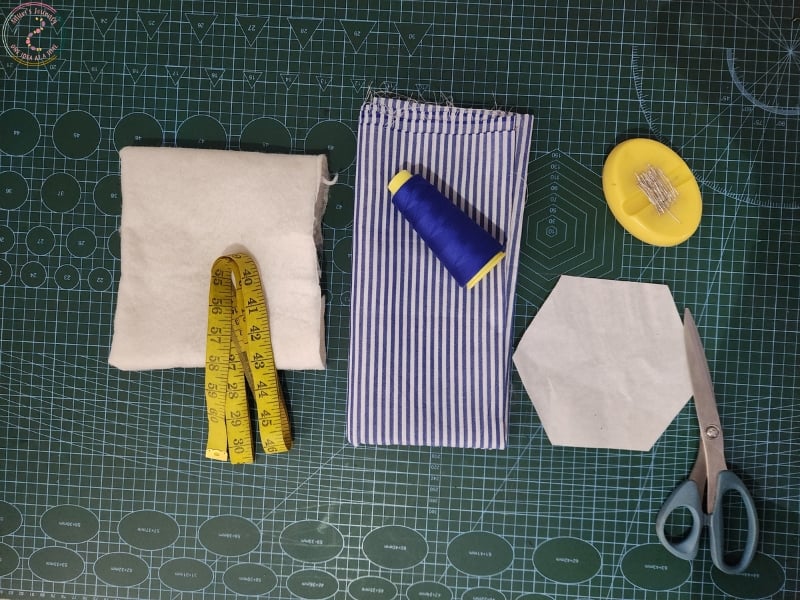
¼ yard of cotton fabric (choose coordinating prints for contrast)
¼ yard of soft padding or lightweight batting
Sewing thread (matching or contrasting)
Sewing machine
Measuring tape or quilting ruler
Pattern paper
Affix pins or clips
Fabric scissors or rotary cutter
Pressing iron
Instructions
Step 1: Cut the Fabric and Padding
Cut two fabric squares, each measuring 8” × 8”.
Cut one square of soft padding measuring 7.75” × 7.75” (a quarter inch smaller on all sides so it fits neatly inside).
Step 2: Create Your Hexagon Pattern
On a piece of pattern paper, draw a hexagon shape that fits within your 8” square (around 7.5” wide is perfect).
You can use a quilting ruler, an online hexagon template, or draw it by hand using measurements.
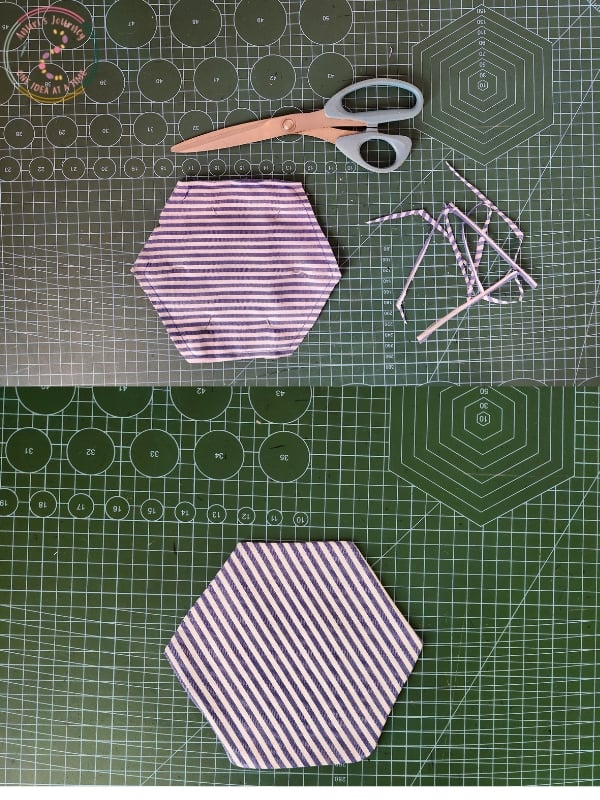
Step 3: Cut the Fabric into Hexagons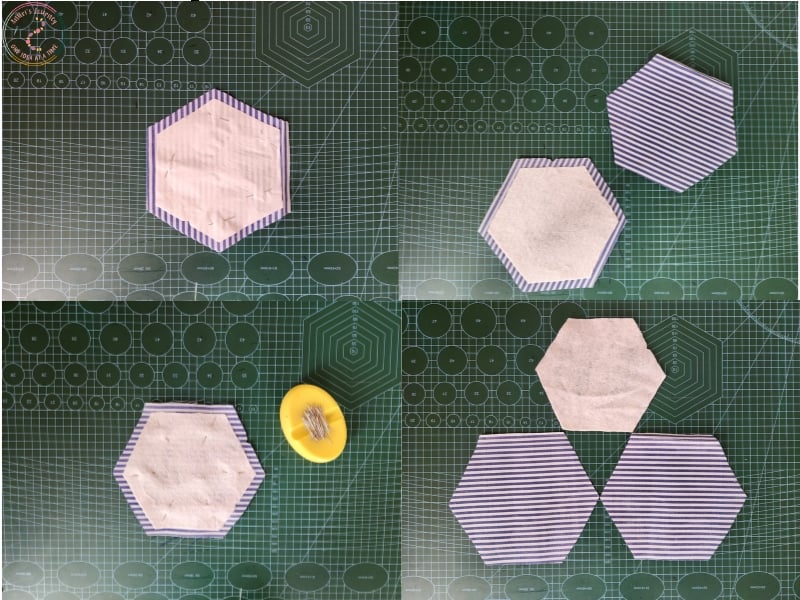
Place your paper hexagon pattern on top of the two fabric squares and pin it in place.
Add ¼ inch seam allowance all around the paper hexagon before cutting.
Carefully cut out both fabric layers in the shape of a hexagon.
Do the same for the soft padding, but cut it without the seam allowance so it’s slightly smaller.
Step 4: Attach the Padding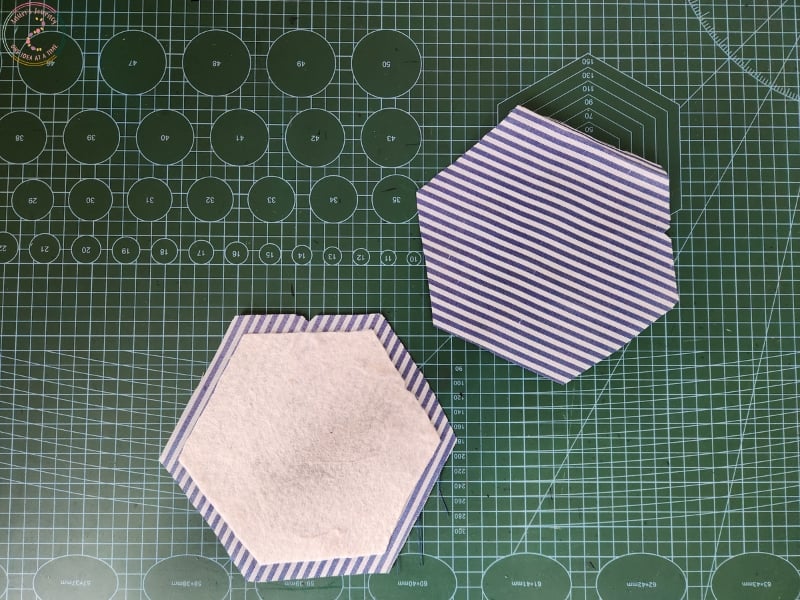
Place the soft padding on the wrong side of one fabric hexagon.
Press with an iron to smooth it out and help it stay in place.
Step 5: Assemble the Coaster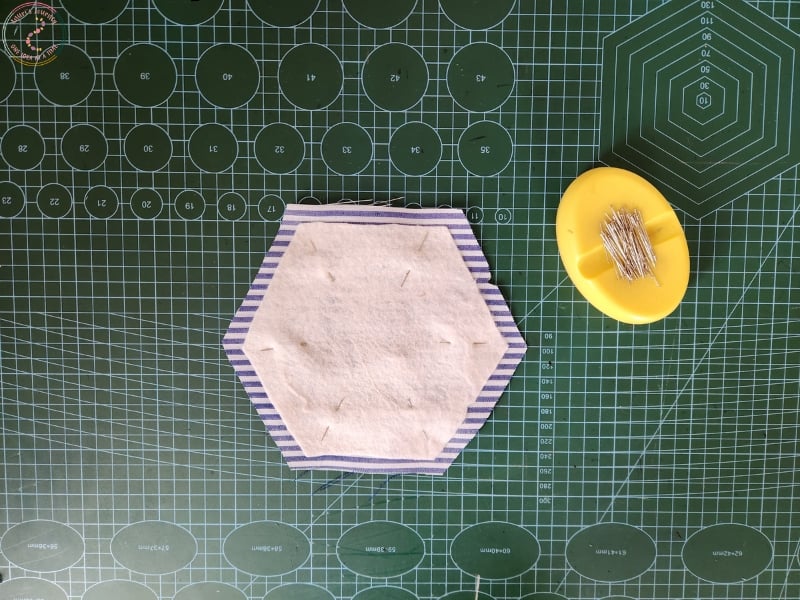
Place both fabric hexagons right sides facing each other, with the padding on the outside.
Pin or clip around the edges to secure.
Step 6: Sew the Coaster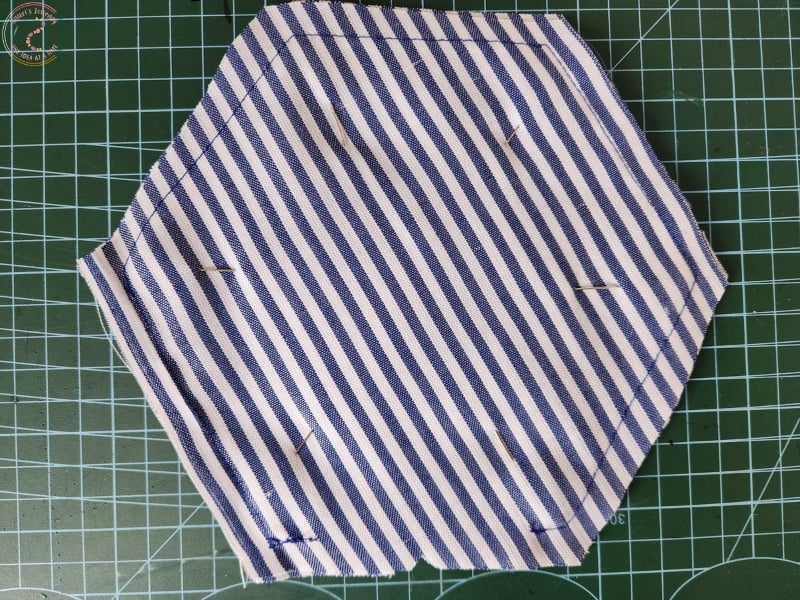
Sew all around the edges using a ¼ inch seam allowance, but leave a 2” opening on one side for turning.
Step 7: Trim and Turn
Remove all pins.
Trim the seam allowance slightly and clip the corners to reduce bulk.
Carefully turn the coaster right side out through the opening.
Use a point turner or blunt tool to push out all corners and edges neatly.
Step 8: Press and Finish
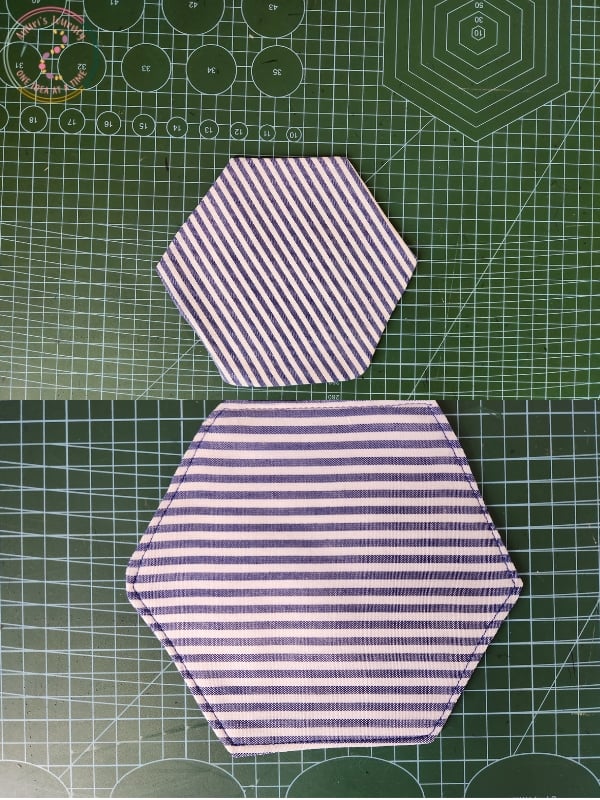
Press the coaster flat with a warm iron.
Fold in the raw edges of the opening and give it a good press.
Topstitch all around the coaster, about ⅛” from the edge. This not only seals the opening but adds a nice professional finish.
Optional:

Add Quilting Detail
You can leave your coaster plain or add a bit of quilting.
I stitched a mini hexagon in the center of mine to echo the shape—it adds character and keeps the layers together nicely.
And You’re Done.
Your hexagon fabric coaster is complete—and beautiful! These make wonderful handmade gifts or practical additions to your own space. Try making a whole set in coordinating fabrics or mix and match for a more playful vibe.
You may also like: