There’s something about hearts that never go out of style. Whether it’s for Valentine’s Day, a bridal shower, an anniversary, or simply a cozy moment with a cup of tea, heart-shaped fabric coasters are the perfect way to add a touch of warmth and love to your space.
This project is one of my favorites to make—not only because it’s beginner-friendly and doesn’t require much fabric, but because it feels like stitching a little bit of love into every corner. These coasters are also a beautiful way to use up leftover fabric scraps and create heartfelt handmade gifts for friends and family.
Let me walk you through how to make your own heart-shaped fabric coaster from start to finish.
Materials You’ll Need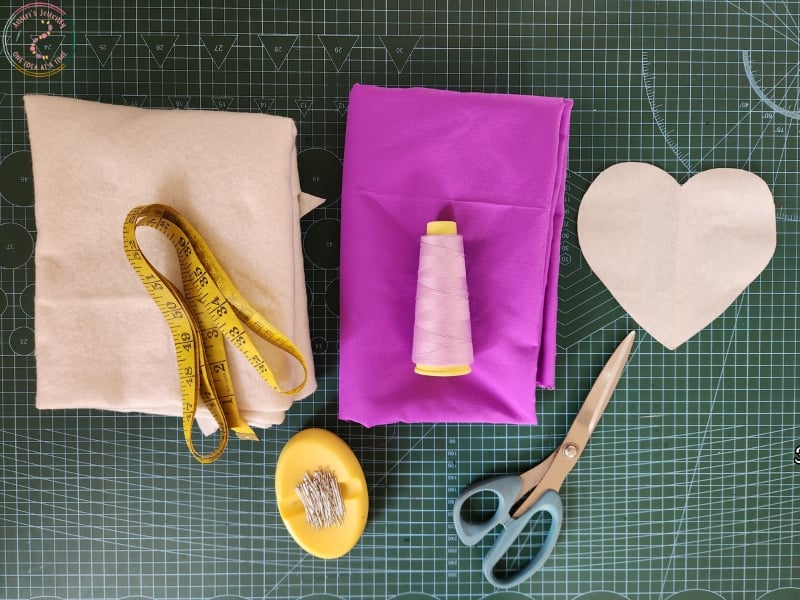
¼ yard of cotton fabric (choose romantic prints or solids)
¼ yard of soft padding or batting
Sewing thread
Sewing machine
Measuring tape or ruler
Affix pins or sewing clips
Fabric scissors or rotary cutter
Pressing iron
Pattern paper or cardboard for heart shape template
Instructions
Step 1: Cut the Fabric and Padding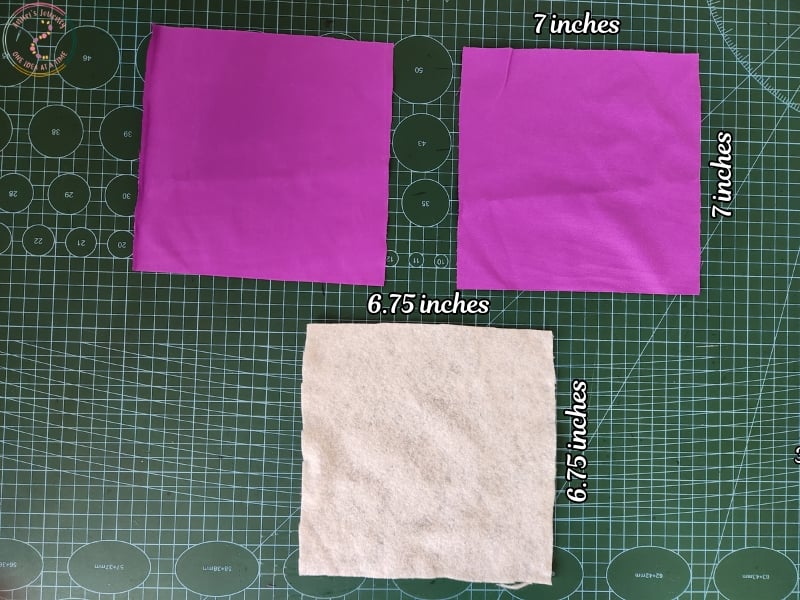
Cut two fabric squares, each measuring 7” × 7”.
Cut one soft padding square measuring 6.75” × 6.75”.
Step 2: Create the Heart Template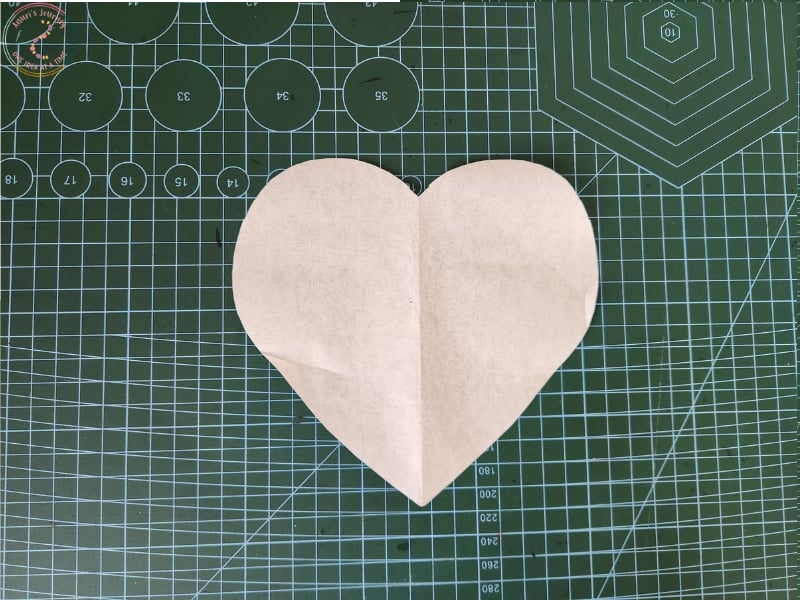
Draw or print a heart shape that fits nicely inside your 7” square.
The heart should be about 6.5” wide and tall, allowing room for a ¼” seam allowance.
Cut out the template and use it as a guide.
Step 3: Cut the Heart Shapes
Pin the heart pattern to both fabric pieces and the padding.
Cut around the pattern, adding ¼” seam allowance to the fabric pieces only.
The soft padding should be slightly smaller to reduce bulk in the seams.
Step 4: Attach the Padding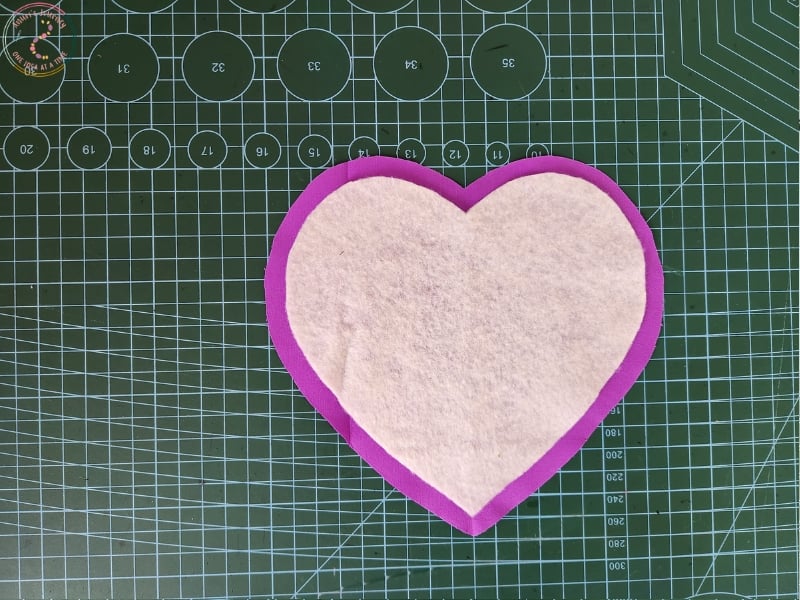
Place the soft padding on the wrong side of one fabric heart.
Press with an iron to smooth it out and lightly adhere if using fusible padding.
Step 5: Sew the Fabric Together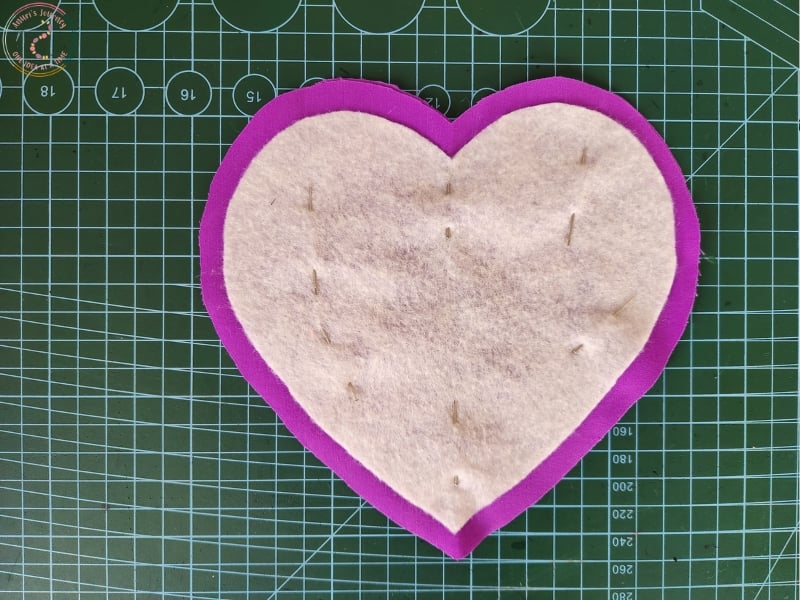
Place both fabric pieces right sides together with the padding on the outside.
Pin or clip to hold in place.
Sew around the heart using a ¼” seam allowance, leaving a 2” opening for turning.
Step 6: Trim and Turn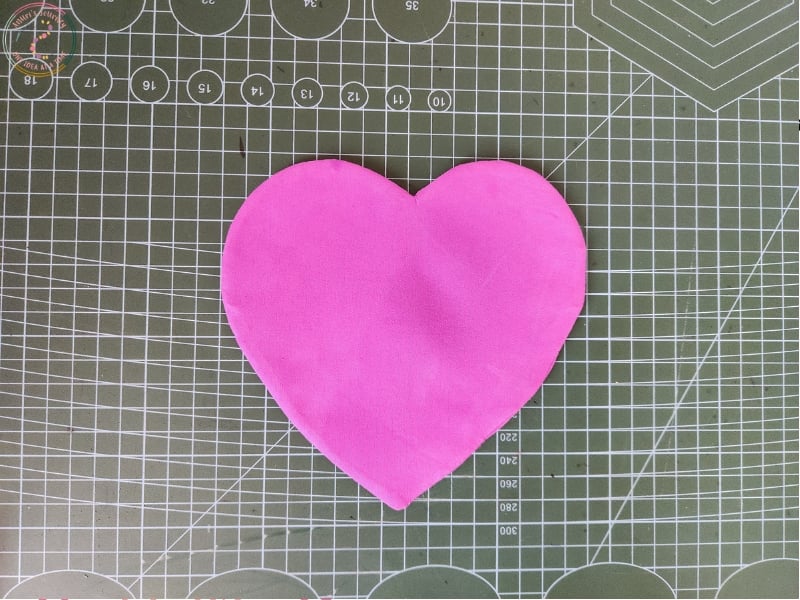
Carefully trim off the seam excess, especially at the top “V” and around the curves—this will help the heart shape turn out clean and defined.
Turn the coaster right side out through the opening.
Use a blunt tool to gently push out all the curves and edges, especially the dip in the top of the heart.
Step 7: Press and Finish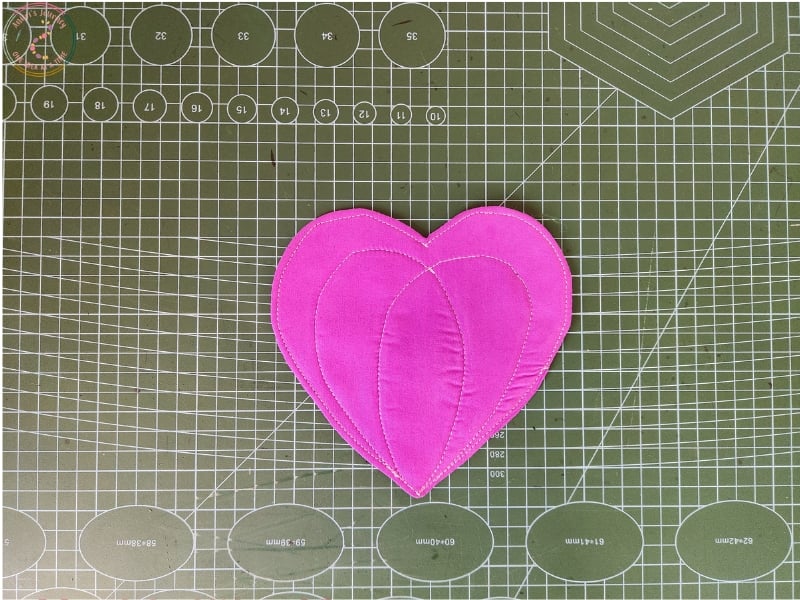
Press the coaster flat with a hot iron, smoothing out any puckers.
Tuck in the raw edges at the opening and secure with a neat topstitch all the way around the edge.
Optional: Add Quilting or Leave Plain
You can leave the coaster plain or stitch a decorative quilting pattern—outline the heart, add crosshatch lines, or try a swirl or floral design for a personal touch.
Your Heart-Shaped Coaster Is Complete.
And there you have it—a sweet little heart-shaped coaster made by you! These make wonderful handmade gifts, party favors, or simply a special addition to your coffee table. You can experiment with different sizes, colors, or even add a small loop to hang them as wall decor.
You may also like: