This site contains affiliate links. I may earn a small commission, at no cost to you.
I’ve always believed that small touches can transform how a home feels, not just visually, but in how it functions. My sewing room, for example, used to be a little chaotic. There were always pens, scissors, mail, and stray fabric scraps scattered across the table. That’s when I decided to make something that would not only keep things tidy but also add a handmade charm to my walls, a hanging fabric wall pocket.
Think of it as a mix between wall art and a storage unit. It’s lightweight, customizable, and incredibly handy for organizing mail, stationery, sunglasses, keys, or even small potted plants. And because you can make it in any size or fabric print you love, it can match your décor perfectly.
This is a great project for beginners, and it’s also a wonderful way to repurpose leftover fabric. You can go bold with bright patterns or soft and neutral for a minimal look. Either way, once you hang it up, you’ll wonder how you ever lived without it.
Materials Needed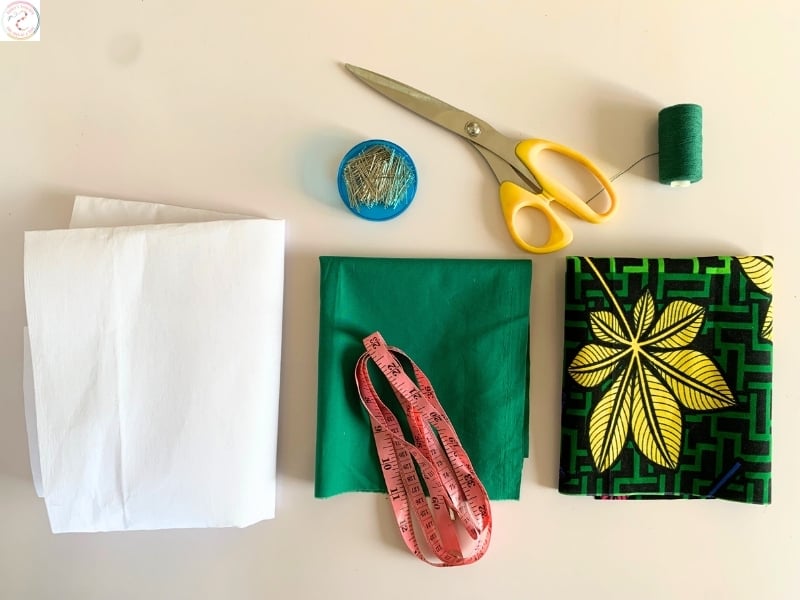
2 yards of fabric (cotton, canvas, or denim) — one for the backing, one for the pockets (optional: use the same fabric for both)
½ yard of fusible interfacing or batting (for structure)
Wooden dowel or branch (for hanging)
Rope or cord (for hanging strap)
Sewing machine
Scissors
Pins
Measuring tape
Pressing iron
Thread (matching or contrasting)
Step-by-Step Instructions
Step 1: Decide on Size and Layout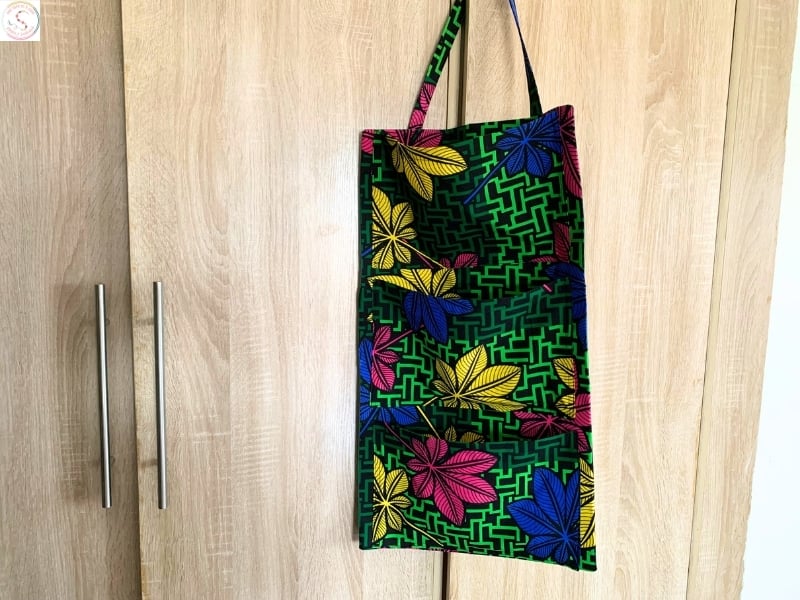
For this tutorial, I’m making a wall pocket that’s 12” wide × 22” long with three pockets measuring 13” wide × 7” tall.
You can easily adjust these measurements to fit your wall space or the size of items you’ll be storing.
More pockets? Wider backing? Go for it, that’s the beauty of making it yourself.
Step 2: Cut the Fabric
Backing fabric: Cut 2 pieces, 14” × 24” (extra inches for top and bottom hems).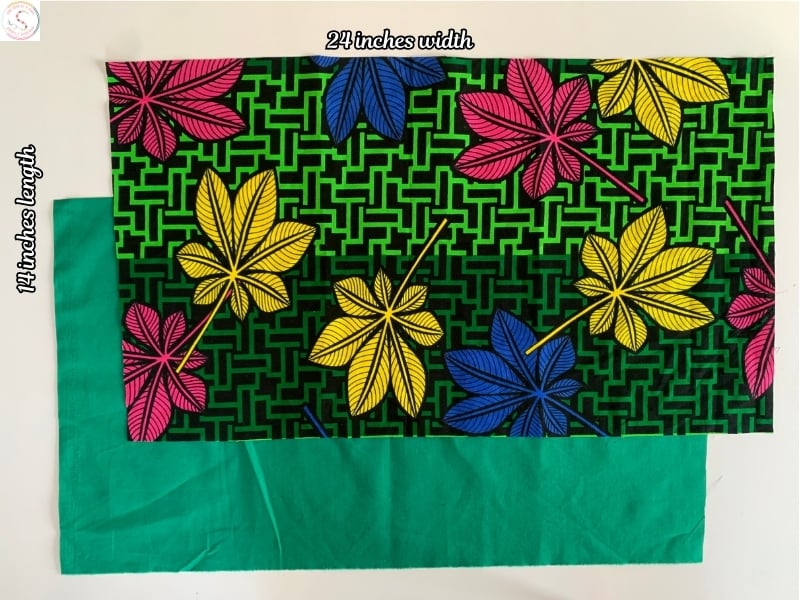
Pocket pieces: Cut 3 pieces, 13” × 9” (includes 2” for top hem).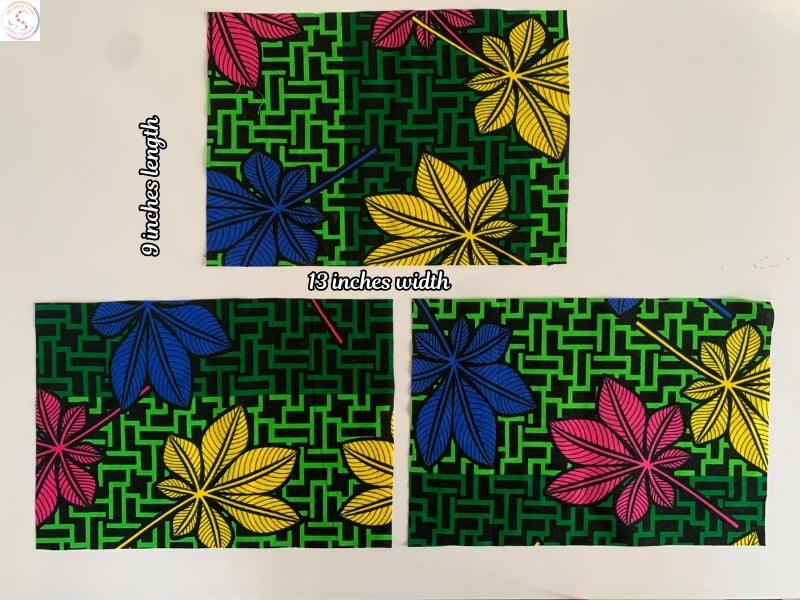
Interfacing or batting: Cut to match one backing fabric piece.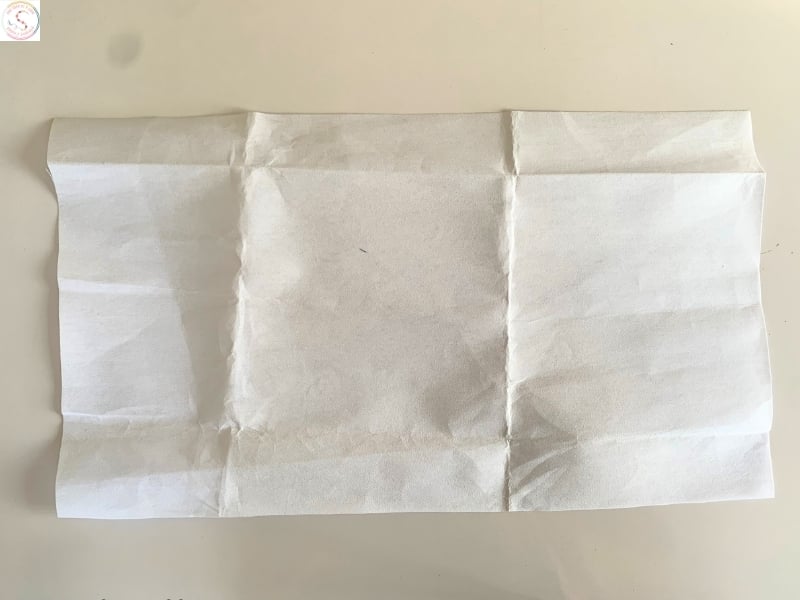
Step 3: Prepare the Pockets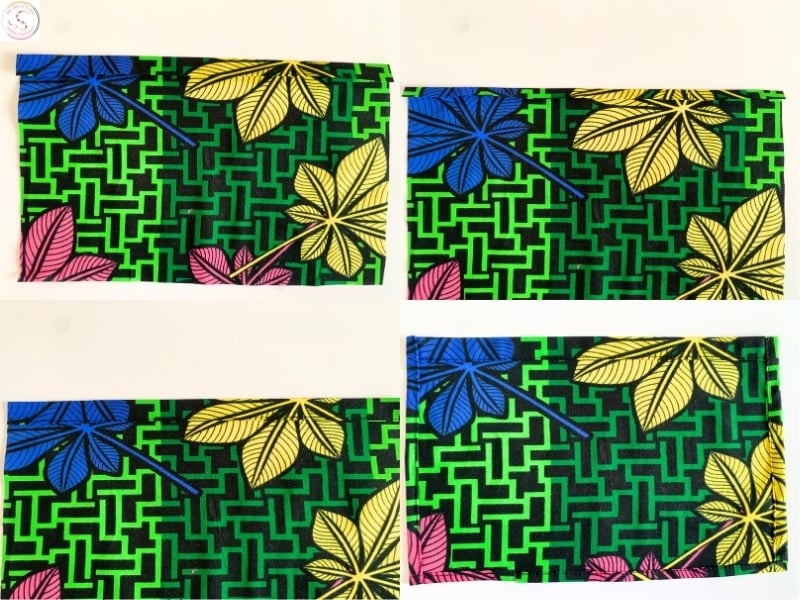
1. Take each pocket piece and fold the top edge (9” side) down 0.5″, then again 1″, and press.
2. Stitch along the bottom of the fold to create a clean, reinforced hem.
3. Fold the sides and bottom edges 0.5”, then another 0.5”, press, and stitch to keep the folds in place.
Step 4: Prepare the Backing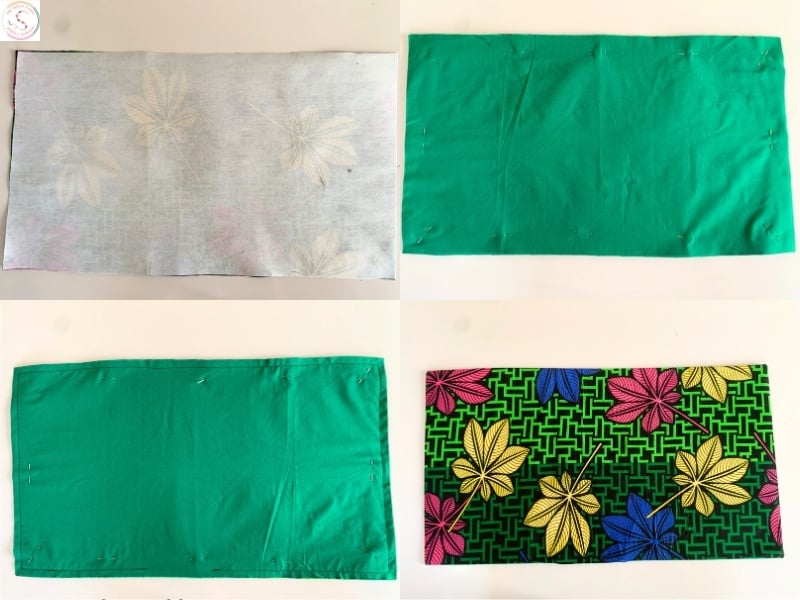
1. Fuse the interfacing to the wrong side of one backing piece for added structure.
2. Place the two backing pieces right sides together and pin.
3. Sew around all edges with a 0.5” seam allowance, leaving a 4” gap for turning.
4. Turn the backing right side out through the gap.
5. Press flat with an iron, folding the gap neatly inward.
6. Topstitch around the edges to close the gap and give a crisp finish.
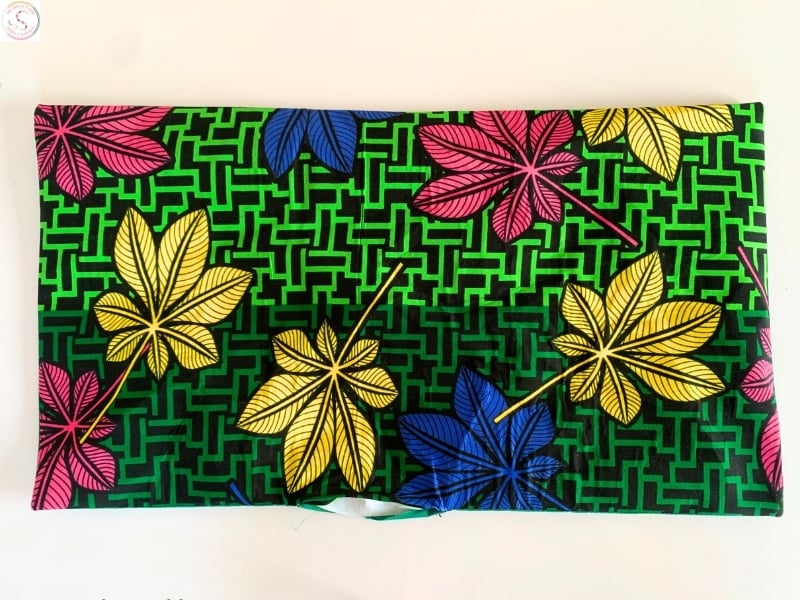
Step 5: Attach Pockets to the Backing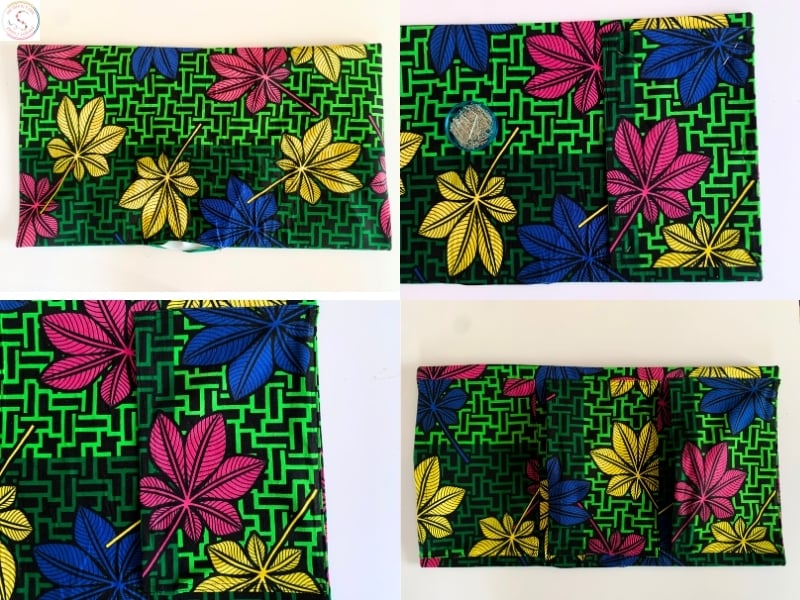
1. Lay the backing right side up.
2. Position the first pocket at the bottom, aligning its sides and bottom edges with the backing.
3. Pin in place and sew along the sides and bottom.
4. Repeat for the remaining pockets, spacing them evenly (I used 0.5” spacing because my backing is shorter, but you can go up to 1.5” or more for larger projects).
Step 6: Create the Hanging Strap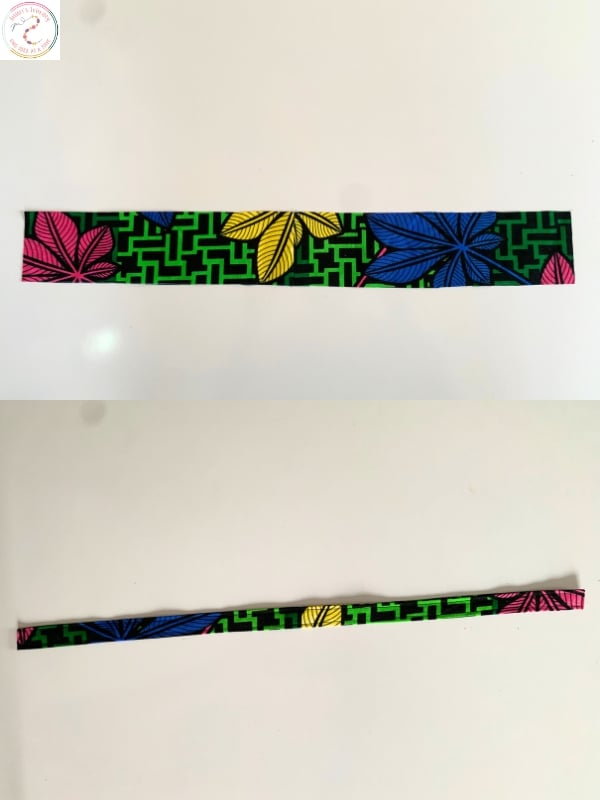
1. Cut a strap measuring 22” × 3”.
2. Fold lengthwise to 0.75” wide.
3. Stitch along both long edges to create a sturdy strap.
Step 7: Attach the Strap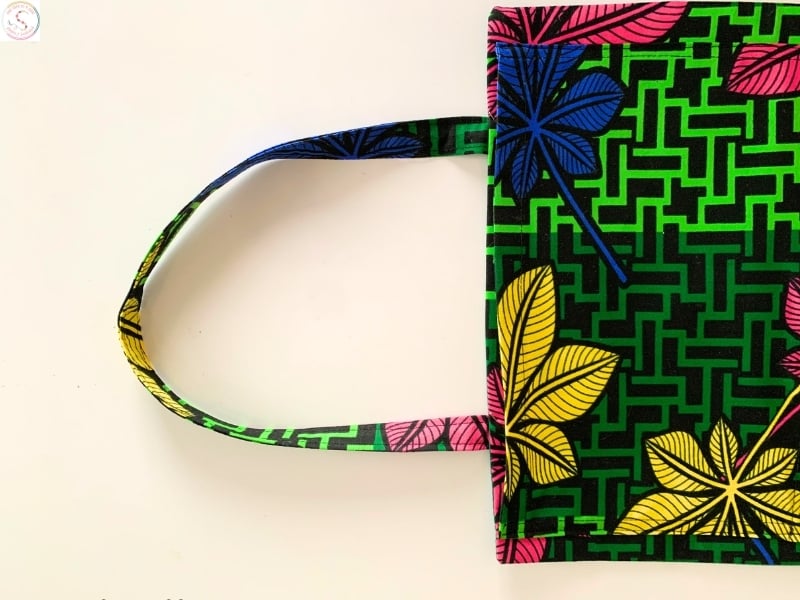
1. Place each strap end 2″ inwards from each upper corner of the wall pocket.
2. Sew securely with a neat rectangle or reinforced “X” stitch for durability.
Step 8: Hang and Use
Slip your wooden dowel or branch through the strap.
Hang from a hook, nail, or adhesive hanger.
Fill the pockets with mail, craft supplies, sunglasses, keys, whatever you need to keep tidy but accessible.
And just like that, you have a beautifully handmade hanging fabric wall pocket. It’s functional, customizable, and a little piece of your personality on display.
You may also like: