Need a better night’s sleep or a thoughtful handmade gift? This DIY sleep mask is soft, stylish, and super easy to make — even if you’re new to sewing! It’s perfect for blocking out light during naps, travel, or your beauty sleep routine.
With just a few basic materials and simple steps, you’ll have your own custom sleep mask ready in no time.
Materials You’ll Need:
Soft fabric – two 8″ × 4″ pieces (cotton, silk, or satin work best)
Padding – optional (fleece, batting, or flannel for extra softness)
Elastic band – about 12″–15″ (adjust to fit comfortably around your head)
Scissors
Pins or fabric clips
Sewing machine (or hand needle and thread)
Paper and pen (to make the pattern)
Iron – optional, if using fusible fleece
Step-by-Step Instructions
1. Make Your Pattern
Draw an eye mask shape on a piece of paper — about 8 inches wide and 4 inches tall, rounded at the corners.
Cut it out. This will be your pattern template.
2. Cut the Fabric
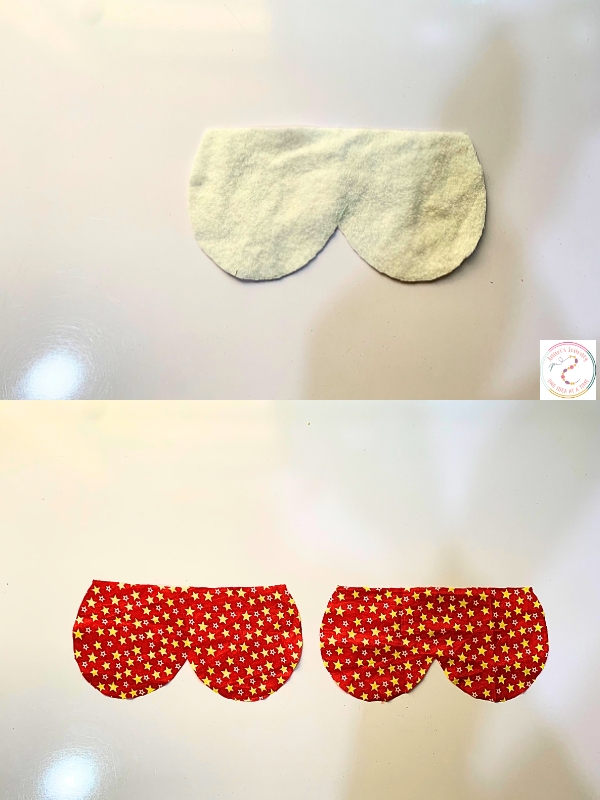
Using your paper pattern, cut out:
2 pieces of fabric – one for the front and one for the back of your mask.
1 piece of fusible fleece or padding (optional, for added comfort and light blocking).
Tip: Choose a smooth, soft fabric that feels nice against your skin.
3. Assemble the Layers
Fuse the fleece (or padding) to the wrong side of one fabric piece using an iron (if using fusible fleece).
Place the back fabric right side up on your work surface.
Pin the elastic band ends about halfway down each side of the mask, securing it in place.
Lay the front fabric right side down, so the right sides are facing each other and the elastic is sandwiched in between.
Pin everything in place.
4. Set the Sleep Mask
Using a ¼” seam allowance, sew all around the edge of the mask — but leave a 2” opening on one side for turning.
Be careful not to catch the middle part of the elastic in the stitching — just the ends.
5. Turn and Finish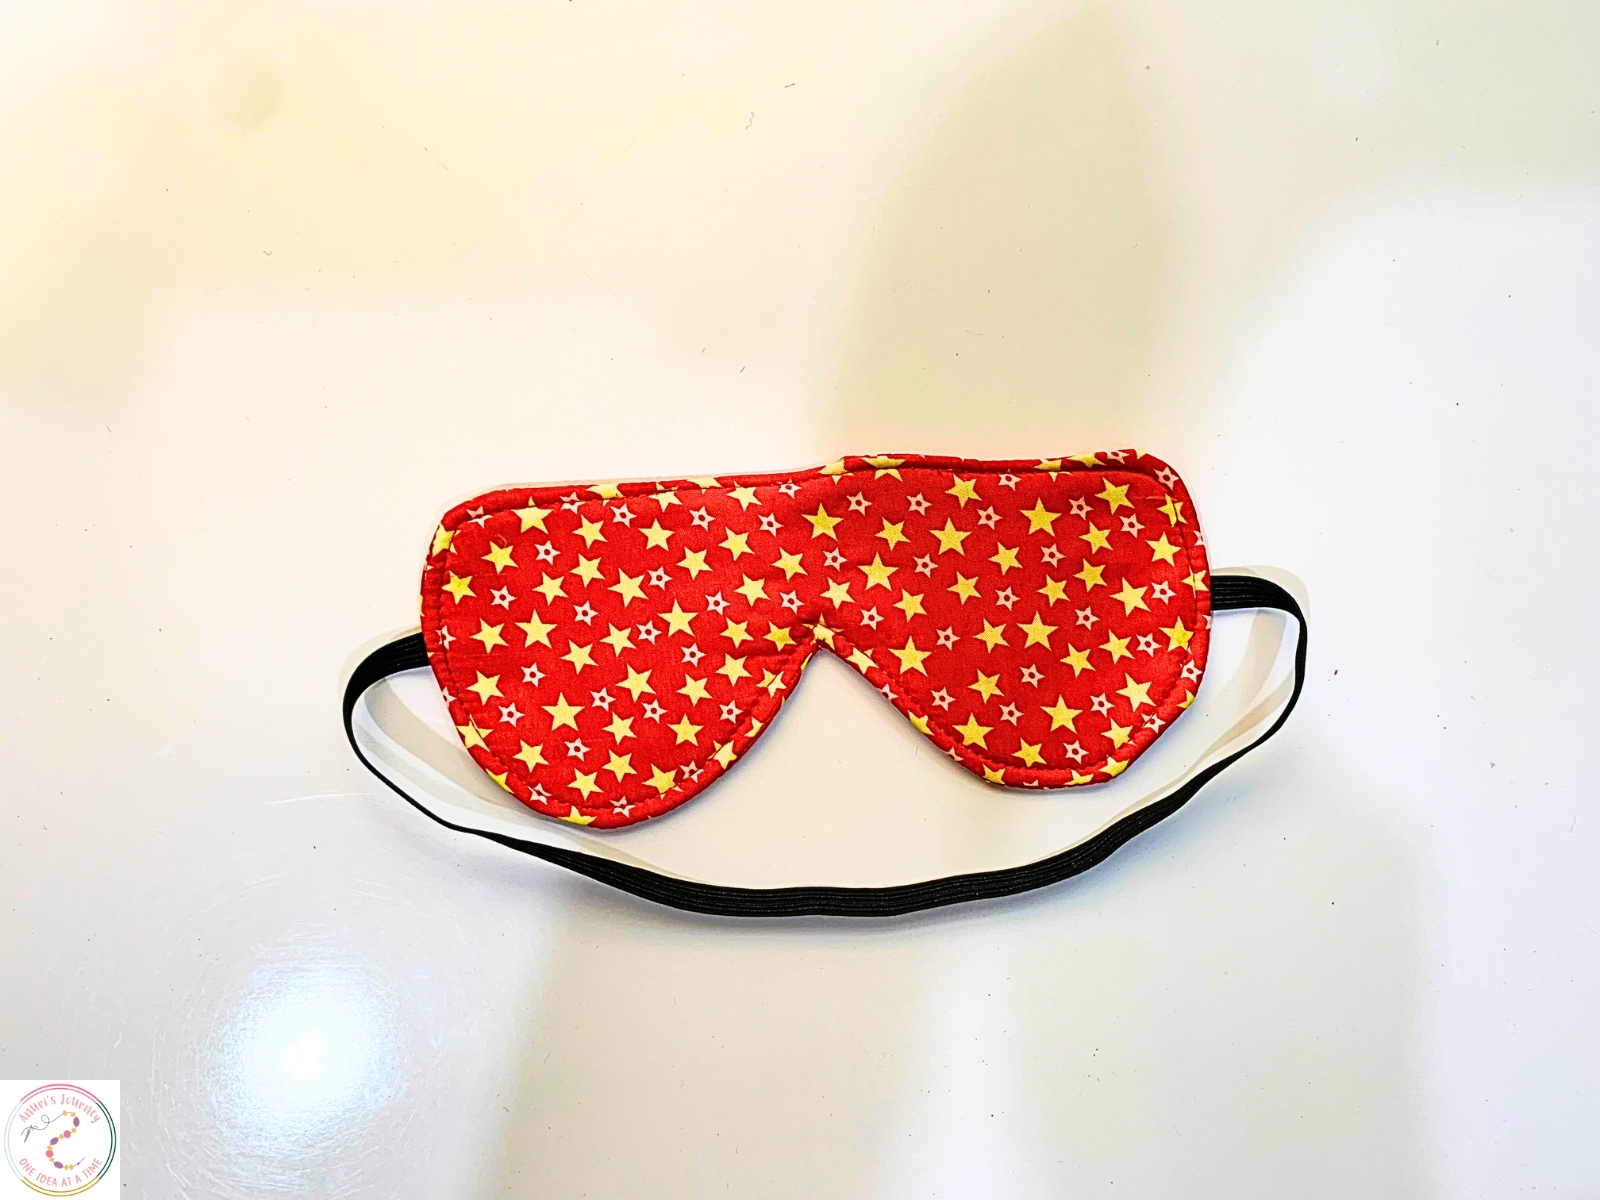
Turn the mask right side out through the gap you left.
Use a blunt tool to gently push out the corners and curves.
Tuck in the raw edges of the opening and pin it.
Topstitch around the entire mask, sewing close to the edge. This closes the gap and gives your mask a neat, finished look.
Final Touch
And that’s it. Your DIY sleep mask is ready to use or gift.
Bonus Tips:
Add a few drops of lavender essential oil to the padding for a calming scent.
Make a matching travel set with a handmade pouch or neck pillow.
Use fun printed fabrics to give your sleep mask personality.
You may also like: