One of the first projects that truly made me fall in love with sewing was making my own makeup bag set. There’s just something so satisfying about turning a simple piece of fabric into something practical and pretty. I remember needing a cute little bag to organize my brushes, lipsticks, and skincare items, and instead of buying one, I challenged myself to make it from scratch. It turned out better than I expected, and I’ve been making them for friends and family ever since.
If you’re looking for a fun sewing project that’s both beginner-friendly and rewarding, this makeup bag set is perfect for you. It’s a great way to use up fabric scraps, practice inserting zippers, and create something you’ll actually use every day. Let’s dive right in.
Materials You’ll Need: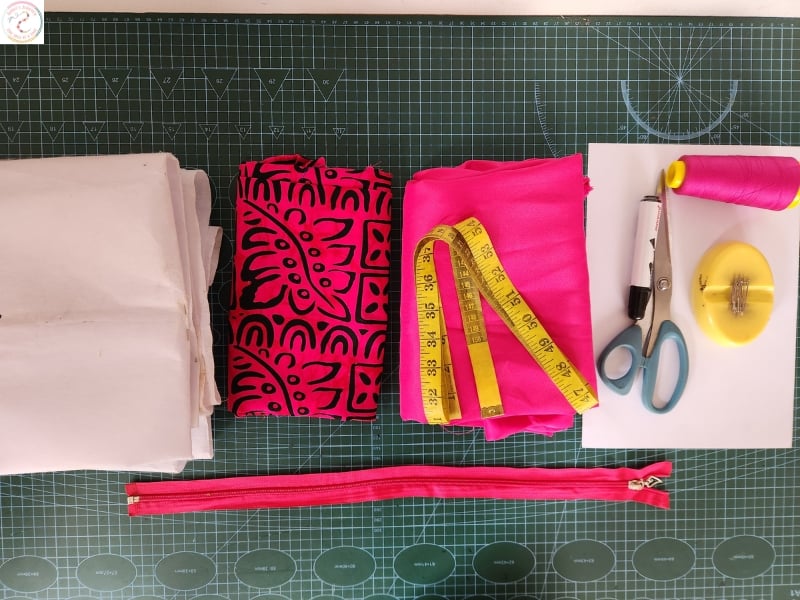
1 yard of fabric
(½ yard for the outer/main fabric, ½ yard for the lining fabric)
½ yard of thick fusible interfacing
20” zipper (you can use a longer one and trim excess later)
Sewing machine
Sewing thread
Scissors
Measuring tape
Pattern paper
Ink marker or fabric pen
Pins or fabric clips
Pressing iron
Cutting the Pattern & Fabric:
1. Prepare your paper pattern
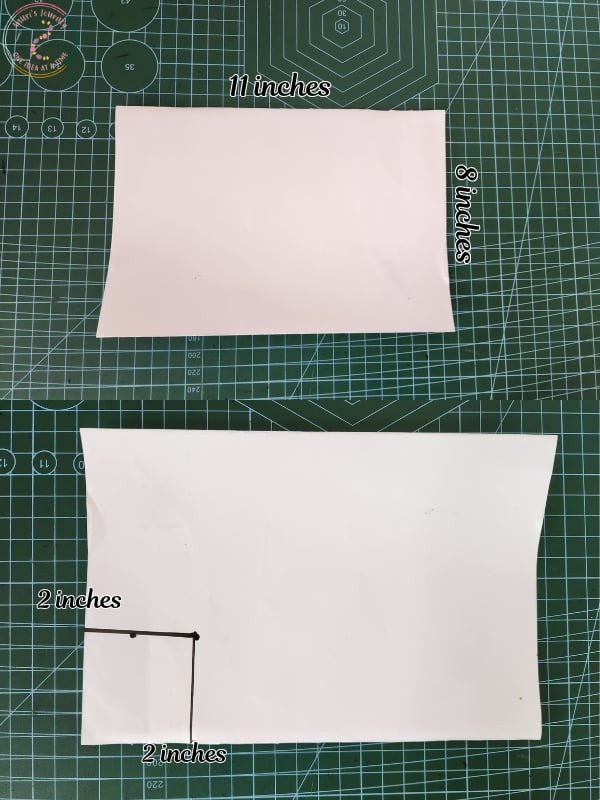
Cut a rectangle measuring 11” x 8”.
Fold it lengthwise (along the 11” side).
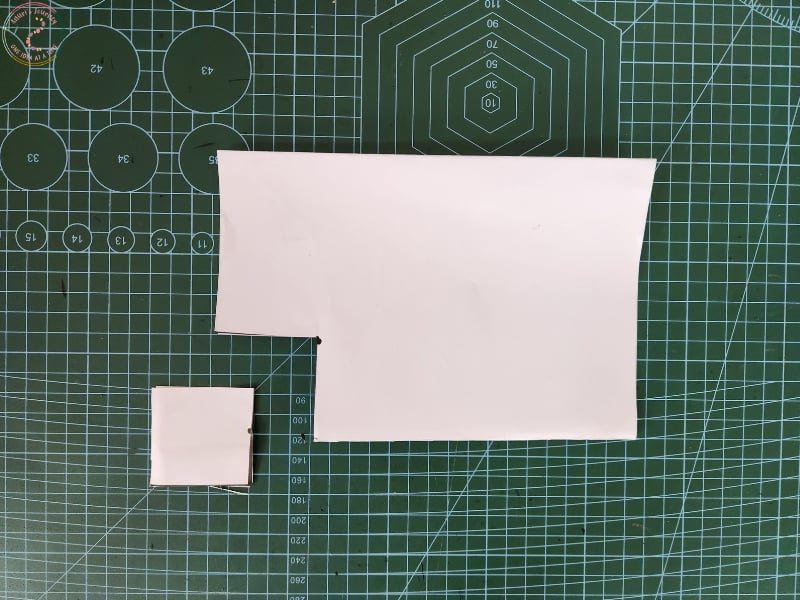
On one corner of the folded edge, measure 2” vertically and 2” horizontally.
Connect these marks with a curved or straight line to shape the bag corners, then cut it out.
Unfold to reveal your makeup bag template.
2. Cut your fabrics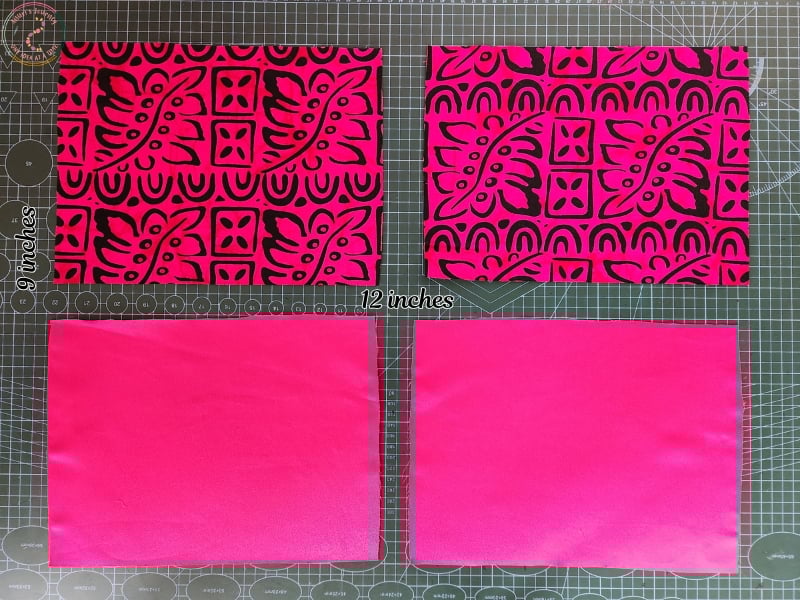
Cut two pieces of main fabric (12” x 9”)
Cut two pieces of lining fabric (same size)
Place the pattern on each fabric and cut according to the shape.
3. Cut interfacing

Cut two pieces of thick fusible interfacing, each 0.5” shorter than your main fabrics (approx. 11.5” x 8.5”)
Fuse the interfacing to the wrong side of the main fabrics using a pressing iron.
Attaching the Zipper:
4. First zipper side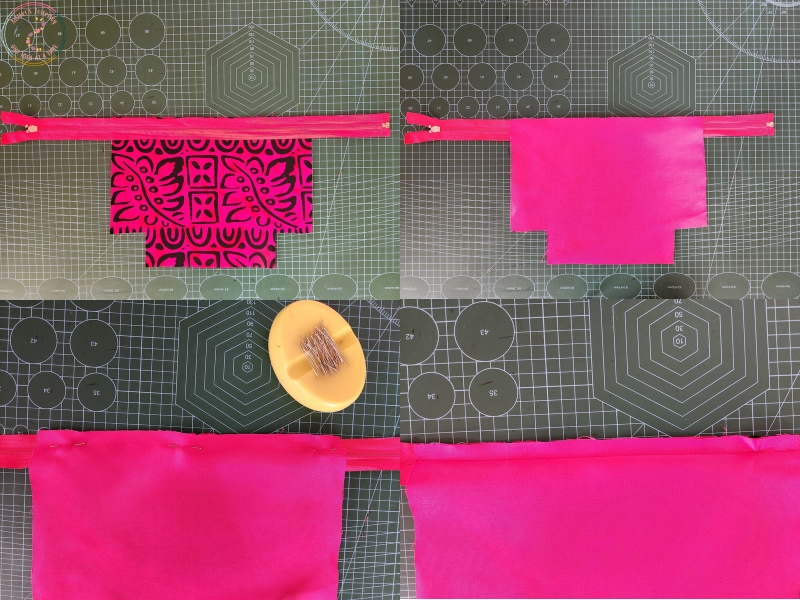
Place the zipper face down along the top edge of one main fabric piece (right side up).
Lay one lining piece on top (right side down), sandwiching the zipper between the two.
Pin in place and sew with a 0.4” seam allowance.
Remove the pins and top stitch along the zipper edge.
5. Second zipper side

Repeat the same process with the second main and lining fabric pieces on the other side of the zipper.
Pin, sew, and top stitch as before.
Assembling the Bag:
6. Align the fabrics
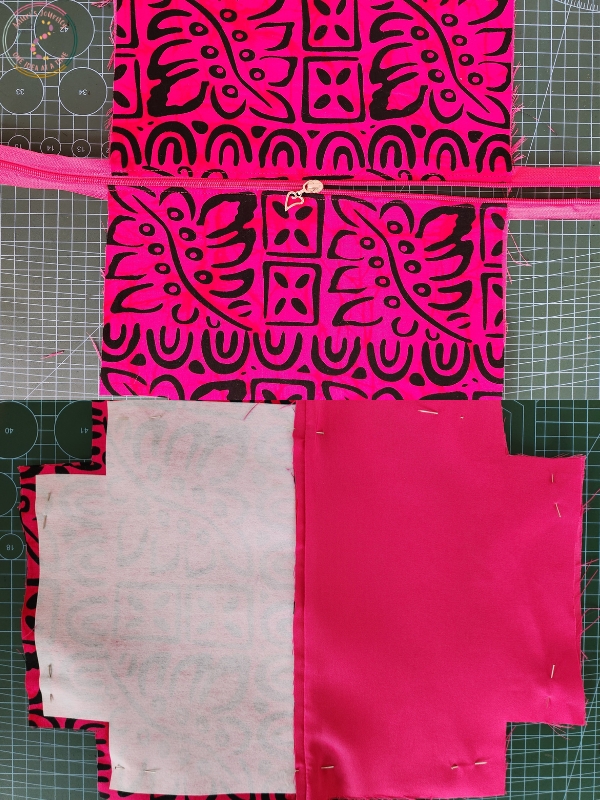
Move the zipper pull to the middle to avoid sewing over it.
Place the two main fabrics right sides facing each other.
Do the same with the lining pieces.
Pin all around.
7. Sew the edges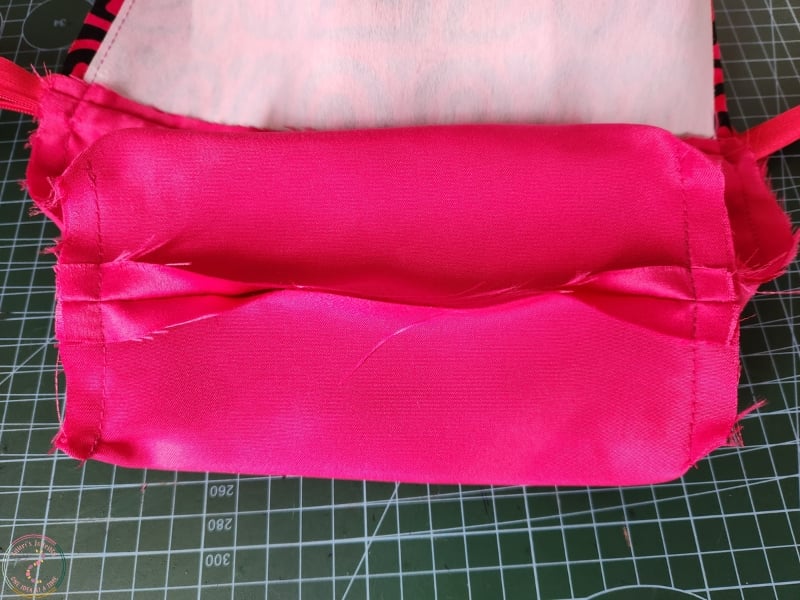
Sew around the entire bag, leaving the four corners unstitched.
On the bottom edge of the lining, leave a 3” opening for turning the bag right side out later.
8. Box the corners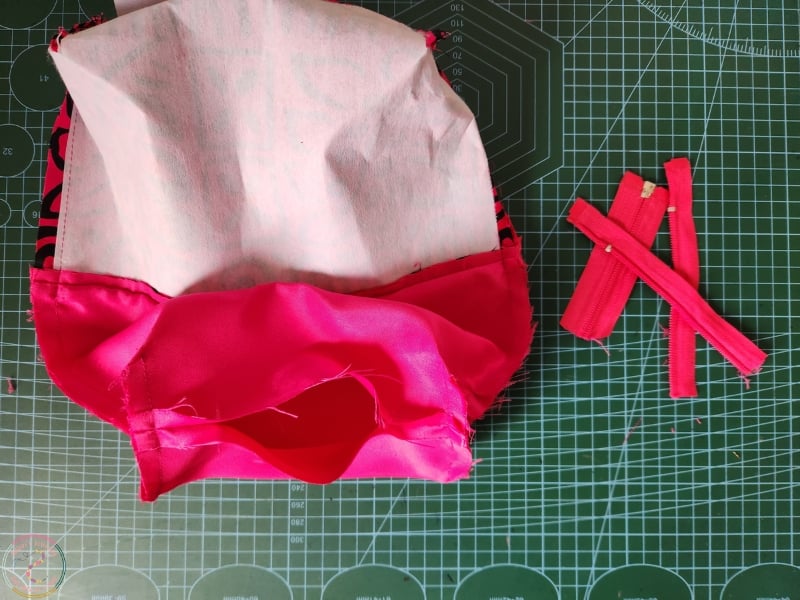
Match the raw edges of each corner to create boxed corners.
Sew each one with a 0.25” seam.
Trim excess zipper ends if necessary.
Finishing Up:
9. Turn it out

Gently pull the bag through the 3” opening in the lining to turn it right side out.
Push out all corners and shape the bag nicely.
10. Seal the lining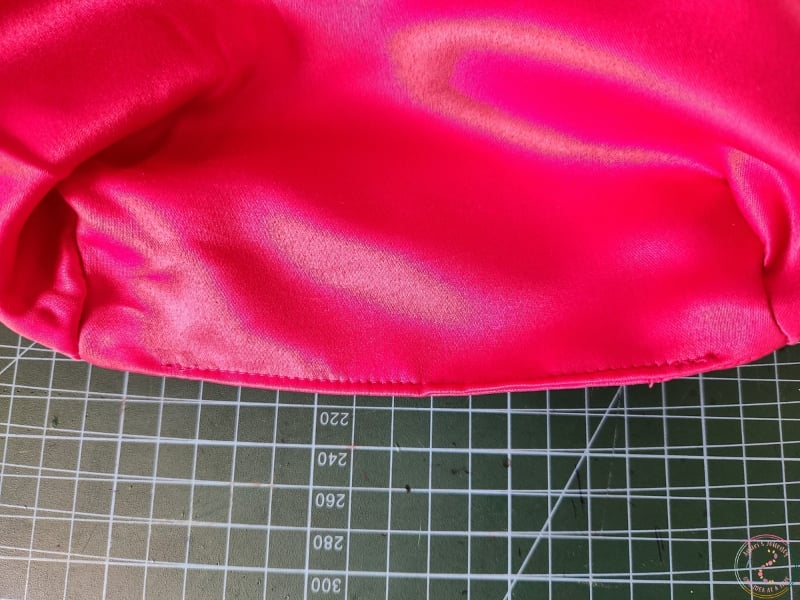
Tuck in the raw edges of the opening in the lining and top stitch to close.
Push the lining into the bag and smooth everything out.
11. Final press
Give your makeup bag a good press with the iron for a crisp, clean finish.
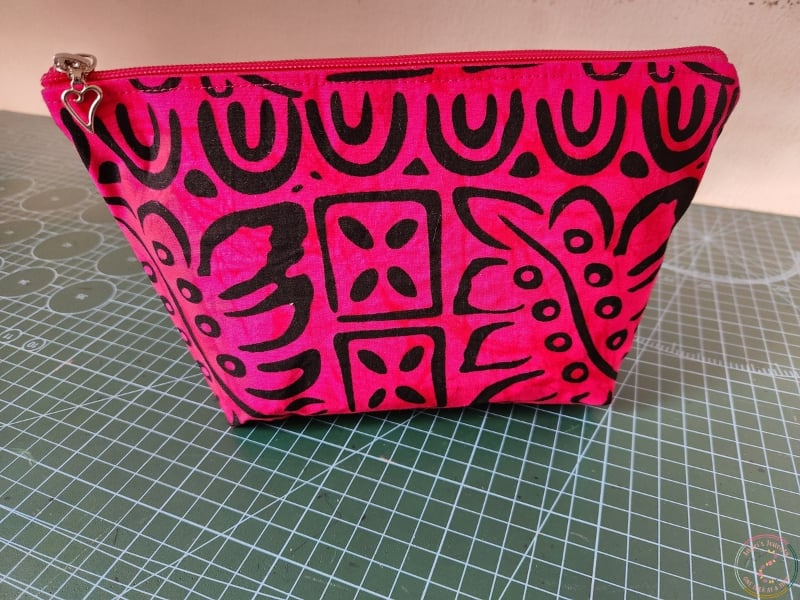
And That’s It.
You’ve just made a beautiful makeup bag set with your own hands! Whether you’re keeping it for yourself or gifting it to someone special, it’s a lovely and practical creation. You can even customize it with fun prints, quilted details, or matching pouch sizes.
You may also like: