This site contains affiliate links. I may earn a small commission, at no cost to you.
This post shows you 15 DIY Halloween garland ideas that you can recreate for that Halloween decor.
A Halloween garland is a decorative string or strand typically hung as a festive embellishment for Halloween celebrations.
It consists of various themed elements such as paper or fabric shapes, ornaments, or other decorations strung together along a string or ribbon.
These elements often include iconic Halloween symbols like ghosts, pumpkins, bats, spiders, witches, skulls, and more.
Halloween garlands are commonly hung on walls, mantels, doorways, windows, or across party spaces to add a spooky and festive touch to the decor.
They are versatile decorations that can be customized to fit different themes, color schemes, and styles, making them a popular choice for Halloween enthusiasts looking to add some extra flair to their homes or events.
As the spooky season approaches, many of us are eager to transform our homes into haunted havens filled with ghoulish delights.
One of the simplest yet most effective ways to add a touch of Halloween spirit to any space is through DIY garlands.
These versatile decorations allow for endless creativity and customization, offering a wide range of possibilities to suit any theme or style.
Whether you’re hosting a haunted house party or simply looking to spookify your living room, creating your own Halloween garlands is a fun and budget-friendly way to celebrate the season.
In this guide, we’ll explore 15 creative DIY Halloween garland ideas that are sure to bewitch and delight both guests and ghouls alike.
15 DIY HALLOWEEN GARLAND IDEAS
1. Ghost Garland
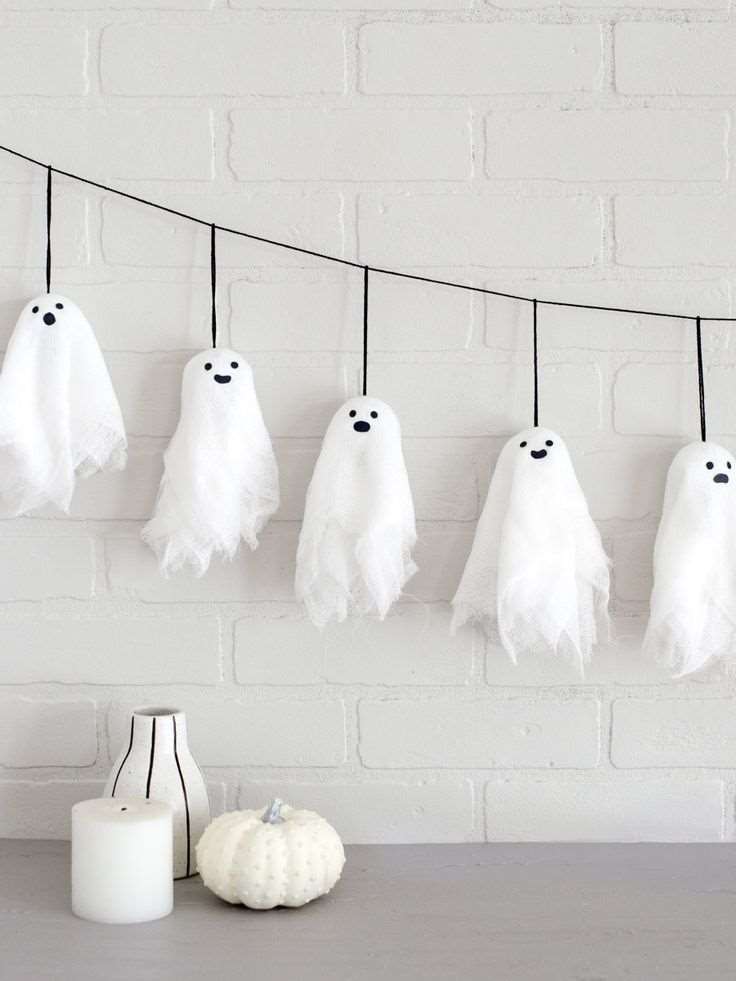
Cut ghost shapes out of white paper or fabric.
You can either draw the ghost shapes freehand or use a template.
Once cut, use a hole puncher to make holes near the top of each ghost and thread them onto a string.
You can vary the size and shape of the ghosts for added variety.
2. Bat Garland
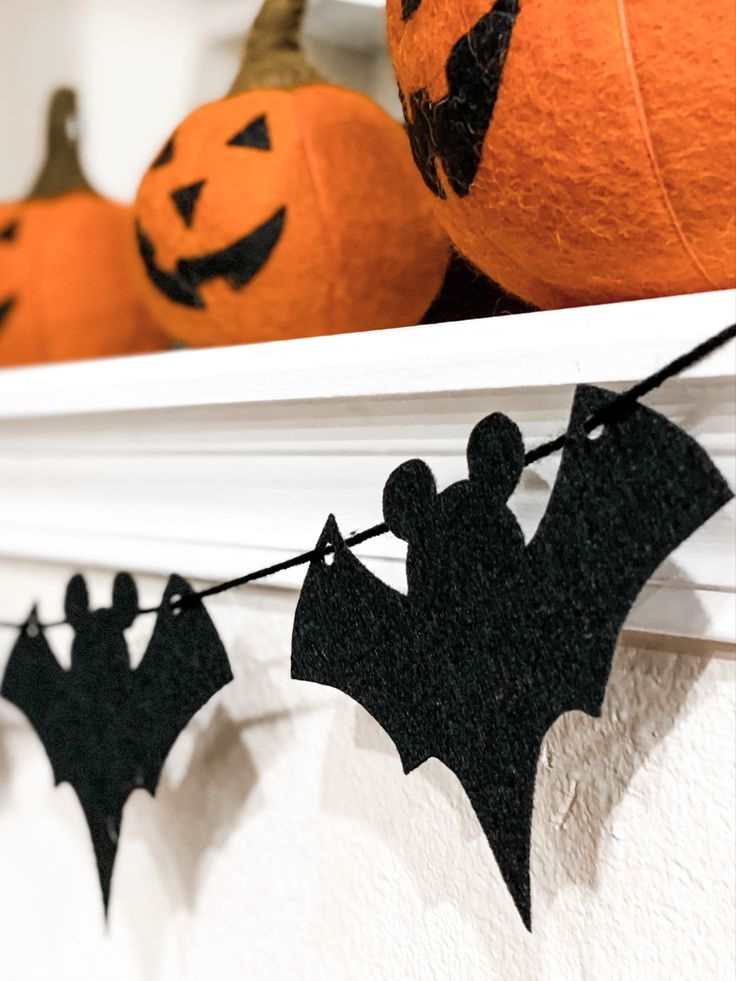
Create bat shapes out of black paper or felt.
Draw or print a bat template and trace it onto the paper or felt.
Cut out the bat shapes and use a hole puncher to make holes near the top of each bat.
String the bats onto a black string or fishing line to create your garland.
3. Pumpkin Garland
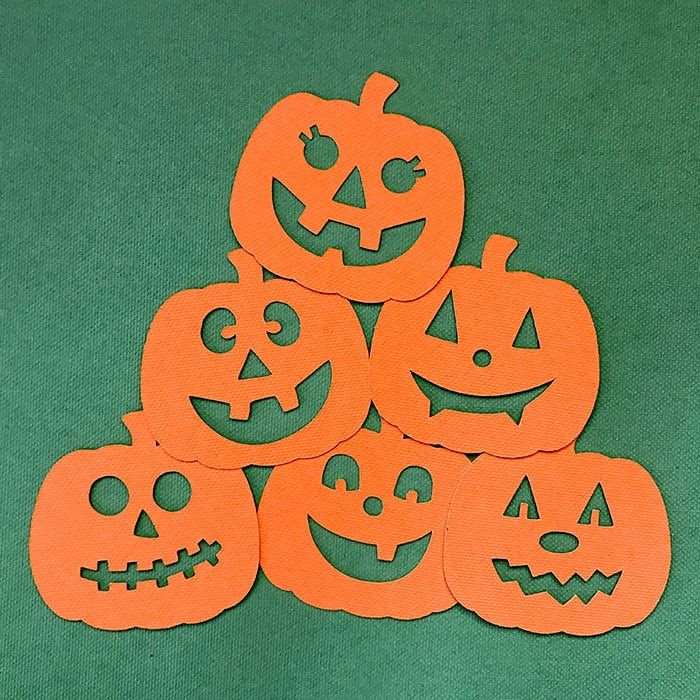
Cut out pumpkin shapes from orange paper or fabric.
You can use a pumpkin-shaped cookie cutter as a template or draw the shapes freehand.
After cutting out the pumpkins, use a hole puncher to make holes near the top of each pumpkin and string them onto a green string or ribbon to mimic pumpkin vines.
4. Spider Web Garland
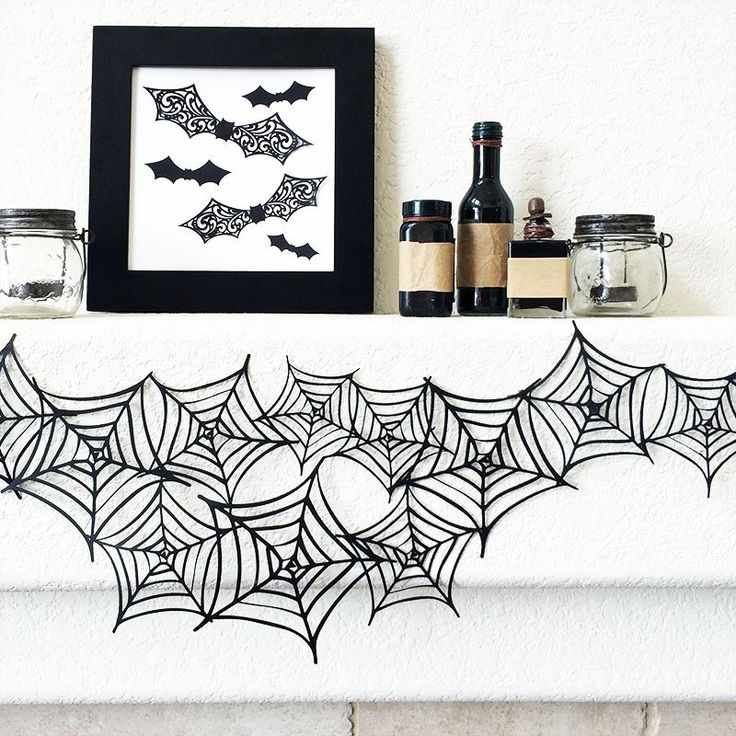
Use black yarn or string to create spider webs.
Start by tying a knot at one end of the string.
Then, crisscross the string to create a web pattern, securing it with knots at various points.
Add plastic spiders to the web by tying them onto the string or using a hot glue gun to attach them.
5. Eyeball Garland
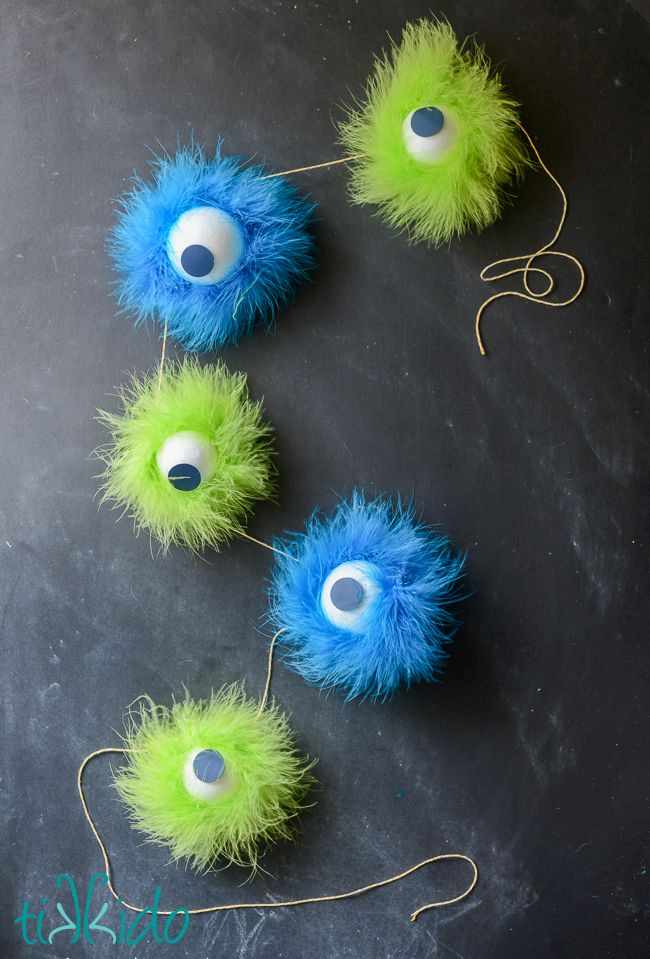
Cut out circles from white paper or cardstock to resemble eyeballs.
Use markers or paint to draw pupils on each circle.
Once the eyeballs are decorated, use a hole puncher to make holes near the top of each one and string them onto a red or white string to mimic blood vessels.
6. Skeleton Garland
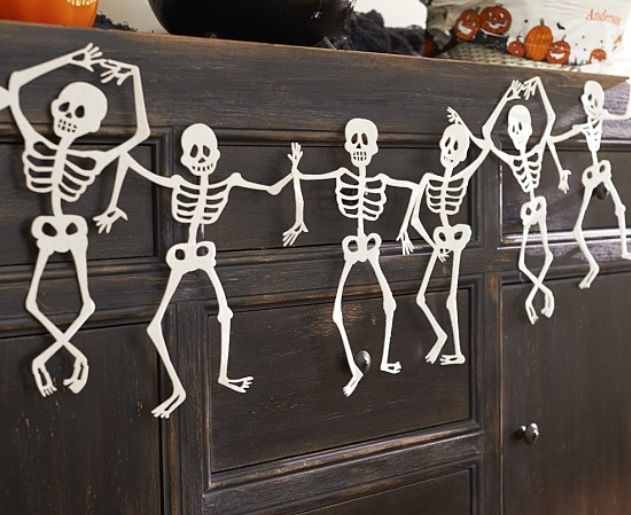
Create paper or felt skeletons. Draw or print skeleton templates and trace them onto white paper or felt.
Cut out the skeleton shapes and use a hole puncher to make holes near the top of each one.
String the skeletons onto a black string or fishing line to create your garland.
7. Witch Hat Garland
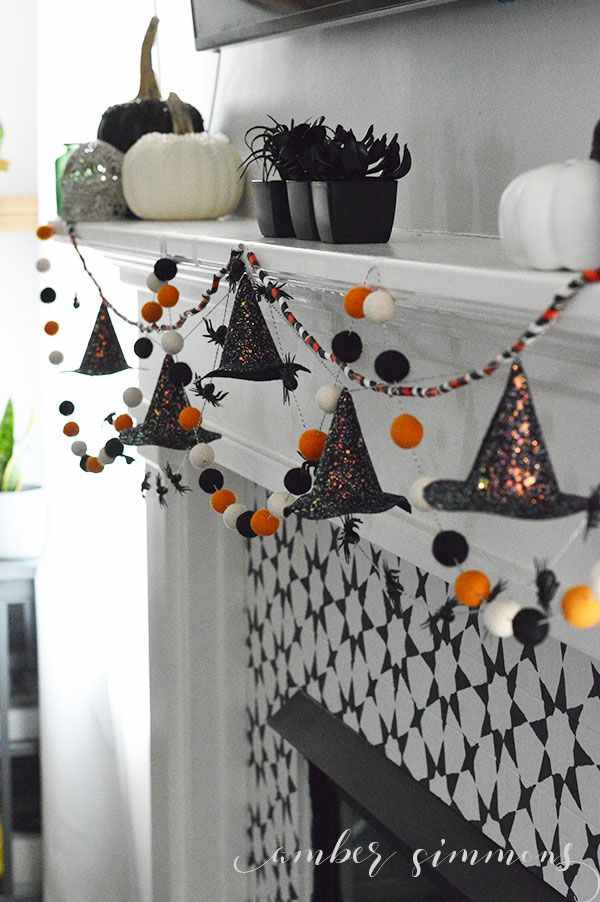
Cut out witch hat shapes from black paper or cardstock.
You can use a witch hat template or draw the shapes freehand.
After cutting out the hats, use a hole puncher to make holes near the top of each one and string them onto a black string or ribbon.
8. Jack-o’-Lantern Garland
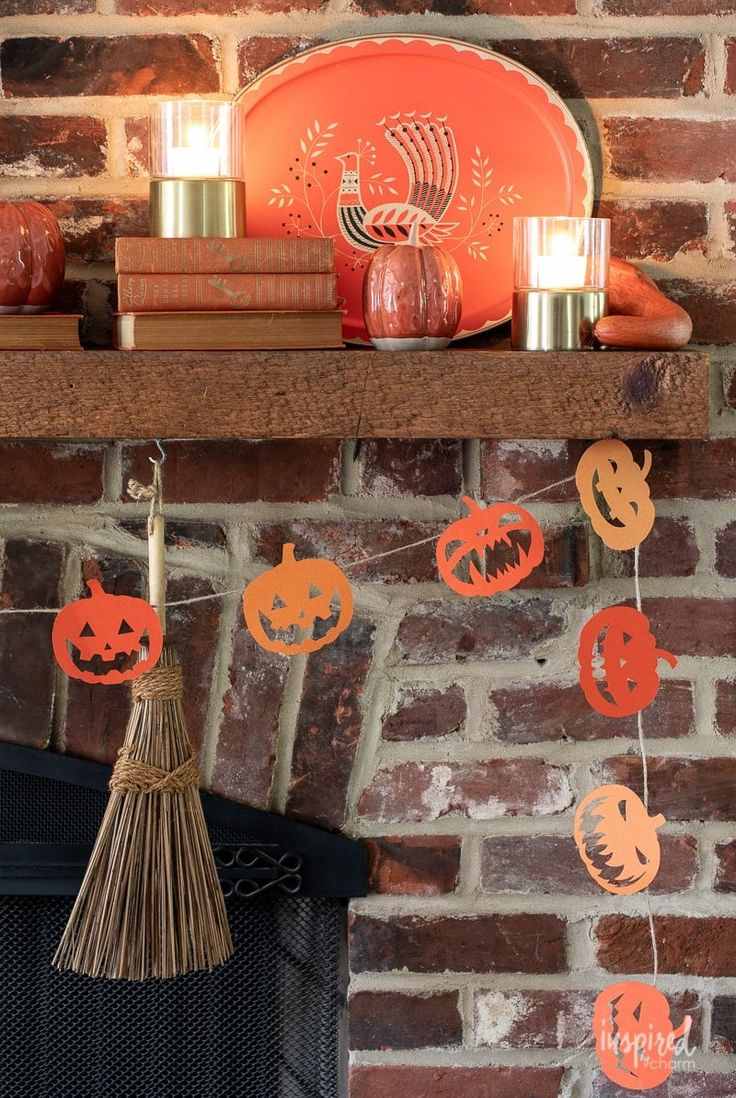
Draw or paint jack-o’-lantern faces on orange paper circles.
You can use a circular object, such as a cup or lid, as a template for the circles.
Once the faces are drawn or painted, use a hole puncher to make holes near the top of each circle and string them onto a green string or ribbon to mimic pumpkin vines.
9. Haunted House Garland
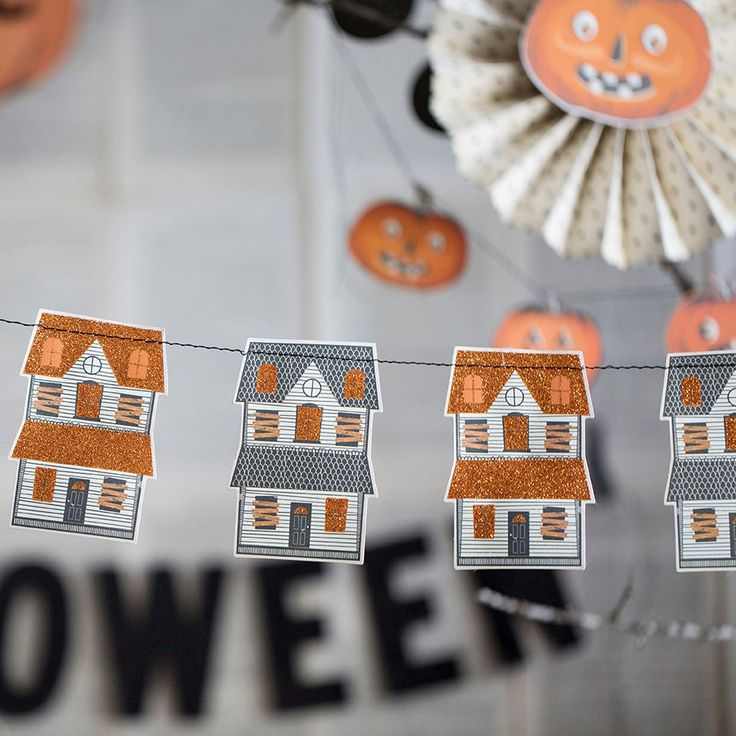
Cut out haunted house shapes from black paper or cardboard.
You can find haunted house templates online or draw the shapes freehand.
After cutting out the houses, use a hole puncher to make holes near the top of each one and string them onto a black string or fishing line.
10. Candy Corn Garland
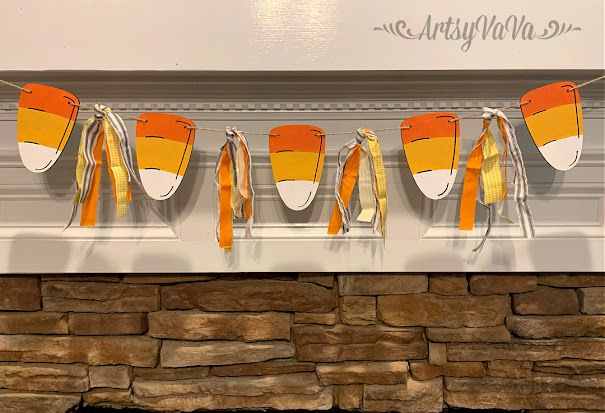
Use colored paper to create candy corn shapes.
Cut out triangles from yellow, orange, and white paper to resemble candy corn.
Once the triangles are cut, use a hole puncher to make holes near the top of each one and string them onto a yellow string or ribbon.
11. Monster Garland
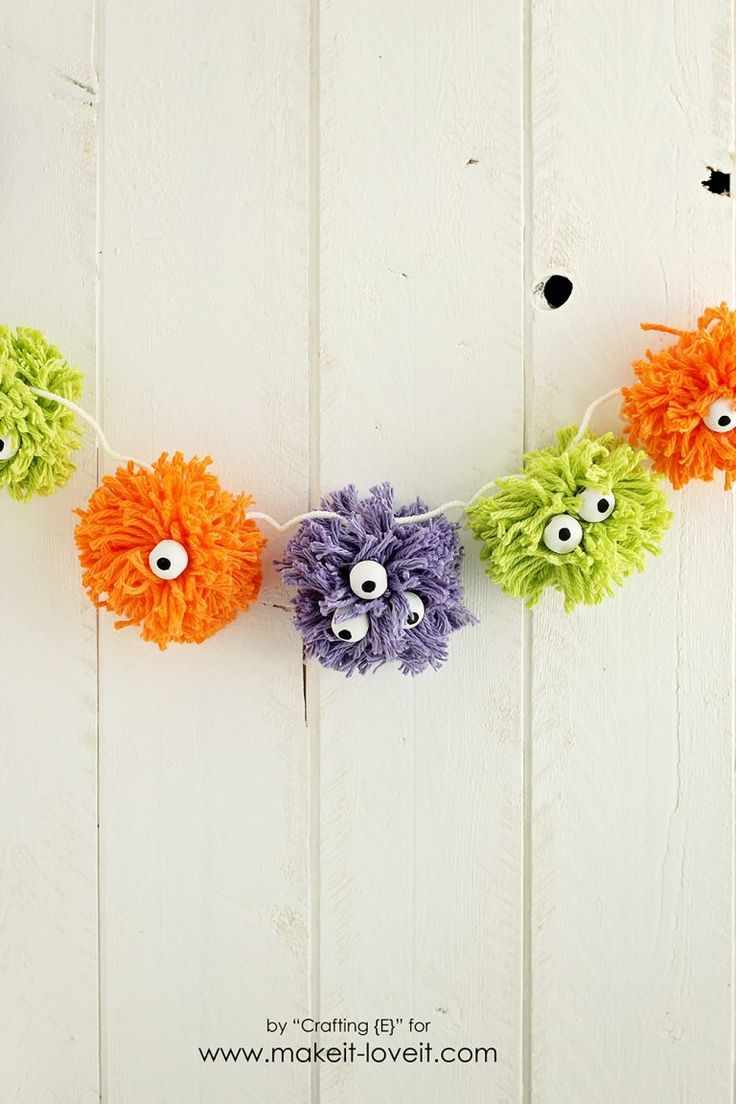
Make colorful monster faces out of paper or felt.
Cut out various shapes, such as circles, squares, and triangles, from colorful paper or felt.
Then, use markers, paint, or googly eyes to decorate the shapes like monster faces.
Once the faces are decorated, use a hole puncher to make holes near the top of each one and string them onto a colorful string or ribbon.
12. Glow-in-the-Dark Garland
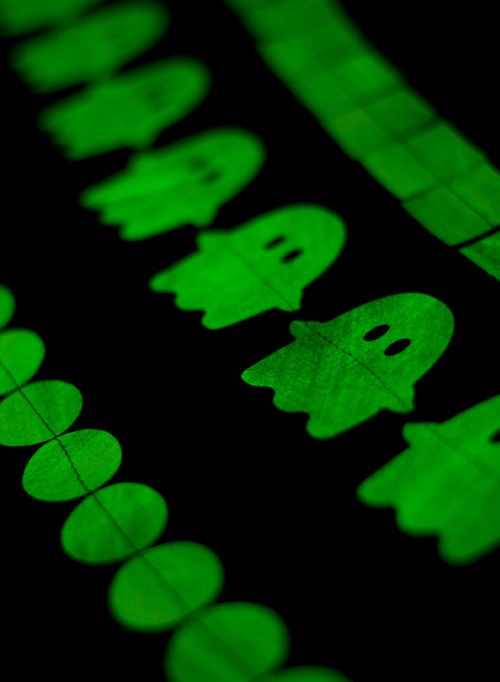
Cut out shapes like bats, ghosts, or pumpkins from glow-in-the-dark paper.
You can find glow-in-the-dark paper at craft stores or online.
Once the shapes are cut, use a hole puncher to make holes near the top of each one and string them onto a string or fishing line.
Place the garland in a well-lit area during the day to charge, and it will glow in the dark at night.
13. Creepy Cloth Garland
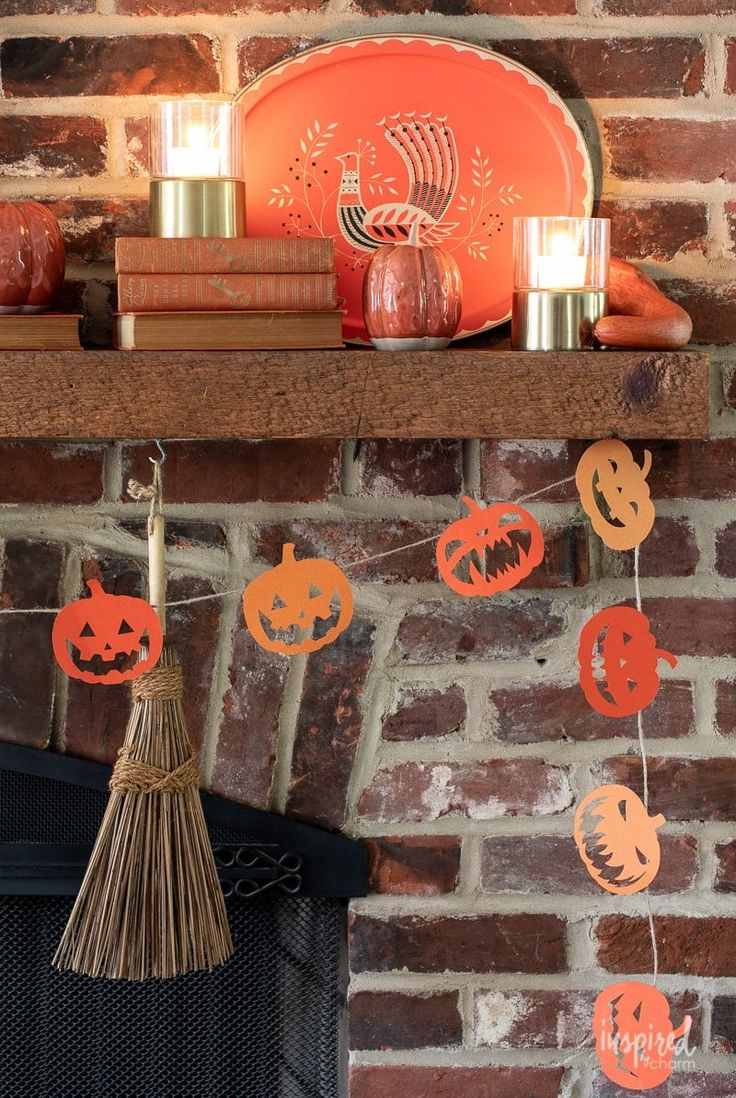
Tear strips of cheesecloth or gauze and dye them with tea for an aged look.
Steep tea bags in hot water and let the fabric soak in the tea mixture until it reaches the desired color.
Once dyed, wring out the excess liquid and hang the fabric strips to dry.
After drying, tear the fabric into strips of varying lengths and tie them onto a string to create your garland.
14. Skull Garland
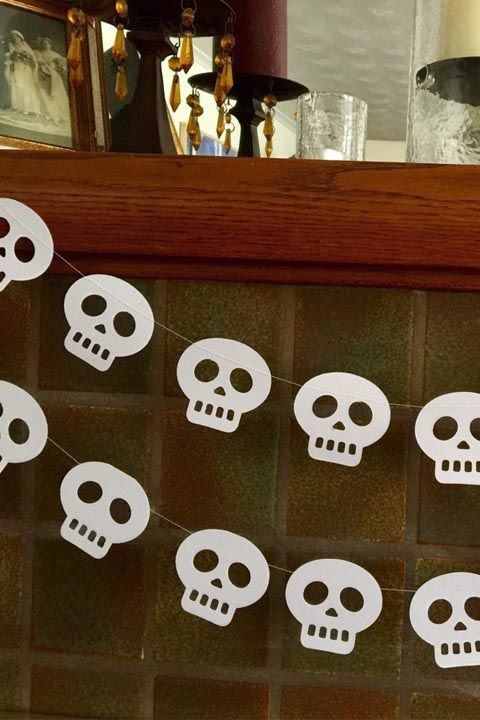
Create skull shapes out of white paper or felt.
Draw or print skull templates and trace them onto the paper or felt.
Cut out the skull shapes and use a hole puncher to make holes near the top of each one.
String the skulls onto a black string or fishing line to create your garland.
15. Blood Drip Garland
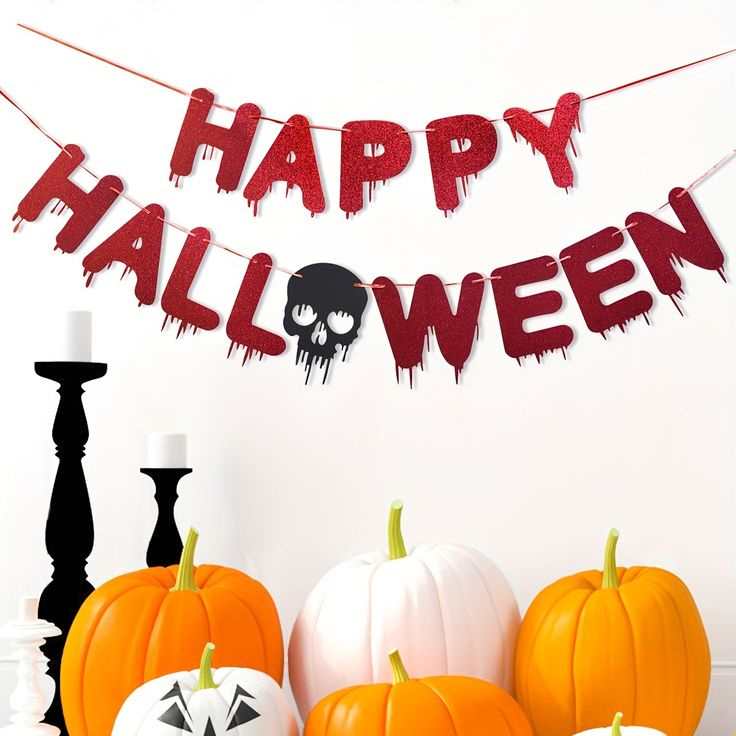
Cut out red paper drips to resemble dripping blood.
You can use a template or draw the drips freehand.
Once the drips are cut, use a hole puncher to make holes near the top of each one and string them onto a white string or ribbon to mimic a bloody effect.
Items you need to create your Halloween garland
1. Paper
Colored construction paper, cardstock, or patterned scrapbook paper can be used to cut out various shapes for your garland, such as ghosts, pumpkins, bats, and skulls.
2. Fabric
Fabric scraps, such as felt, cotton, or cheesecloth, can be used to create durable and reusable garlands.
You can cut out shapes or strips of fabric to suit your chosen Halloween theme.
3. String or Yarn
Any type of string, yarn, or twine can be used as the base for your garland.
Consider using black, orange, white, or green string to match the Halloween color scheme.
4. Markers or Paint
Permanent markers, acrylic paint, or fabric paint can be used to decorate your garland shapes.
Use these to add details such as faces, patterns, or accents to your Halloween decorations.
5. Glue
A glue stick, craft glue, or a hot glue gun will come in handy for attaching shapes, embellishments, or fabric strips to your garland string.
6. Scissors
Sharp scissors are essential for cutting out shapes, fabric, and string for your garland.
Make sure you have a sturdy pair that can cut through your chosen materials.
7. Hole Puncher
A hole puncher will make it easy to create holes in your garland shapes for threading onto the string.
You can use a standard single-hole punch or a shape punch for added decorative flair.
8. Templates
Printable templates or stencils can help you create uniform shapes for your garland.
You can find free templates online or create your own based on your desired designs.
9. Embellishments
Consider adding extra embellishments to your garland for a festive touch.
This could include plastic spiders, googly eyes, sequins, glitter, ribbon bows, or beads.
10. Tea Bags
If you’re making a creepy cloth garland, you’ll need tea bags to dye your fabric strips.
Choose black tea for a vintage or aged look, or use herbal teas for different colors and effects.
11. Plastic Spiders or Bugs
These can add a creepy-crawly element to your garland.
Look for realistic plastic spiders, bugs, or other critters to attach to your spider web or haunted house garlands.
12. Glow-in-the-Dark Paper
If you want to create a glow-in-the-dark garland, you’ll need glow-in-the-dark paper or paint.
This special material will give your garland an eerie glow when the lights go out.
With these items on hand, you’ll be ready to create a spooktacular Halloween garland that’s perfect for decorating your home or party space.
DIY Halloween garlands offer a fantastic opportunity to infuse your home with festive flair and spine-chilling charm.
From whimsical ghosts and playful pumpkins to eerie spiders and haunting skulls, the possibilities are endless when it comes to crafting your own decorations.
Whether you prefer classic motifs or prefer to get inventive with glow-in-the-dark materials or creepy cloth, there’s a DIY garland idea to suit every taste and style.
So gather your crafting supplies, unleash your imagination, and get ready to transform your space into a spooktacular spectacle that’s sure to impress both trick-or-treaters and Halloween party guests alike.
With these 15 DIY Halloween garland ideas, you’ll be well-equipped to summon the spirits and conjure up some wickedly wonderful decor that will leave everyone howling with delight. Happy haunting!
This post showed you 15 creative DIY Halloween garland ideas you can create.
You may also like: